Stuffed
Pita Pocket Recipe: The Oven Method
Prep
10 minutes
Cook
15 minutes
Yield
9 pita pockets
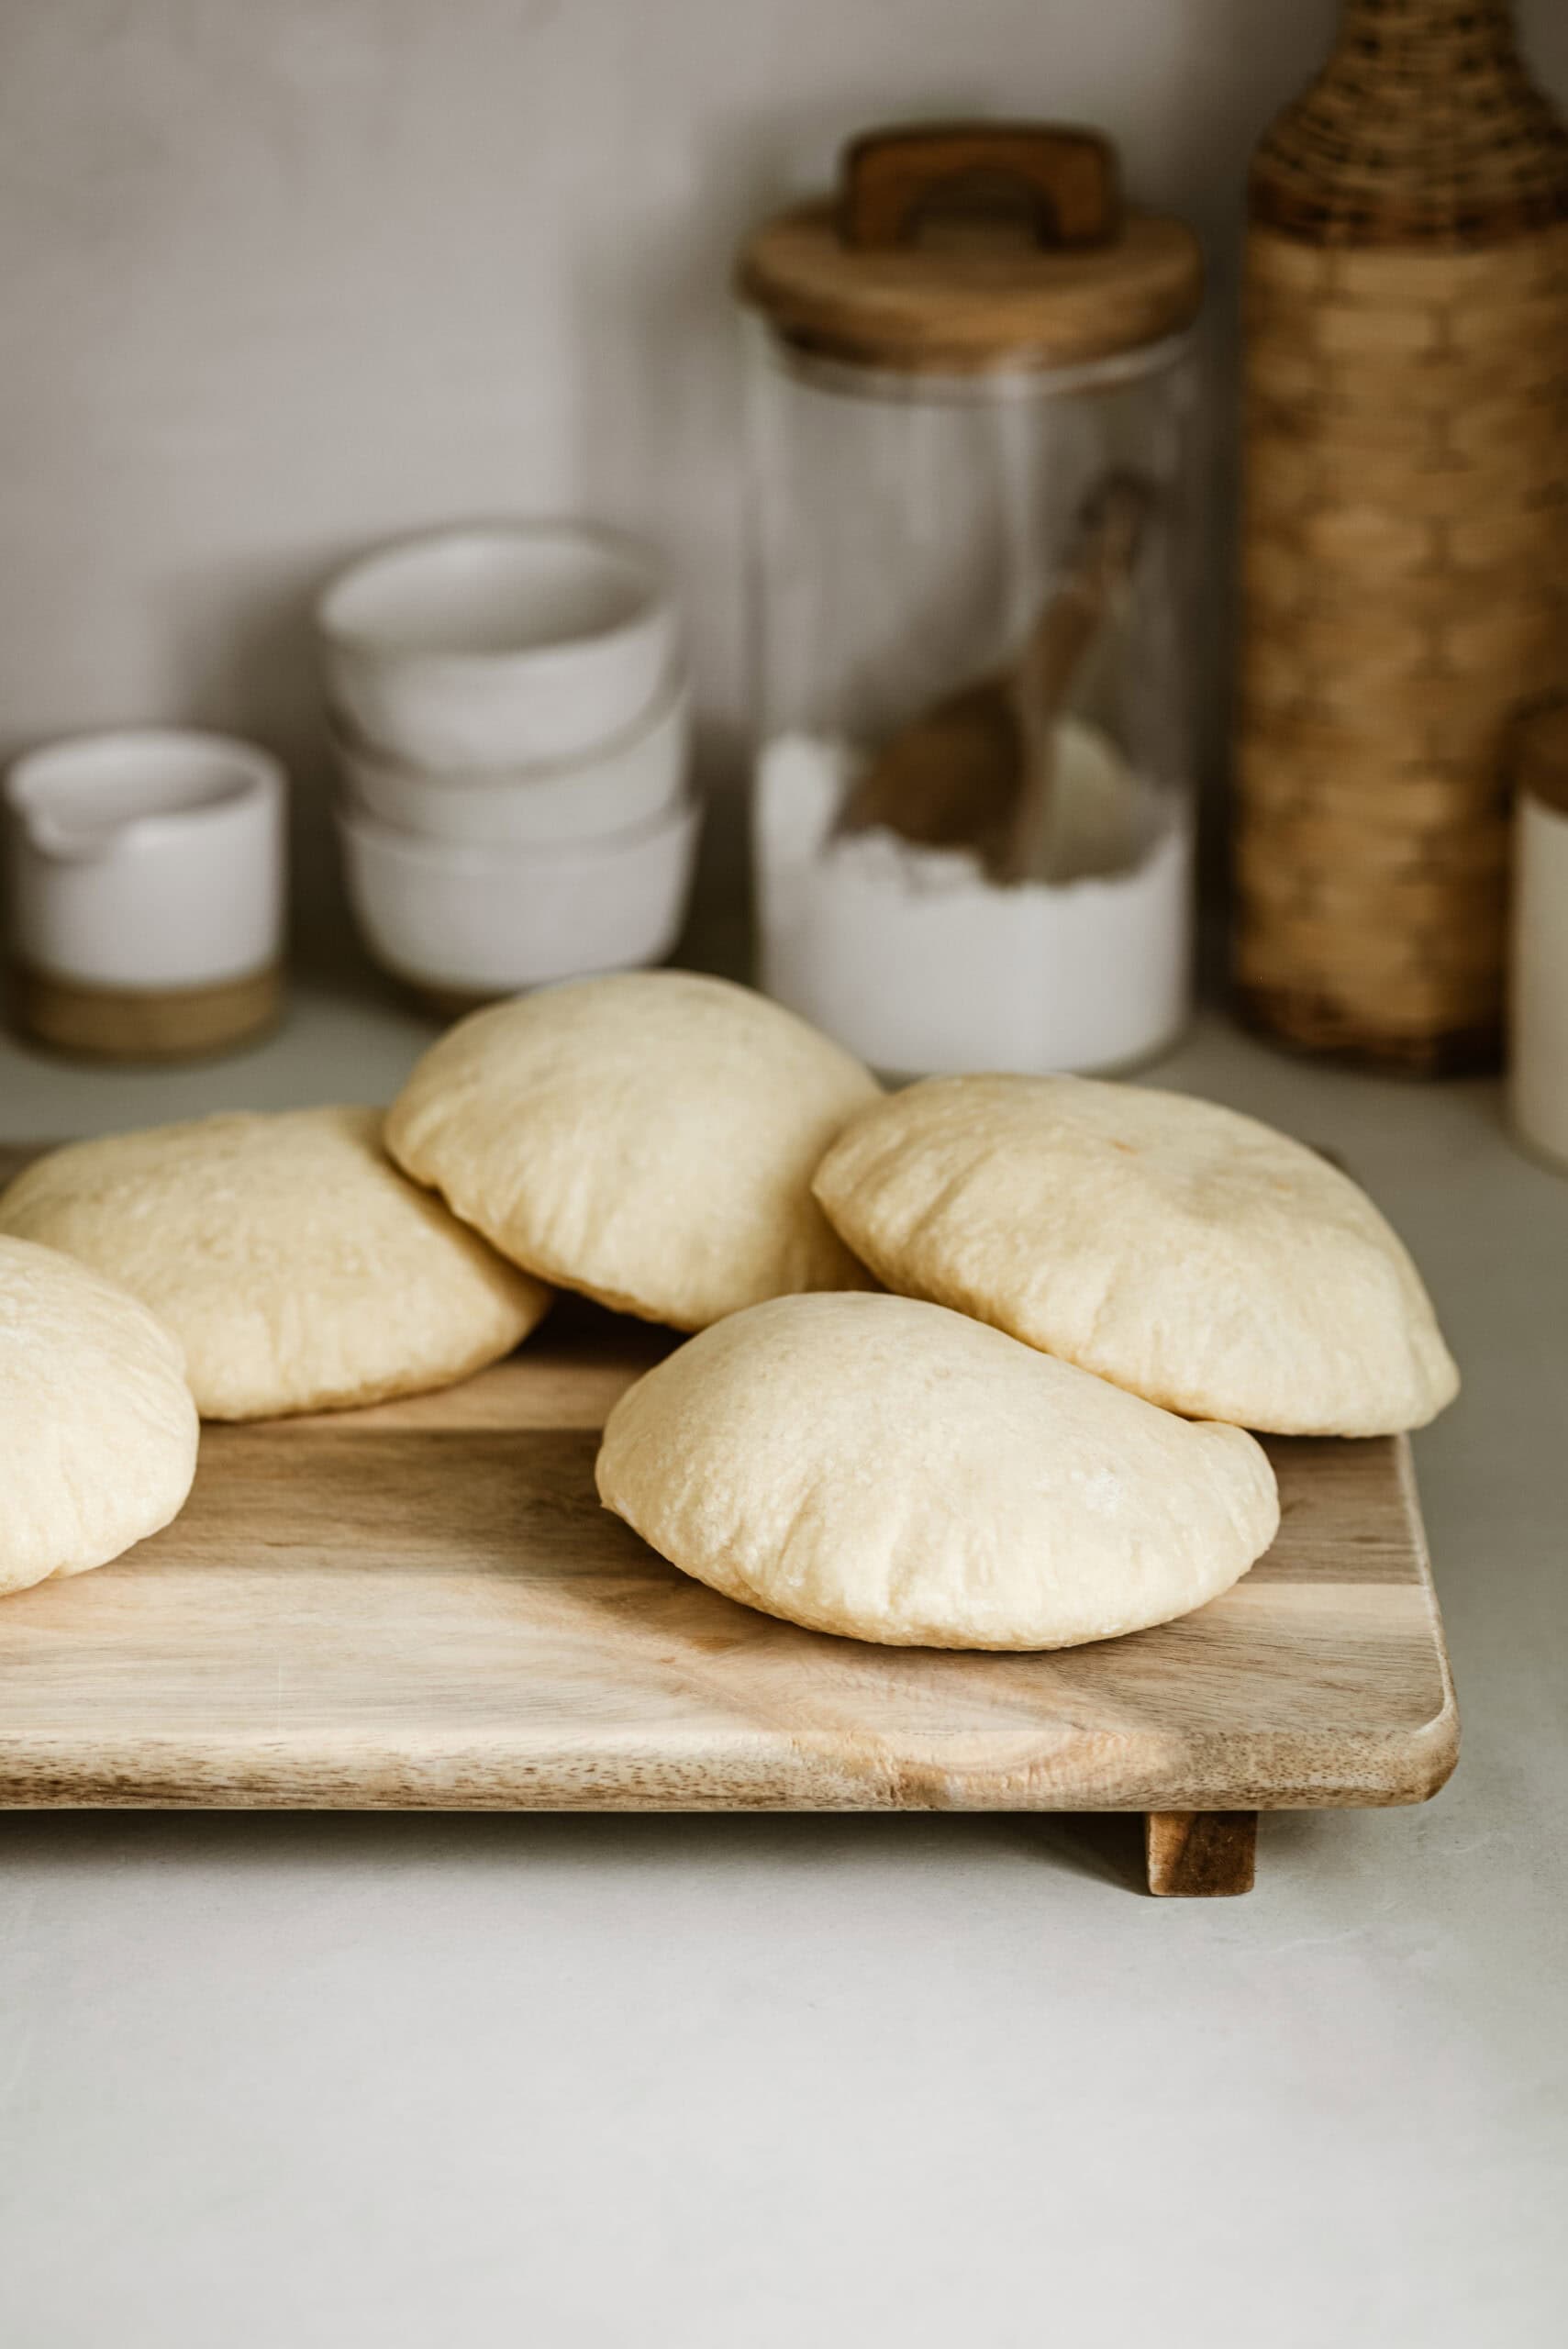
This easy Pita Pocket recipe uses your oven and a few simple ingredients to make an easy Pita Pocket that can be stuffed with everything and anything you want. 🥙
Is there anything better than a stuffed Pita Pocket? Pita is something that I’ve grown up with having in every variety, with so many different types of meals, throughout my whole life. Pita is like a sacred food for us Greeks. It has to be fluffy, it has to be fresh, and it can be used with just about everything. Pita made its way into the Greek culture by way of the Middle East and its history dates back thousands of years. This Pita Pocket recipe is the perfect easy snack that is incredibly versatile because you can stuff it with whatever your heart desires. 🥙
❤️ Why You’ll Love This Pita Pocket Recipe
- Easy: This recipe is really easy to make. Many people find making bread of any sort intimidating but it can be so simple. This Pita Pocket recipe uses simple ingredients and takes only 10 minutes to prep.
- Versatile: Stuff these Pita Pockets with whatever your heart desires. They can be great for kid’s lunches, or an easy lunch. Fill them with everything from PB&J to gyros!
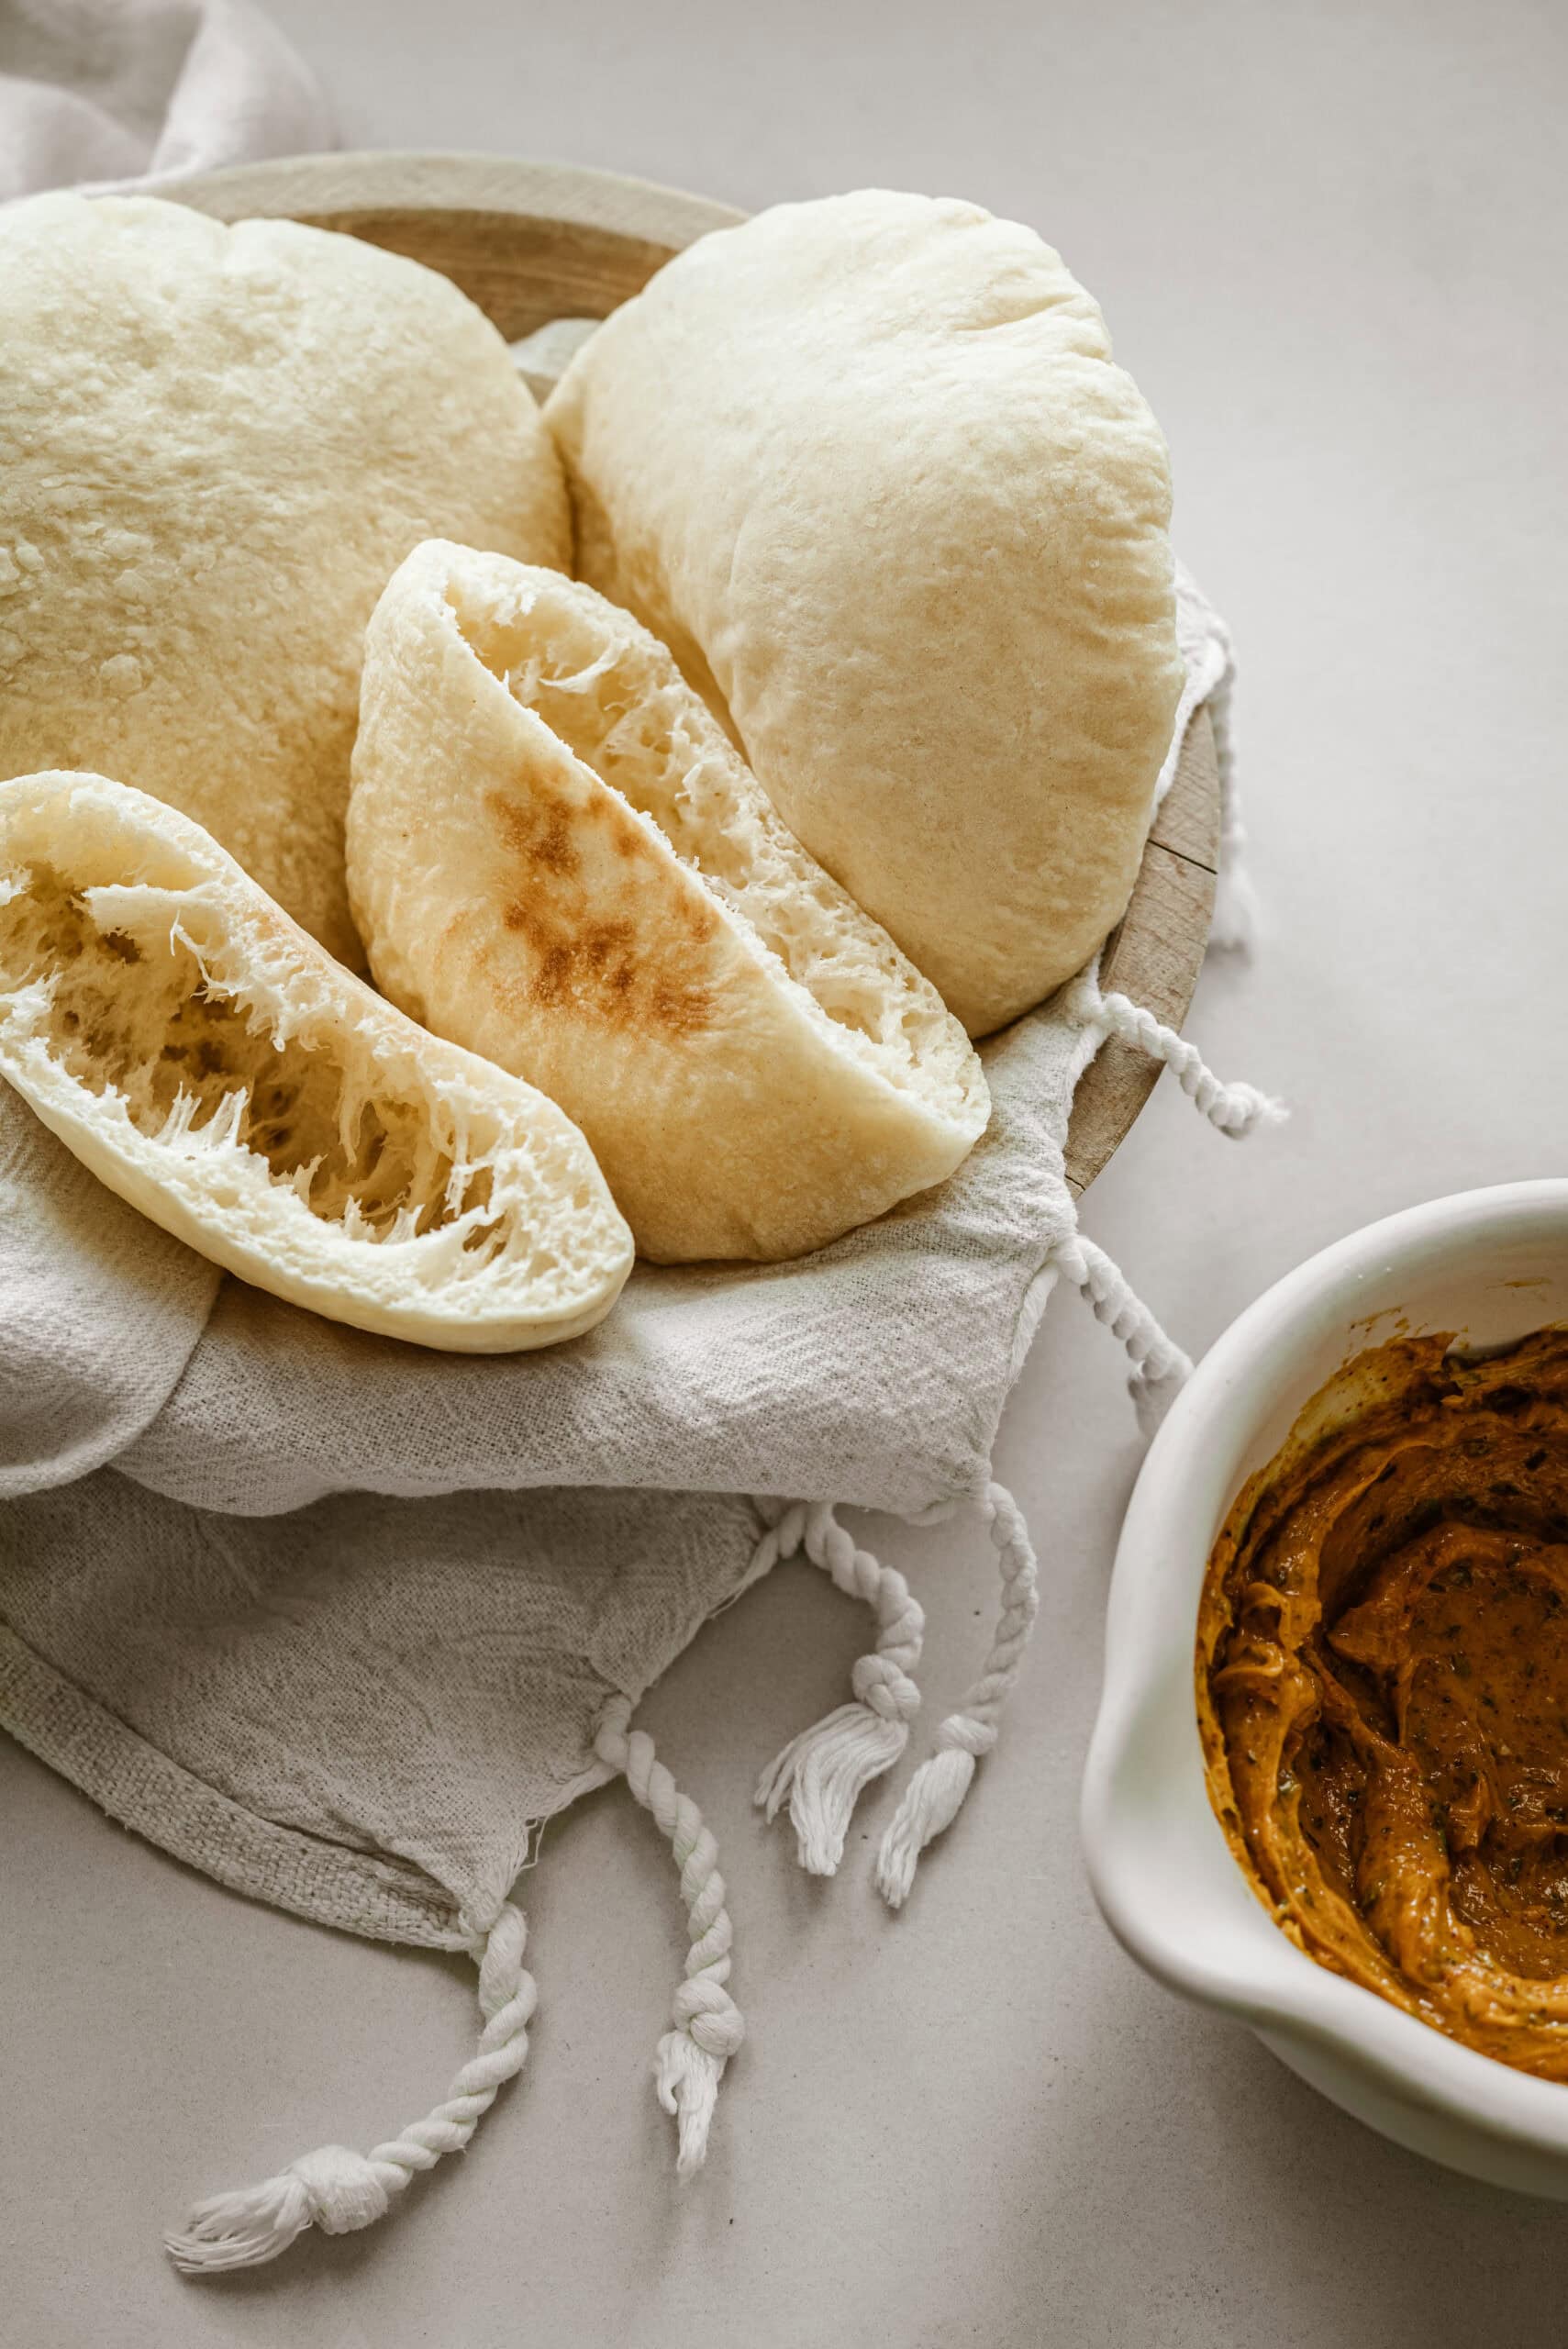
- Fluffy: The best type of pita is fresh and fluffy and this recipe is just that! The key to getting the perfect, fluffy pita bread is by using the right flour, and letting the dough rest before baking.
🍲 Ingredients
Bread Flour – Bread flour is different than all-purpose flour and has a higher protein content that makes your dough more stretchy and strong. With this, you’ll have pitas that are chewy, fluffy, and perfect.
Seasoned Butter – I love to smother these Pita Pockets with seasoned butter that is made with butter and a variety of spices. It just adds the perfect velvety flavor to the fluffy pitas that is perfect. You can experiment with your butter here and use the spices you prefer.
👩🍳 How to Make Pita Pockets
- Make the dough: To a large mixing bowl add the flour, salt and instant yeast and whisk together. Pour in the 1 1/4 cup lukewarm water and then the oil and use a wooden spoon to mix until a shaggy dough forms. Use your hands to bring the dough together making sure the flour is all absorbed by kneading for 2-3 minutes in the bowl. Note: If your dough is too sticky, add 1 tbsp more flour and knead. If your dough is too dry, add 1 tsp – 1 tbsp more lukewarm water and knead again to combine.Drizzle a little olive oil over the dough and turn a few times to coat the dough. Cover the bowl with plastic wrap or a tea towel. Place in a warm spot to rise until doubled in size, about 1 ½ – 2 hours.
- While the dough is rising, make the softened butter by mixing together the softened butter with all of the spices. Set aside.
- After the first rise, put the dough onto a floured work surface and form the dough into a circle so you can divide it into 9 equal pieces.
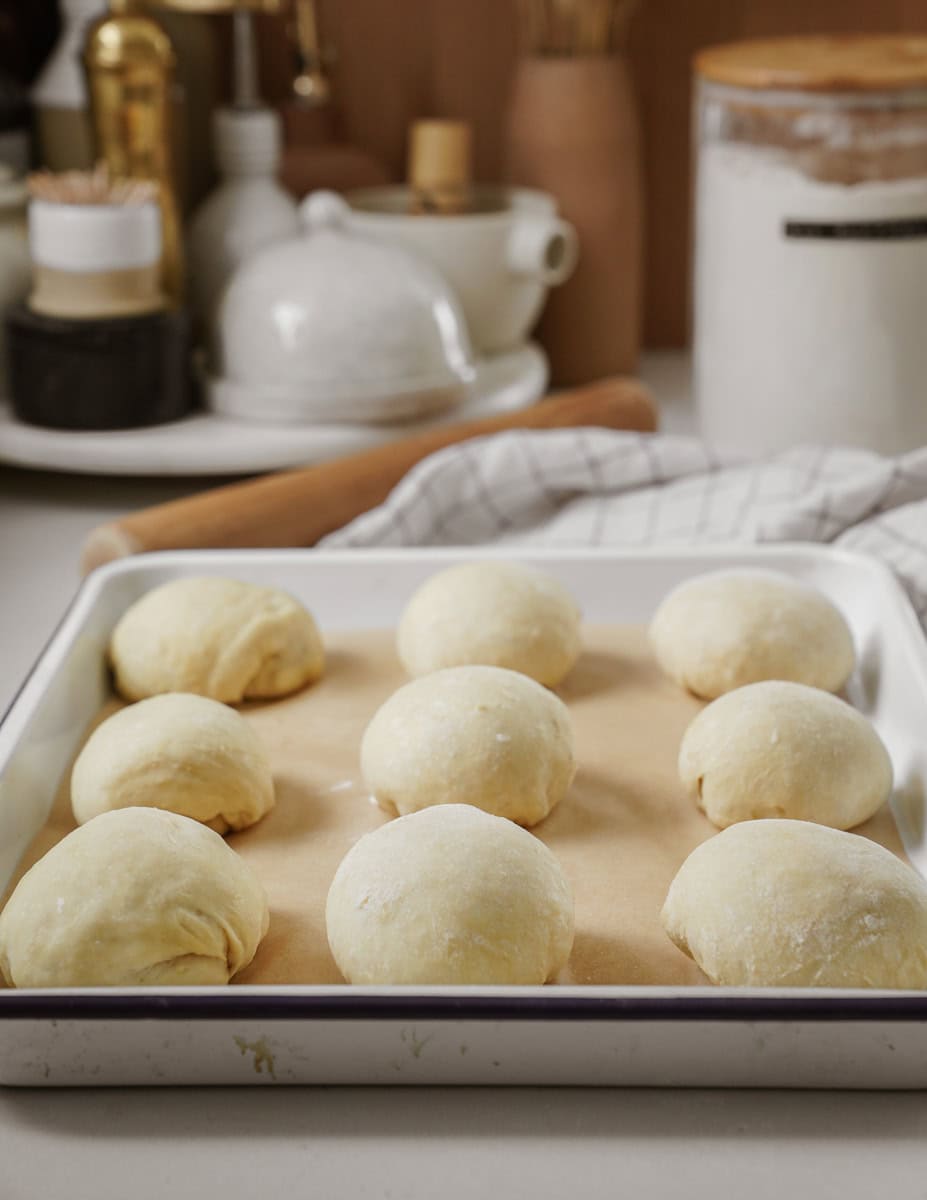
- Use your hands to form the 9 pieces of dough into balls / circles and place on a parchment lined baking sheet. Let rest covered with a tea towel for 30 minutes.
- While resting, add a pizza stone or baking steel to the top third of the oven and preheat to 500F.
- Cut out 9 pieces of parchment paper into 6-7 inch squares and set aside.
- After 30 minutes of resting, form into pita shapes – On a floured surface GENTLY roll out each ball of dough into 5-6 inch rounds – the key is to not roll with too much pressure on the dough to make sure you don’t push out all of the air bubbles. If any of the dough balls are hard to roll or the dough is resisting, set aside for another 5-10 minutes and try another one.
- Place each rolled out circle on a piece of the cut out parchment paper and let rest for 30 more minutes.
- Bake the pitas: Prep a baking dish or bowl by lining it with a tea towel and set aside. Once the oven is preheated, use a large metal spatula to gently move one pita at a time with its parchment paper onto the preheated pizza stone or baking steel. Cook 2-3 at a time for 2-4 minutes or until the pitas have puffed up. When done, remove the pitas from the oven and put in the prepped tea towel lined dish or bowl and cover them up while you bake the rest of the pitas.
- Enjoy the pitas warm with the seasoned butter. Or, let the pitas fully cool and store at room temperature in an airtight container for up to 3 days or freeze for up to 2 months.Alternatively, fry the pitas after they’re baked. Heat about 1 tablespoon olive oil in a medium skillet over medium-high heat and cook for 1 to 2 minutes per side. Enjoy hot!

🪄 Tips and Tricks
- Prep: These pitas can be made ahead of time and enjoyed on the weekend or during the week with your favorite dinner. They are best fresh but you can freeze them for easy access.
- Pita Bread: If you love this recipe, you’re sure to love our viral Fluffy Greek Pita Bread Recipe. This pita recipe is different because they’re not stuffable so they are best for dipping.
- Stuffing: Some ideas on what to stuff these pitas with are this Slow Cooker Chicken Breast or these Marinated Chicken Thighs. You can also whip up an egg salad or chicken salad to stuff in here for a quick lunch.
🗒 Substitutions
- Gluten-Free: You can make these Pita Pockets gluten-free by using Bob’s Red Mill 1:1 Gluten Free Flour.
- Whole Wheat: You can also substitute the flour with whole wheat if you prefer. If you use whole wheat flour, use half the amount of flour called for in the recipe. The pita’s will be much denser with whole wheat flour.
- Yeast: I like to use Instant Yeast for baking as it’s easy and ready-to-use, but you can totally use other yeasts instead, just ensure you read the instructions and activate it before using it in your recipe.
🗒 Best served with
👝 How to Store Leftovers
Store leftover Pita Pockets in an airtight bag or container for up to 4 days. You can also freeze them for easy access.
🤔 Common Questions
The difference is simply that a pocket is just that, a pocket. You can stuff them with whatever you want. Pita bread is more like a flatbread and you can’t stuff them but you can use them as wraps or to dip.
It definitely can be, especially if you are making it yourself so it doesn’t have preservatives and you know exactly what’s going into it. Pita bread is a whole-grain food and has complex carbs that can help fuel your body and help reduce the risk of things like diabetes and heart disease.
On a floured surface, use hands to GENTLY form each ball of dough into 5-6 inch rounds. The key is to gently press the dough into circles so you don’t push out all the air bubbles. If the dough is resisting, set aside for another 5-10 minutes and try another one.
It’s important to use a yeast that is alive. This means it was activated before using (if required), or is instant yeast, and is most importantly, not expired. You also want to ensure you pre-heat your oven well before popping them in.
Pita Pocket Recipe: The Oven Method
Your Greek mommy that is. 😍 Step into my kitchen to learn how to make yummy Greek food. 🍽️💃
Ingredients
For the pita pockets
- 3 cups (420g) bread flour
- 1 1/2 tsp kosher salt
- 2 1/4 tsp instant yeast
- 1 1/4 cup lukewarm water
- 1 1/2 tbsp olive oil
For the seasoned butter
- 1/4 cup softened unsalted butter
- 1 tsp ground paprika
- 1 tsp fresh minced thyme
- 1/2 tsp fresh minced rosemary
- 1 garlic clove, grated
- 1/4 tsp ground turmeric
- 1 tsp salt
- 1/2 tsp ground pepper
Instructions
- Make the dough: To a large mixing bowl add the flour, salt and instant yeast and whisk together. Pour in the 1 1/4 cup lukewarm water and then the oil and use a wooden spoon to mix until a shaggy dough forms. Use your hands to bring the dough together making sure the flour is all absorbed by kneading for 2-3 minutes in the bowl. Note: If your dough is too sticky, add 1 tbsp more flour and knead. If your dough is too dry, add 1 tsp – 1 tbsp more lukewarm water and knead again to combine.Drizzle a little olive oil over the dough and turn a few times to coat the dough. Cover the bowl with plastic wrap or a tea towel. Place in a warm spot to rise until doubled in size, about 1 ½ – 2 hours.
- While the dough is rising, make the softened butter by mixing together the softened butter with all of the spices. Set aside.
- After the first rise, put the dough onto a floured work surface and form the dough into a circle so you can divide it into 9 equal pieces.
- Use your hands to form the 9 pieces of dough into balls / circles and place on a parchment lined baking sheet. Let rest covered with a tea towel for 30 minutes.
- While resting, add a pizza stone or baking steel to the top third of the oven and preheat to 500F.
- Cut out 9 pieces of parchment paper into 6-7 inch squares and set aside.
- After 30 minutes of resting, form into pita shapes –On a floured surface GENTLY roll out each ball of dough into 5-6 inch rounds – the key is to not roll with too much pressure on the dough to make sure you don’t push out all of the air bubbles. If any of the dough balls are hard to roll or the dough is resisting, set aside for another 5-10 minutes and try another one.
- Place each rolled out circle on a piece of the cut out parchment paper and let rest for 30 more minutes.
- Bake the pitas: Prep a baking dish or bowl by lining it with a tea towel and set aside. Once the oven is preheated, use a large metal spatula to gently move one pita at a time with its parchment paper onto the preheated pizza stone or baking steel. Cook 2-3 at a time for 2-4 minutes or until the pitas have puffed up. When done, remove the pitas from the oven and put in the prepped tea towel lined dish or bowl and cover them up while you bake the rest of the pitas.
- Enjoy the pitas warm with the seasoned butter.Or, let the pitas fully cool and store at room temperature in an airtight container for up to 3 days or freeze for up to 2 months.Alternatively, fry the pitas after they're baked. Heat about 1 tablespoon olive oil in a medium skillet over medium-high heat and cook each pita for 1 to 2 minutes per side. Enjoy hot!
Video
Notes
- These pitas can be made ahead of time and enjoyed on the weekend or during the week with your favourite dinner.
- We love to enjoy them with Chicken Souvlaki, our Simple Homemade Greek Salad and Greek Tzatziki Sauce
- If you love this recipe, you’re sure to love our viral Fluffy Greek Pita Bread Recipe
This recipe was so easy and the Pita Pockets are so good! I used a cast iron skillet instead of a flat stone in the oven and it worked. Next time I plan of keeping the rolled out pitas under a damp tea towel because they dried out a little bit before cooking them. (I couldn’t cook as many pitas on the iron skillet so it took longer to get them in the oven) 10/10!
This makes me SO happy!! Thank you so much, Sarah!