Holidays
Homemade Apple Pie
Prep
30 minutes
Cook
55 minutes
Yield
8 -10
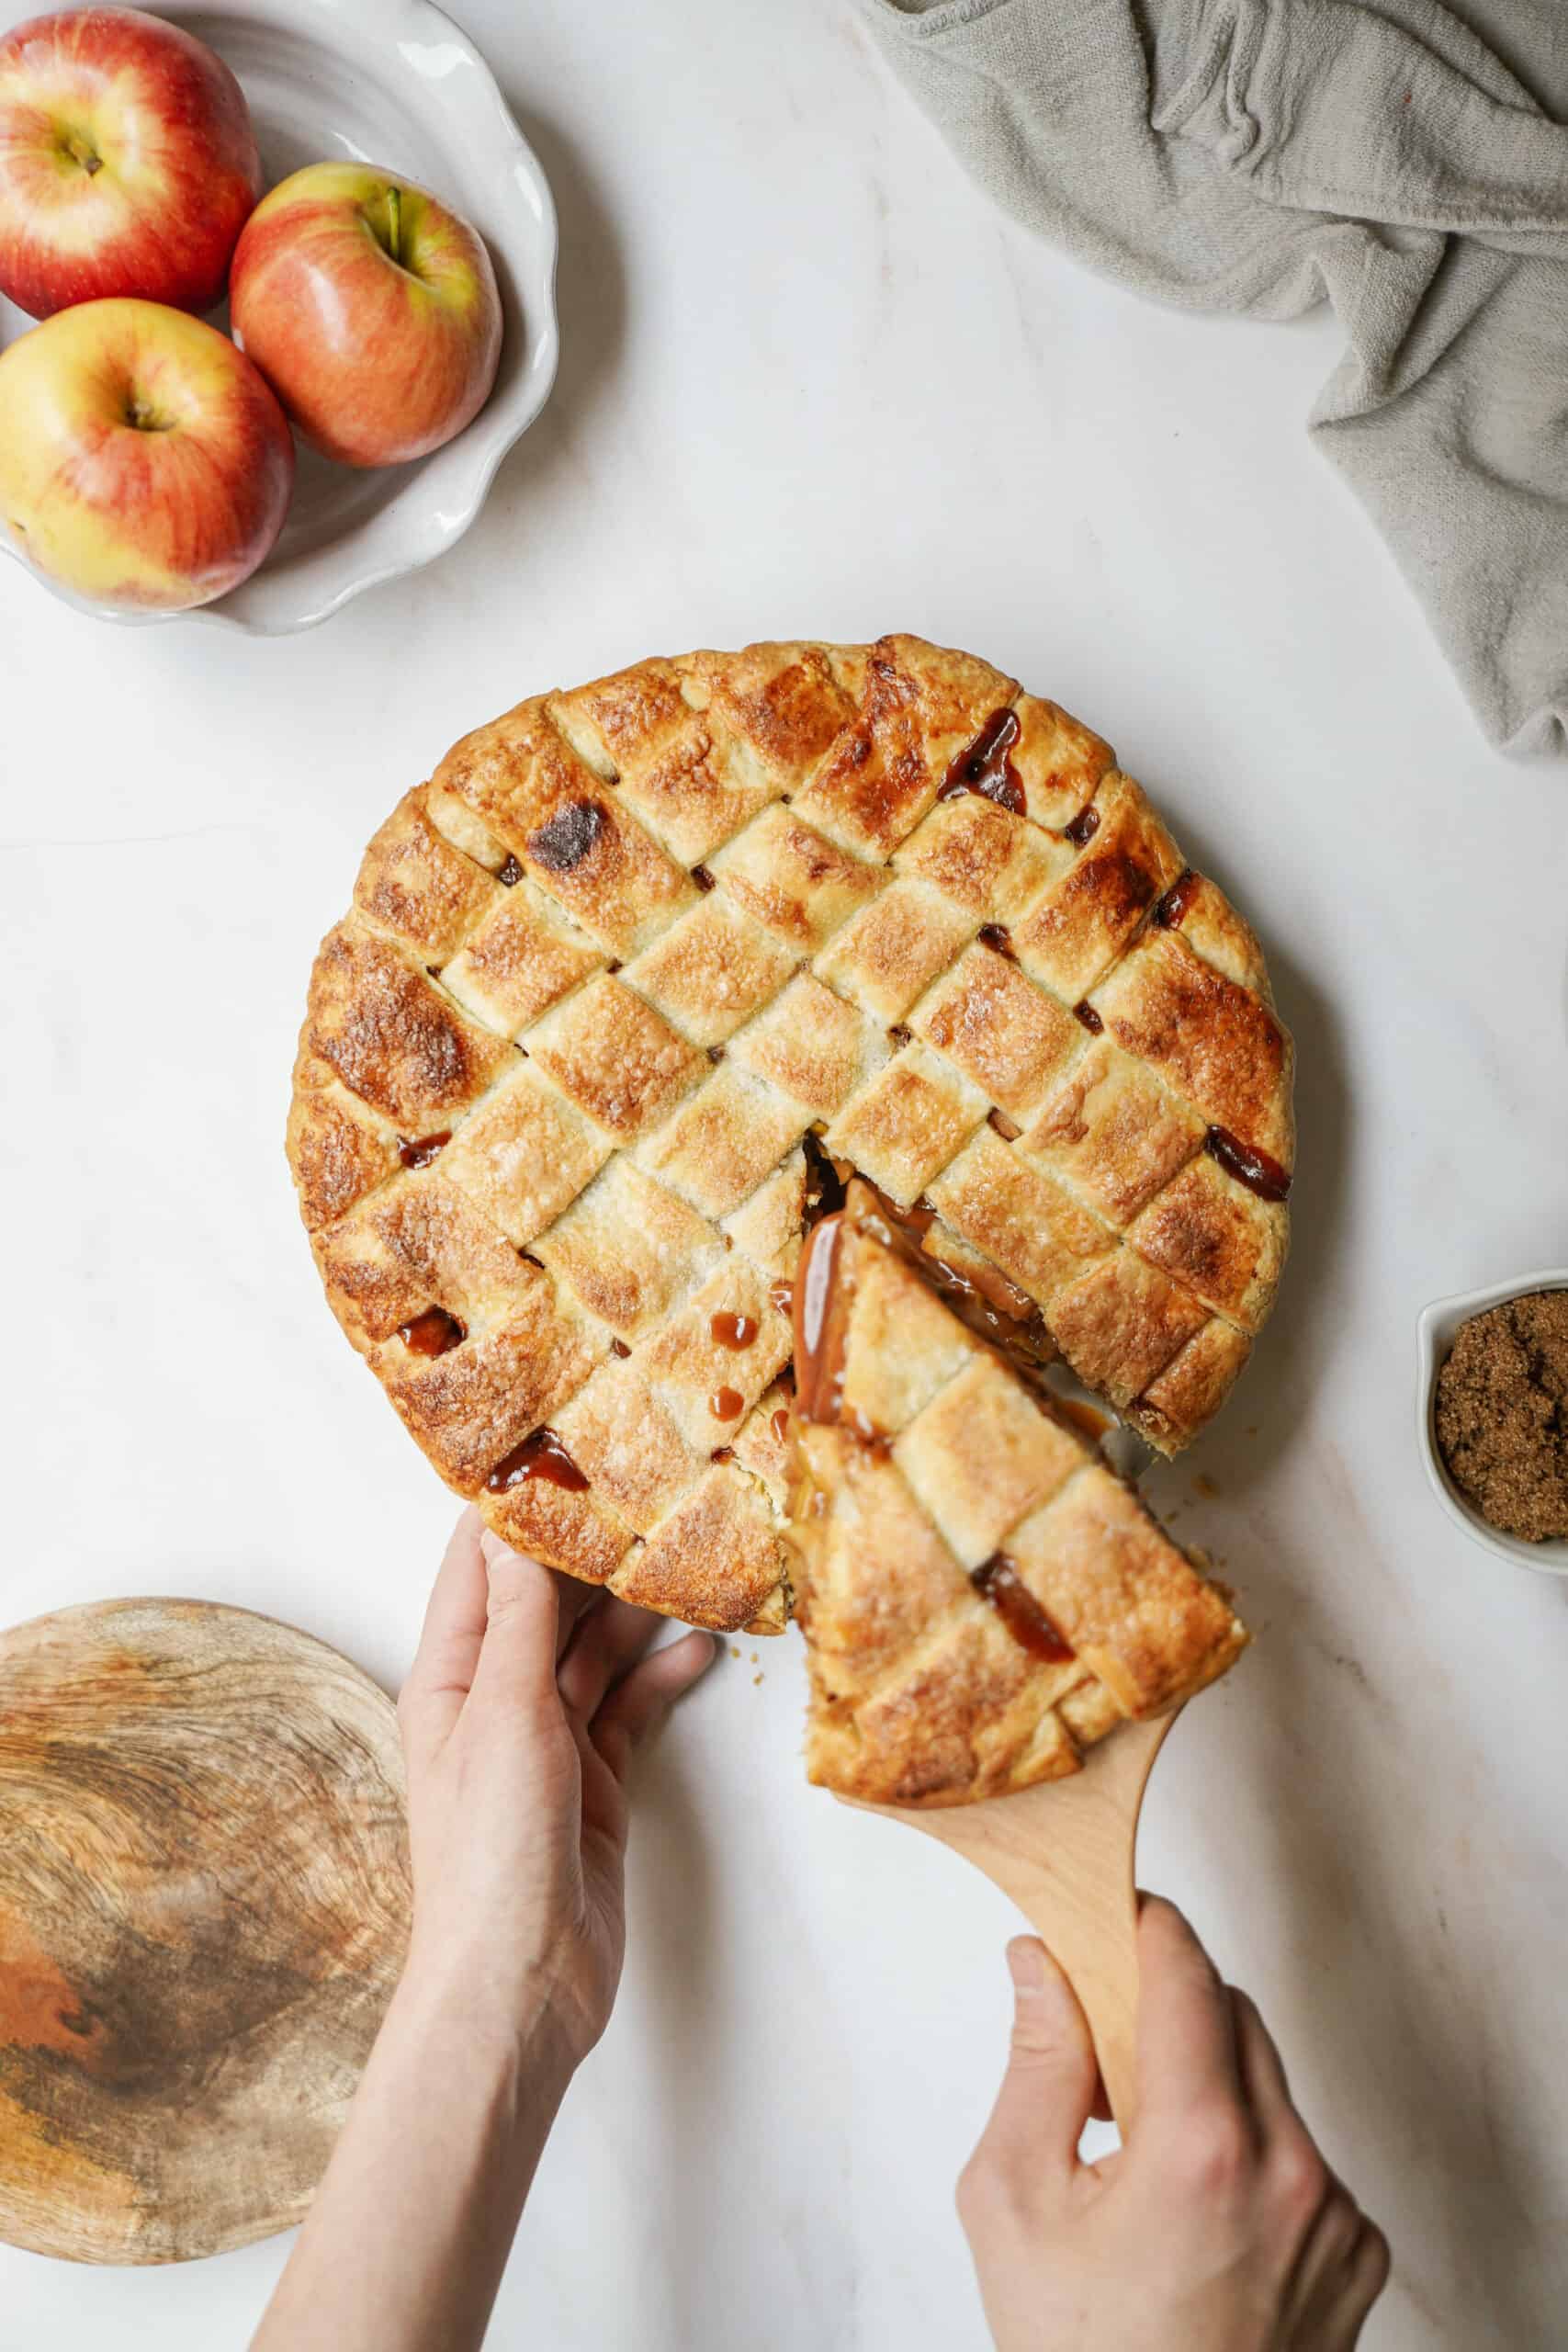
One of the best parts about this time of year is that it’s apple season! Whether you are going apple picking with your family, or just end up with an abundance of apples like I always do, this is the perfect recipe for you. This homemade apple pie will take you right back to when you were a kid and your mom or grandmother would be baking up a warming apple pie in the oven. It’s nostalgic, and delicious.

Why you’ll love this homemade apple pie:
- Nostalgic: Will take you back to having a homemade apple pie at your grandparents or parents house as a kid
- Comforting: The apples combined with the cinnamon are so comforting as the weather gets cooler
- Holiday-friendly: Whether Thanksgiving or Christmas, this pie is a classic dish that the whole family will love

Ingredient Notes:
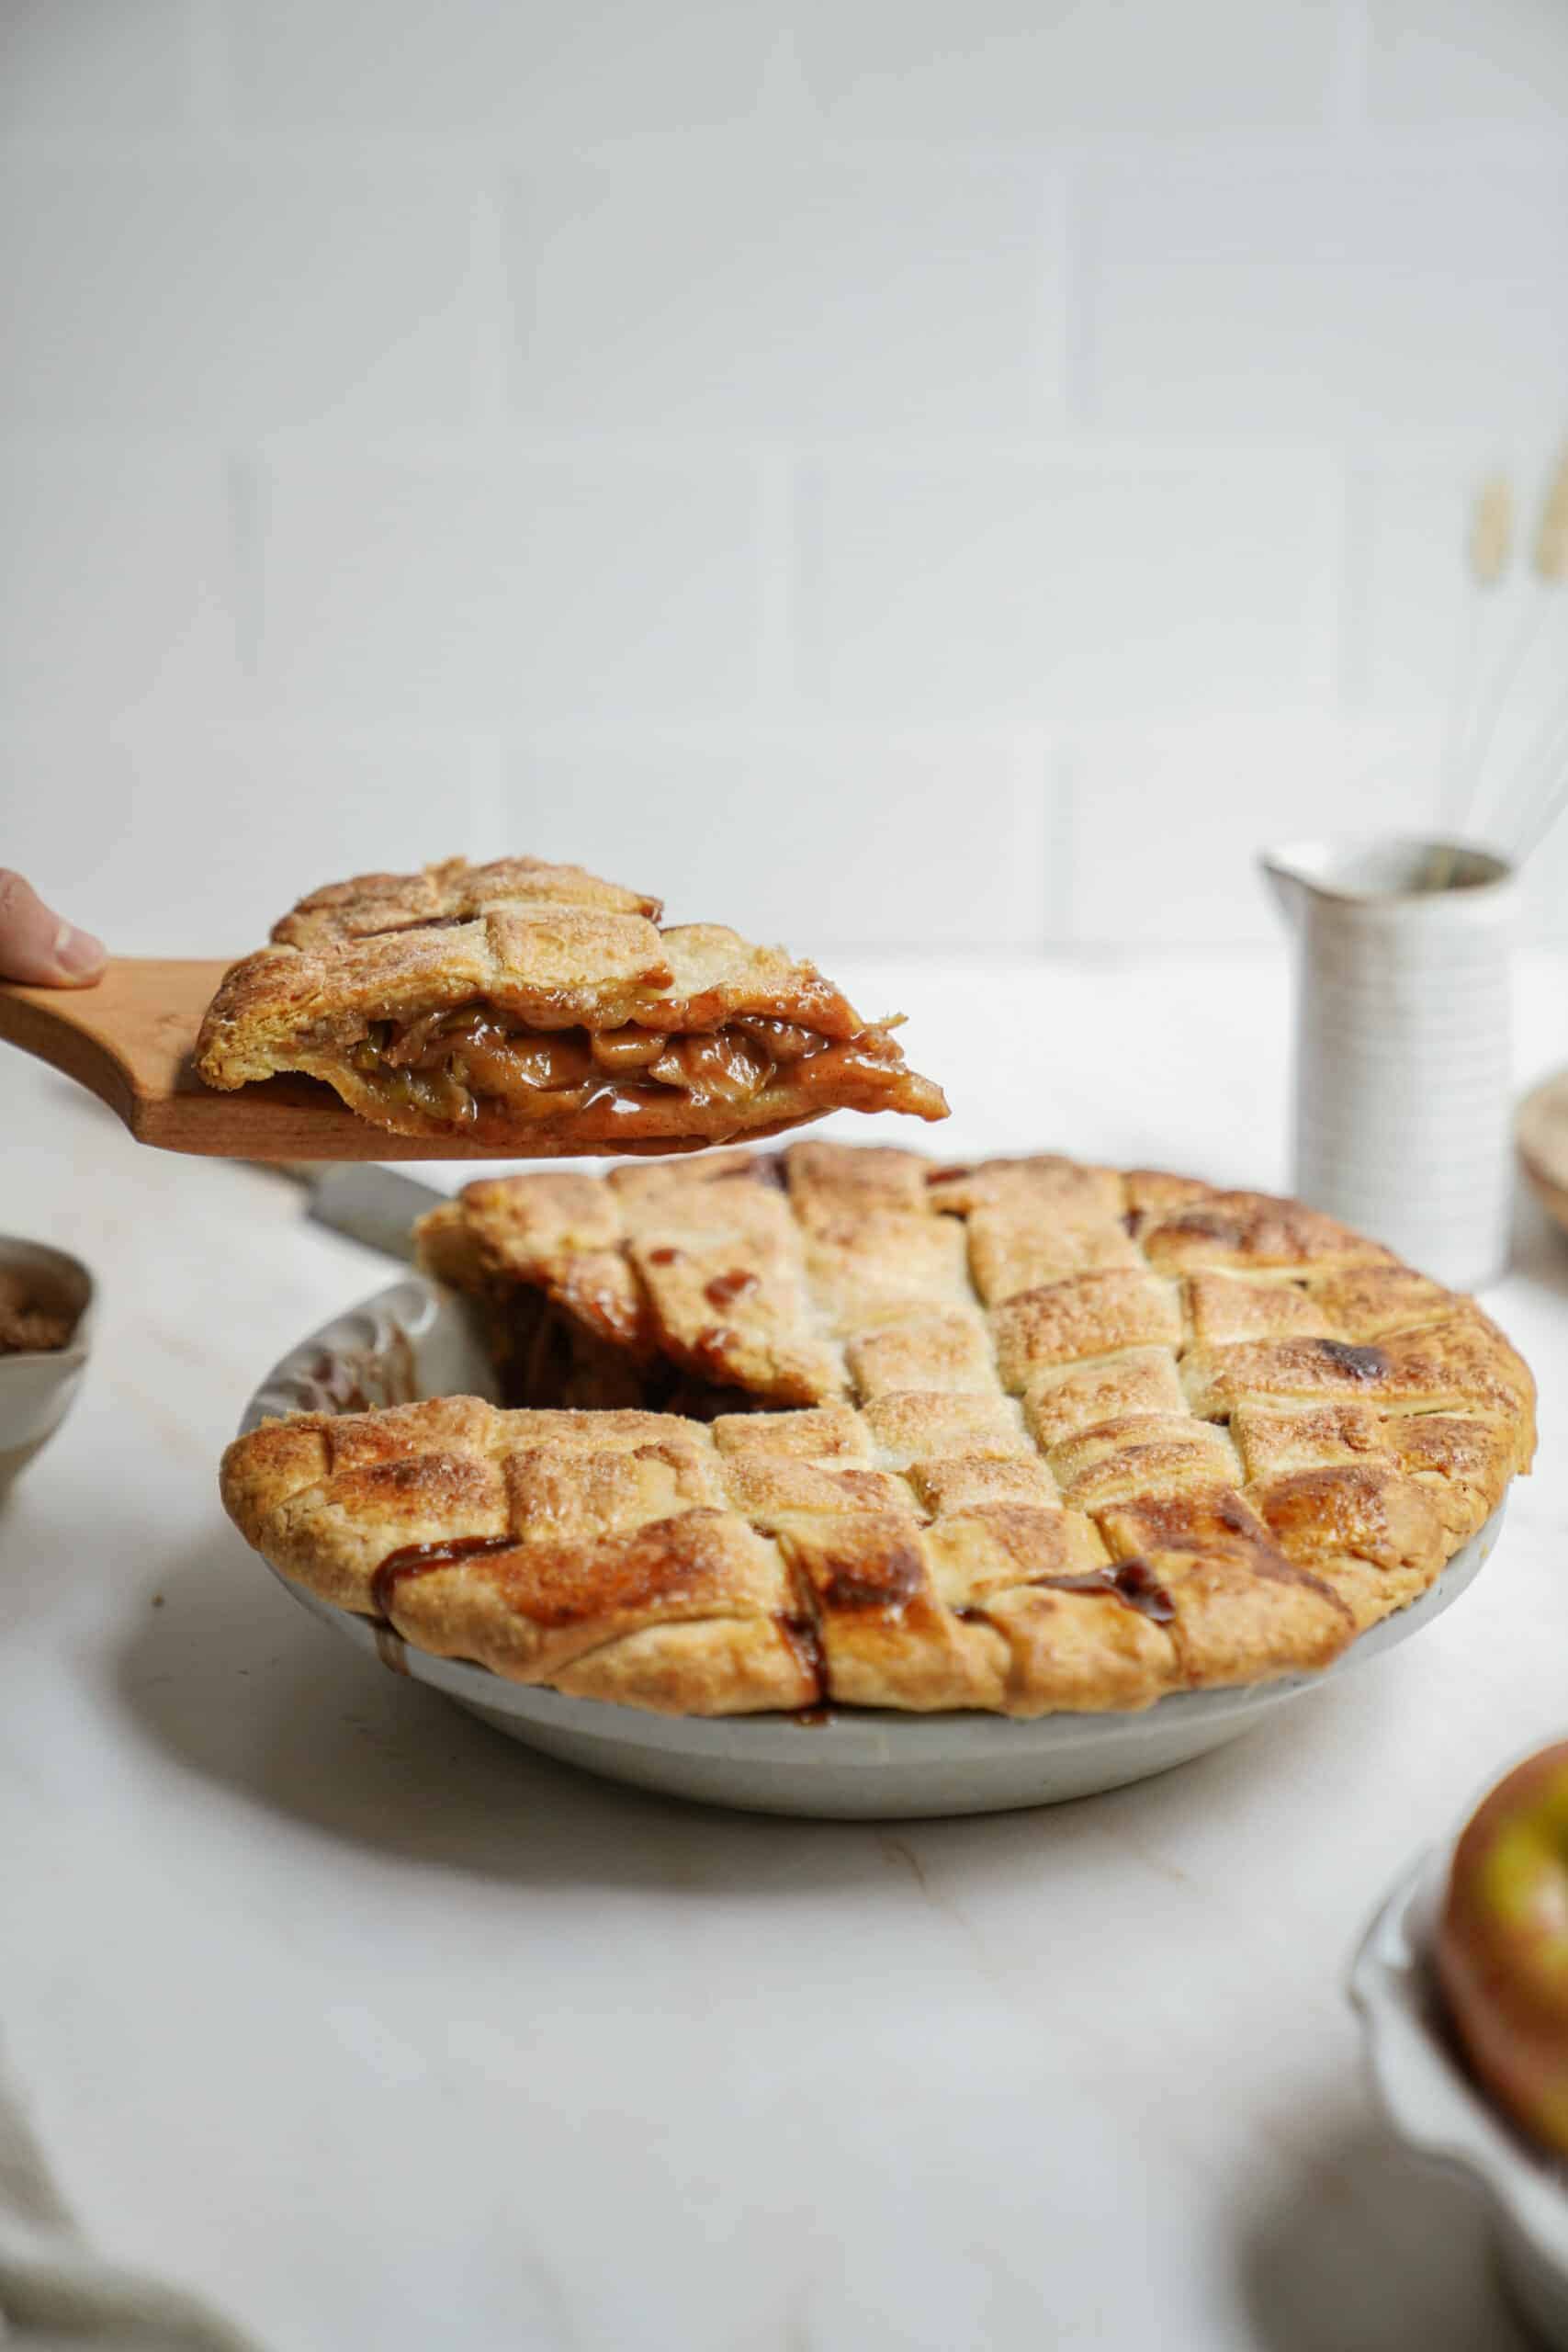
Apples: I love the tartness of Granny Smith apples but you could add in any type of apple here or even a combination of kinds if you have a bunch in your kitchen.
Warming Flavors: What adds the perfect flavor to any apple pie is vanilla, brown sugar, and cinnamon. The combination of these warming flavors is perfect with the apple.
Pie Crust: For many novice pie bakers, making the pie crust can seem very challenging. If you want to cut the time of making this pie down, you can always buy store-bought crust, but of course, nothing beats homemade crust!
How do you make homemade apple pie crust?
1. In a large bowl, add the flour and cut the cold butter into small cubes. Using a pastry cutter or hand mixer, incorporate the butter, breaking it into smaller pieces until it resembles coarse sand.
2. Dissolve the salt in the ice-cold water, and add to the large bowl.
3. Mix by hand until it forms a dough. Do not overmix.
4. Cover in plastic wrap and let the dough rest for 30 – 45 minutes in the fridge.
5. For the filling, core the apples and cut them into thin, 1/8-inch slices. Set aside.
6. In a large pot, melt the butter over medium-high heat and add the sliced apples.
7. Stir and cook the apples for 3-5 minutes until slightly soft.
8. Add the brown sugar, lemon juice, cinnamon, and vanilla, and cook for another 5 minutes.
9. In a small bowl, whisk together the granulated sugar and all-purpose flour.
10. Sprinkle this mixture over the apples and stir well until the mixture thickens, being approximately 3 minutes.
11. Transfer the filling to a large shallow dish, and allow it to cool completely in the fridge.
12. Remove the pie dough from the fridge and cut the dough in half keeping one half out and placing the other back in the fridge.
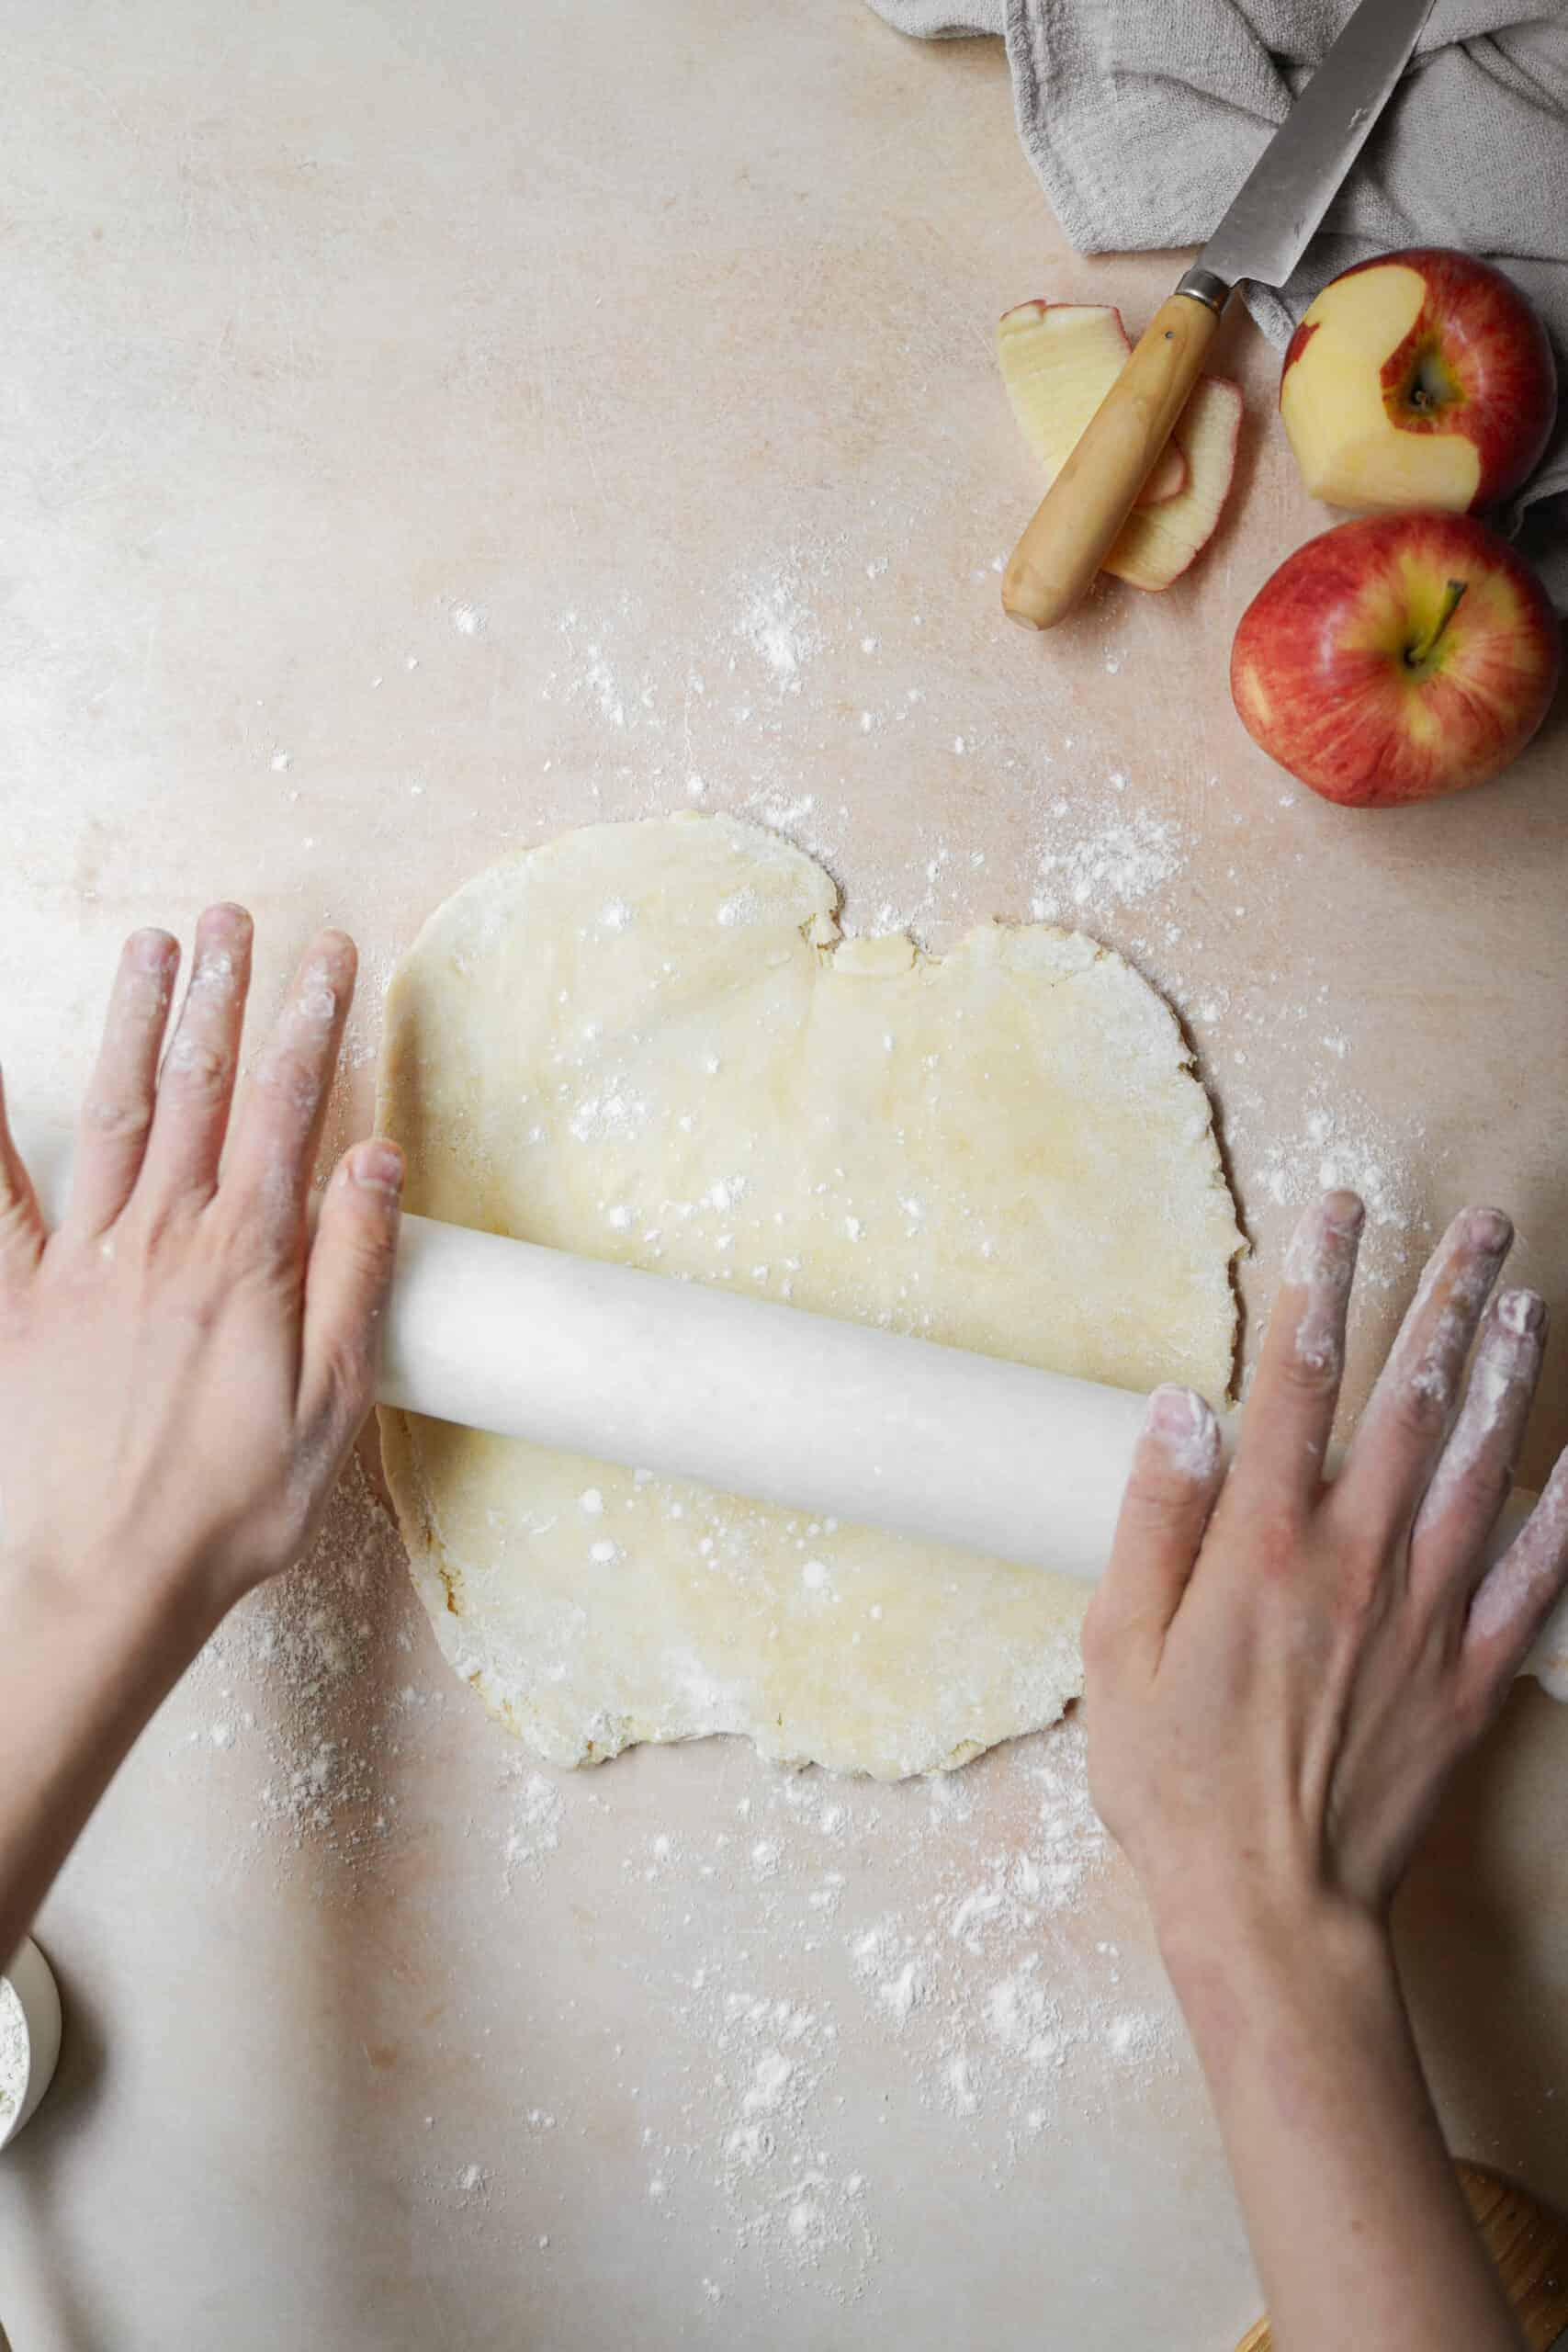
13. On a lightly floured surface, roll out the pie dough to about 12 – 13 inches in diameter.
14. Place the rolled-out dough into the pie dish, gently pressing so that it lines the bottom and the sides of the dish. Do this without pulling or stretching the dough.
15. Using scissors or a paring knife, trim the edges of the dough within ¼ – ½ inches of the edge of the dish.
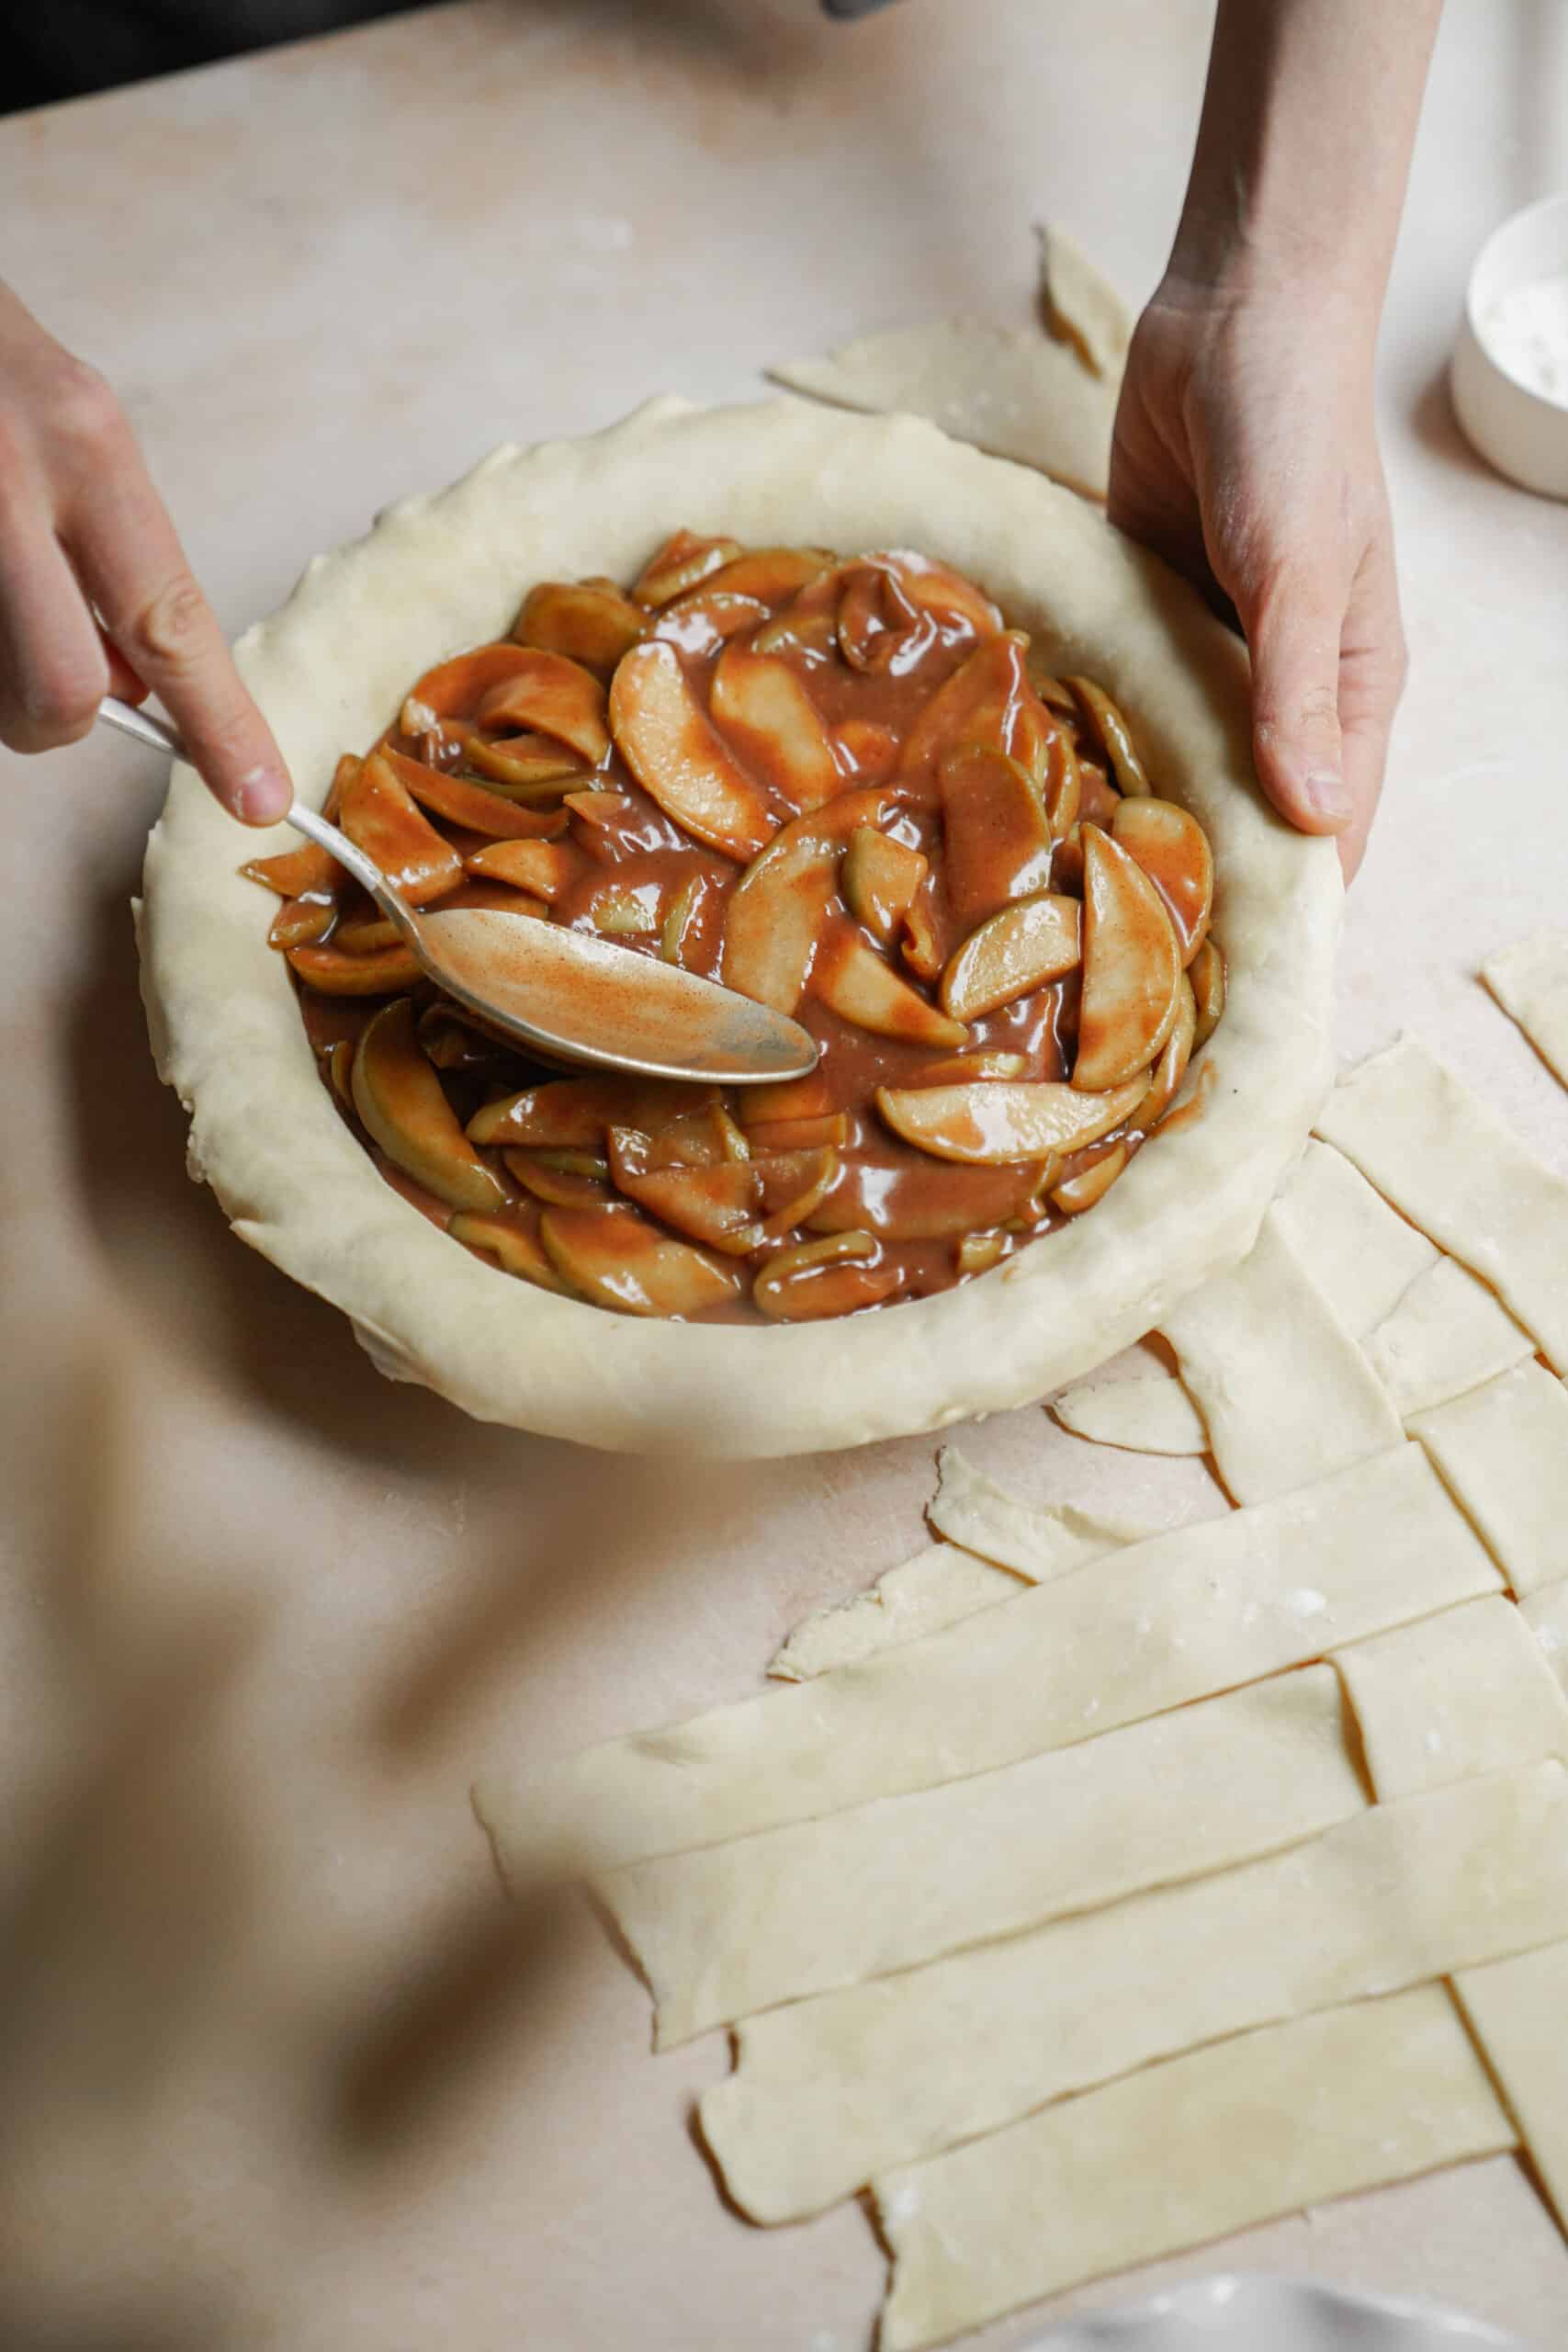
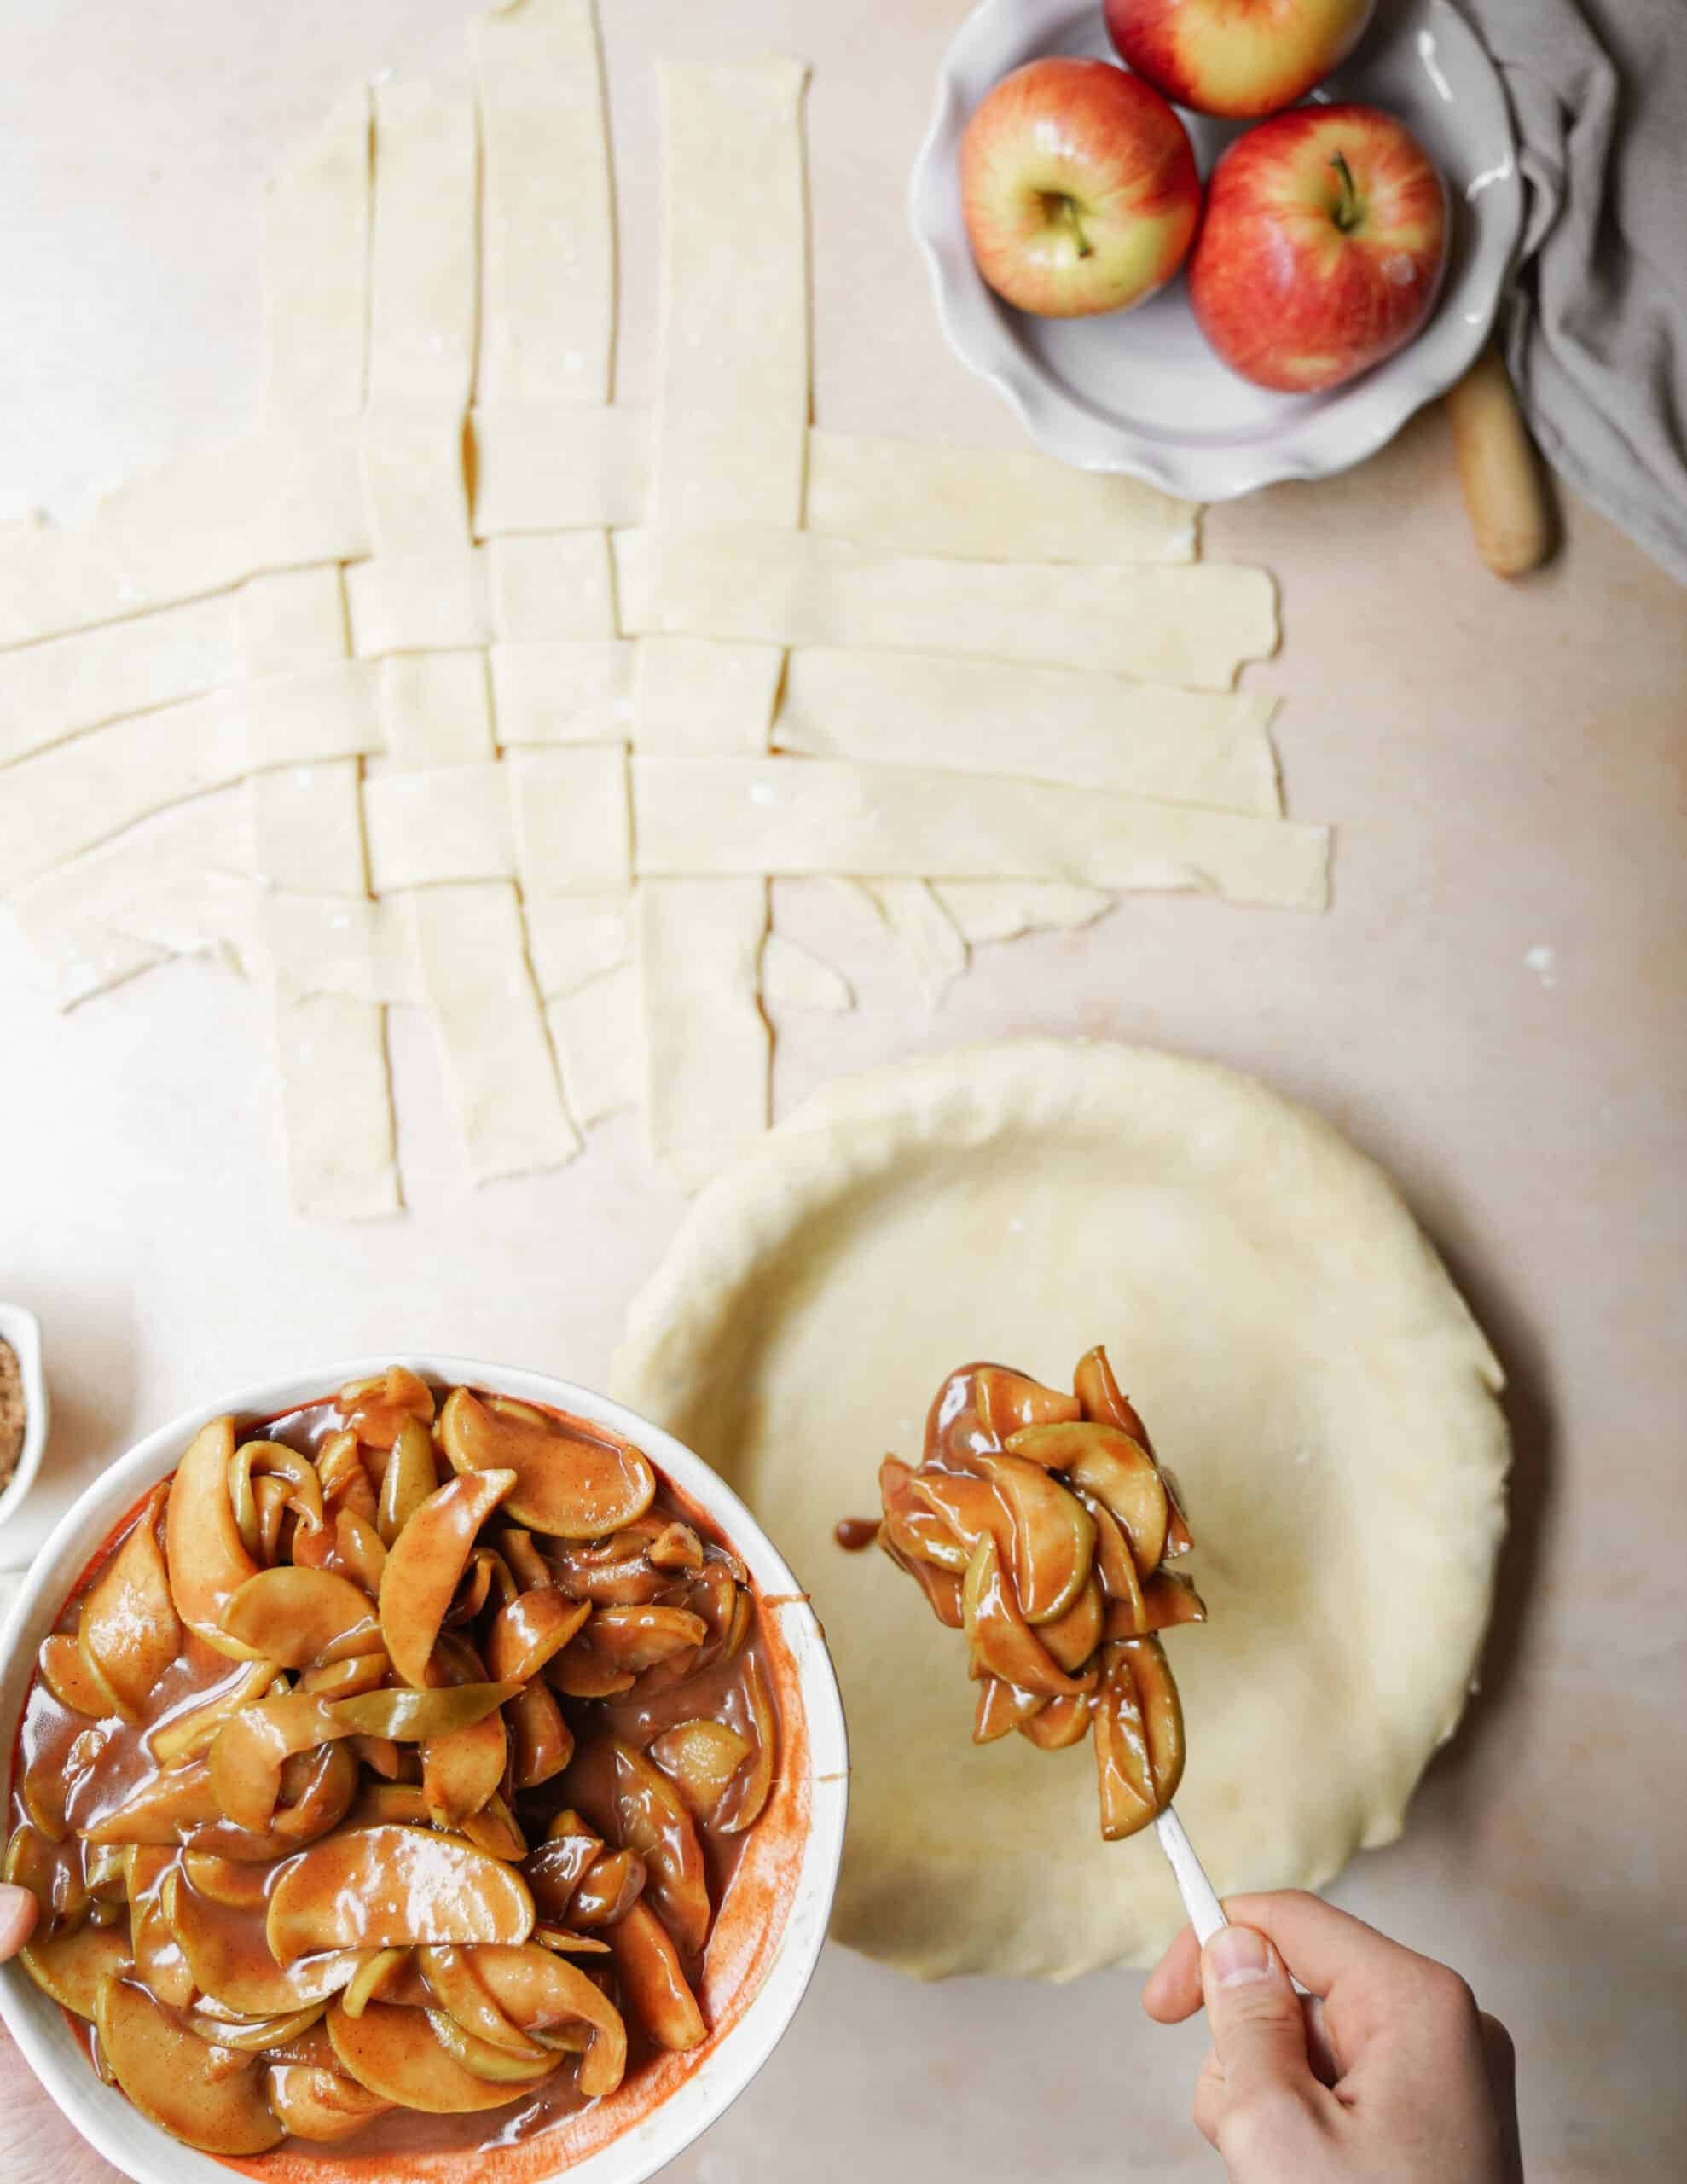
16. Transfer the cooled apple filling to the bottom of the prepared crust, packing it firmly and tightly, eliminating air pockets. This will ensure the filling doesn’t pull away from the crust when it bakes.
17. Remove the second half of the pie dough from the fridge and roll out to approximately 10 x 15 inches in size.
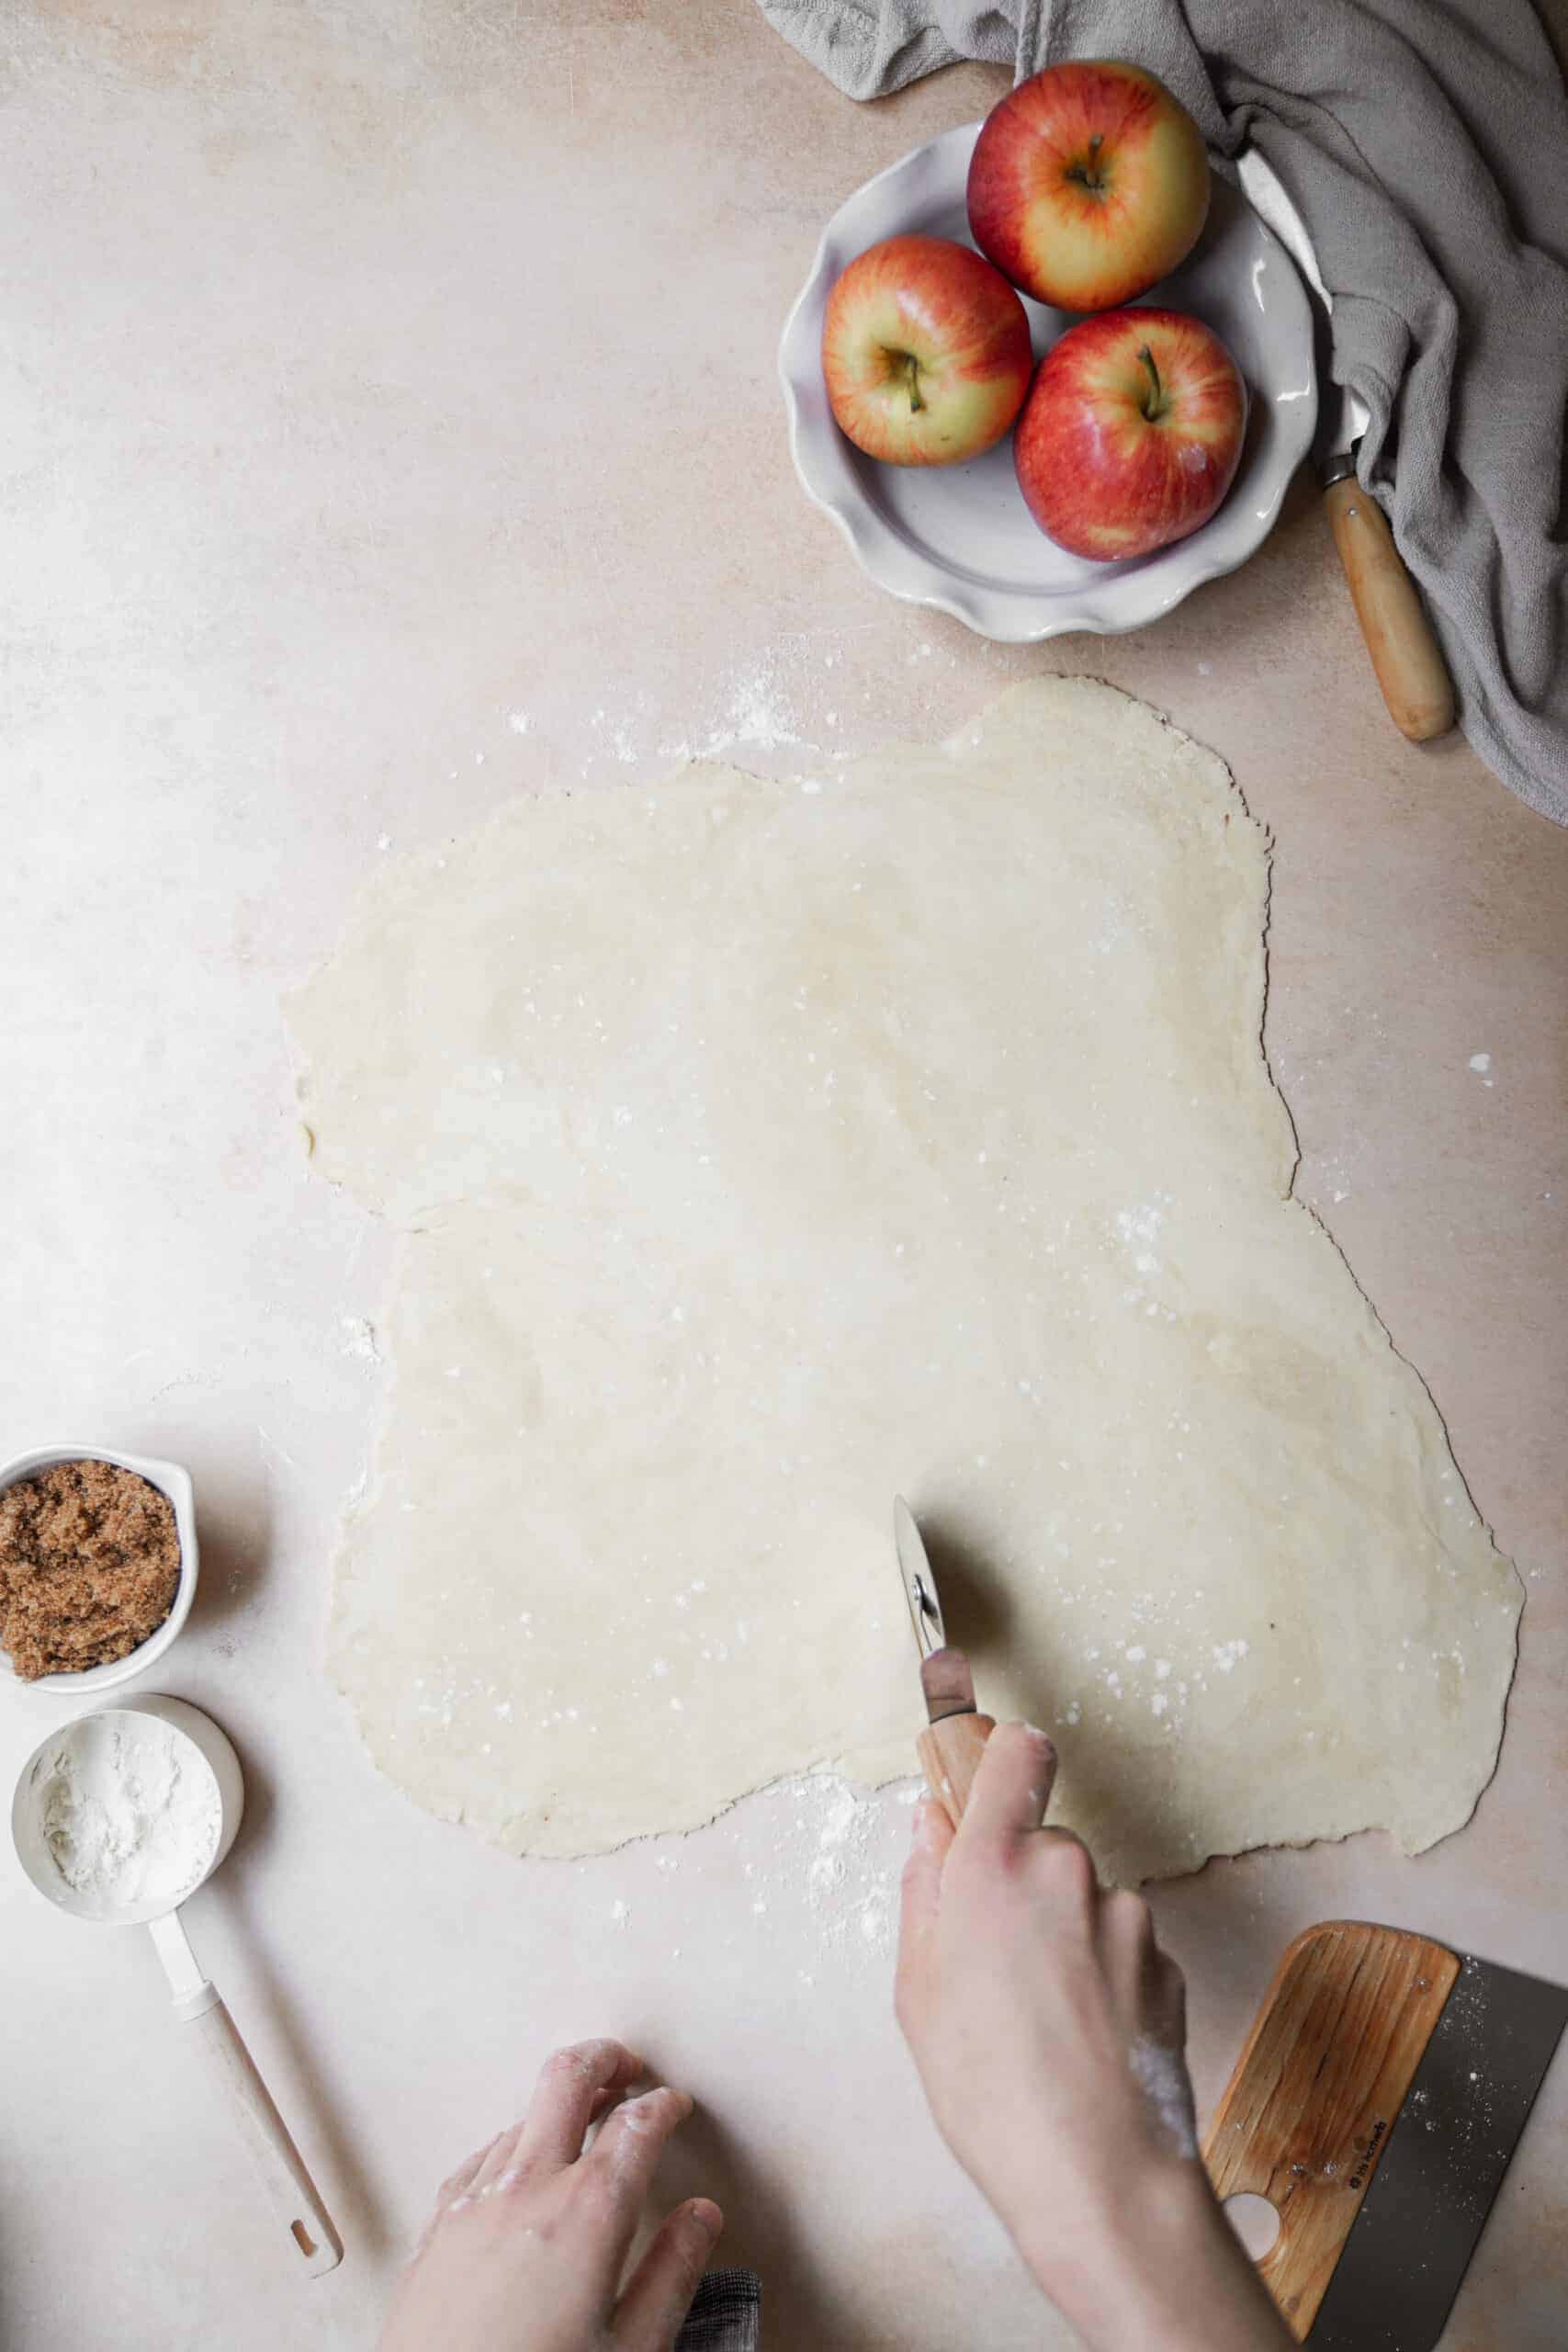
18. Using a pizza cutter or large knife, along the length side, cut the dough into 1 – 1 ½ inch strips.
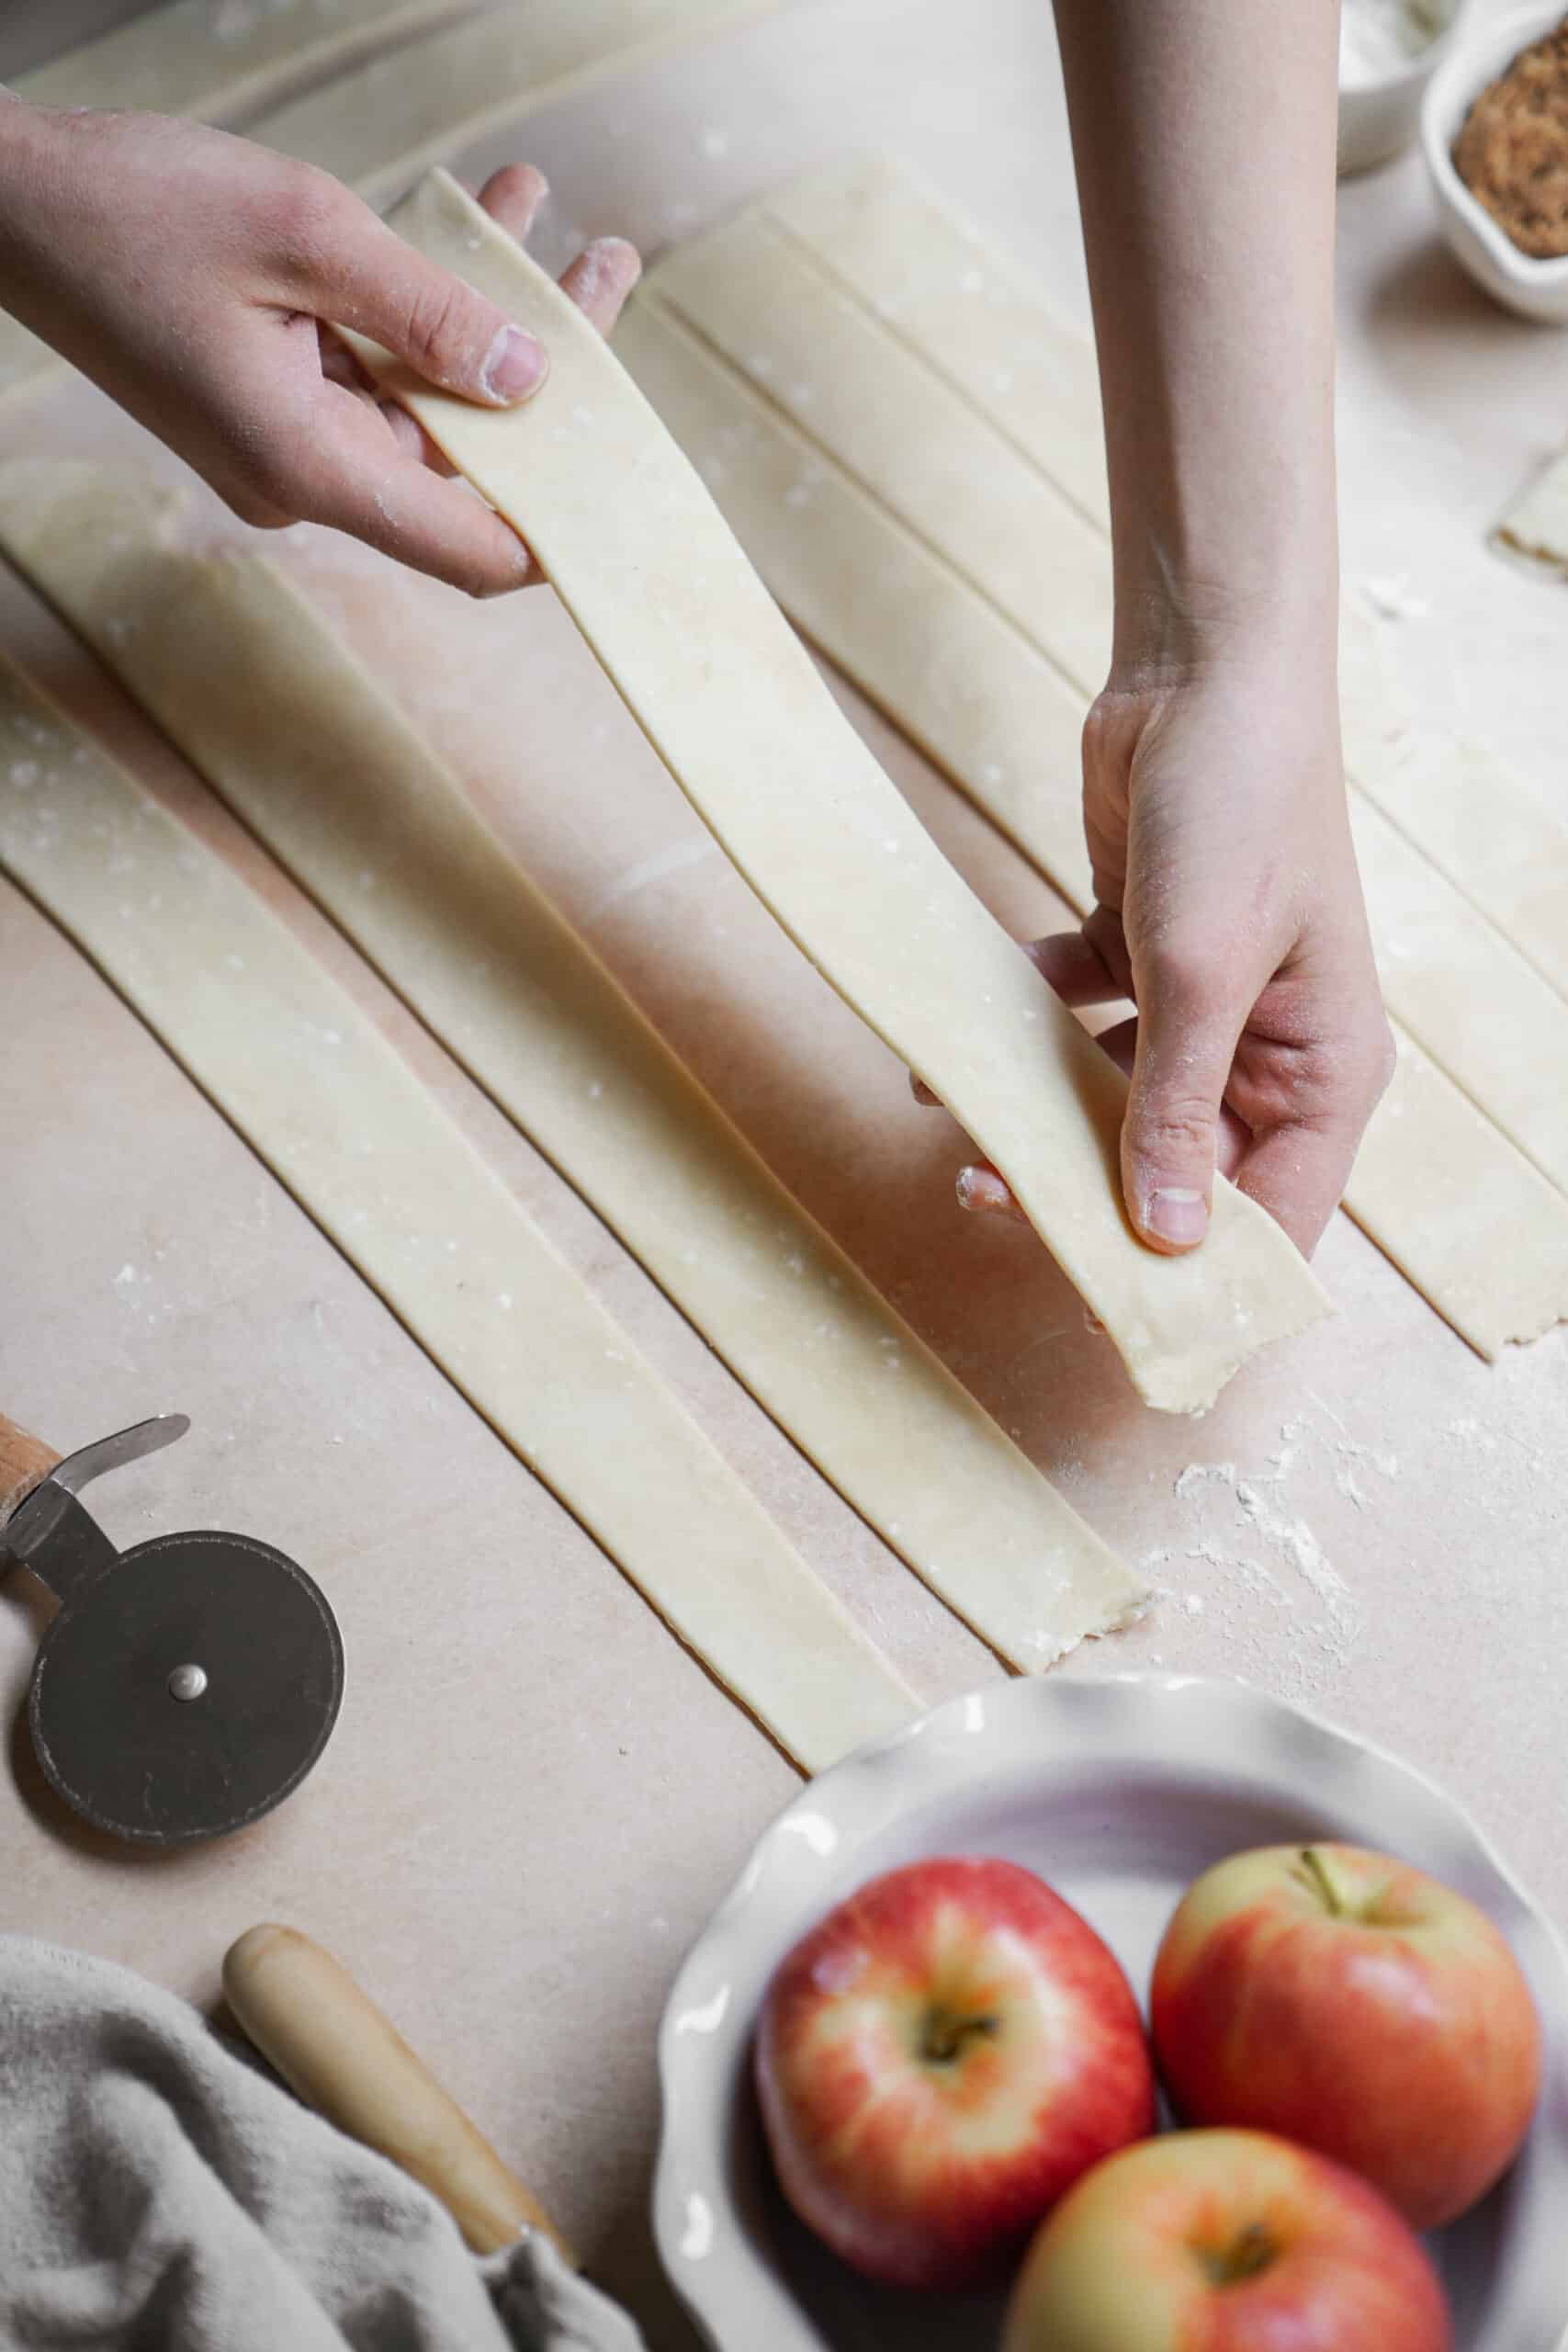
19. Lay 6 strips side-by-side on a lightly floured surface. Use longer strips in the middle, and the shorter ones on the ends.
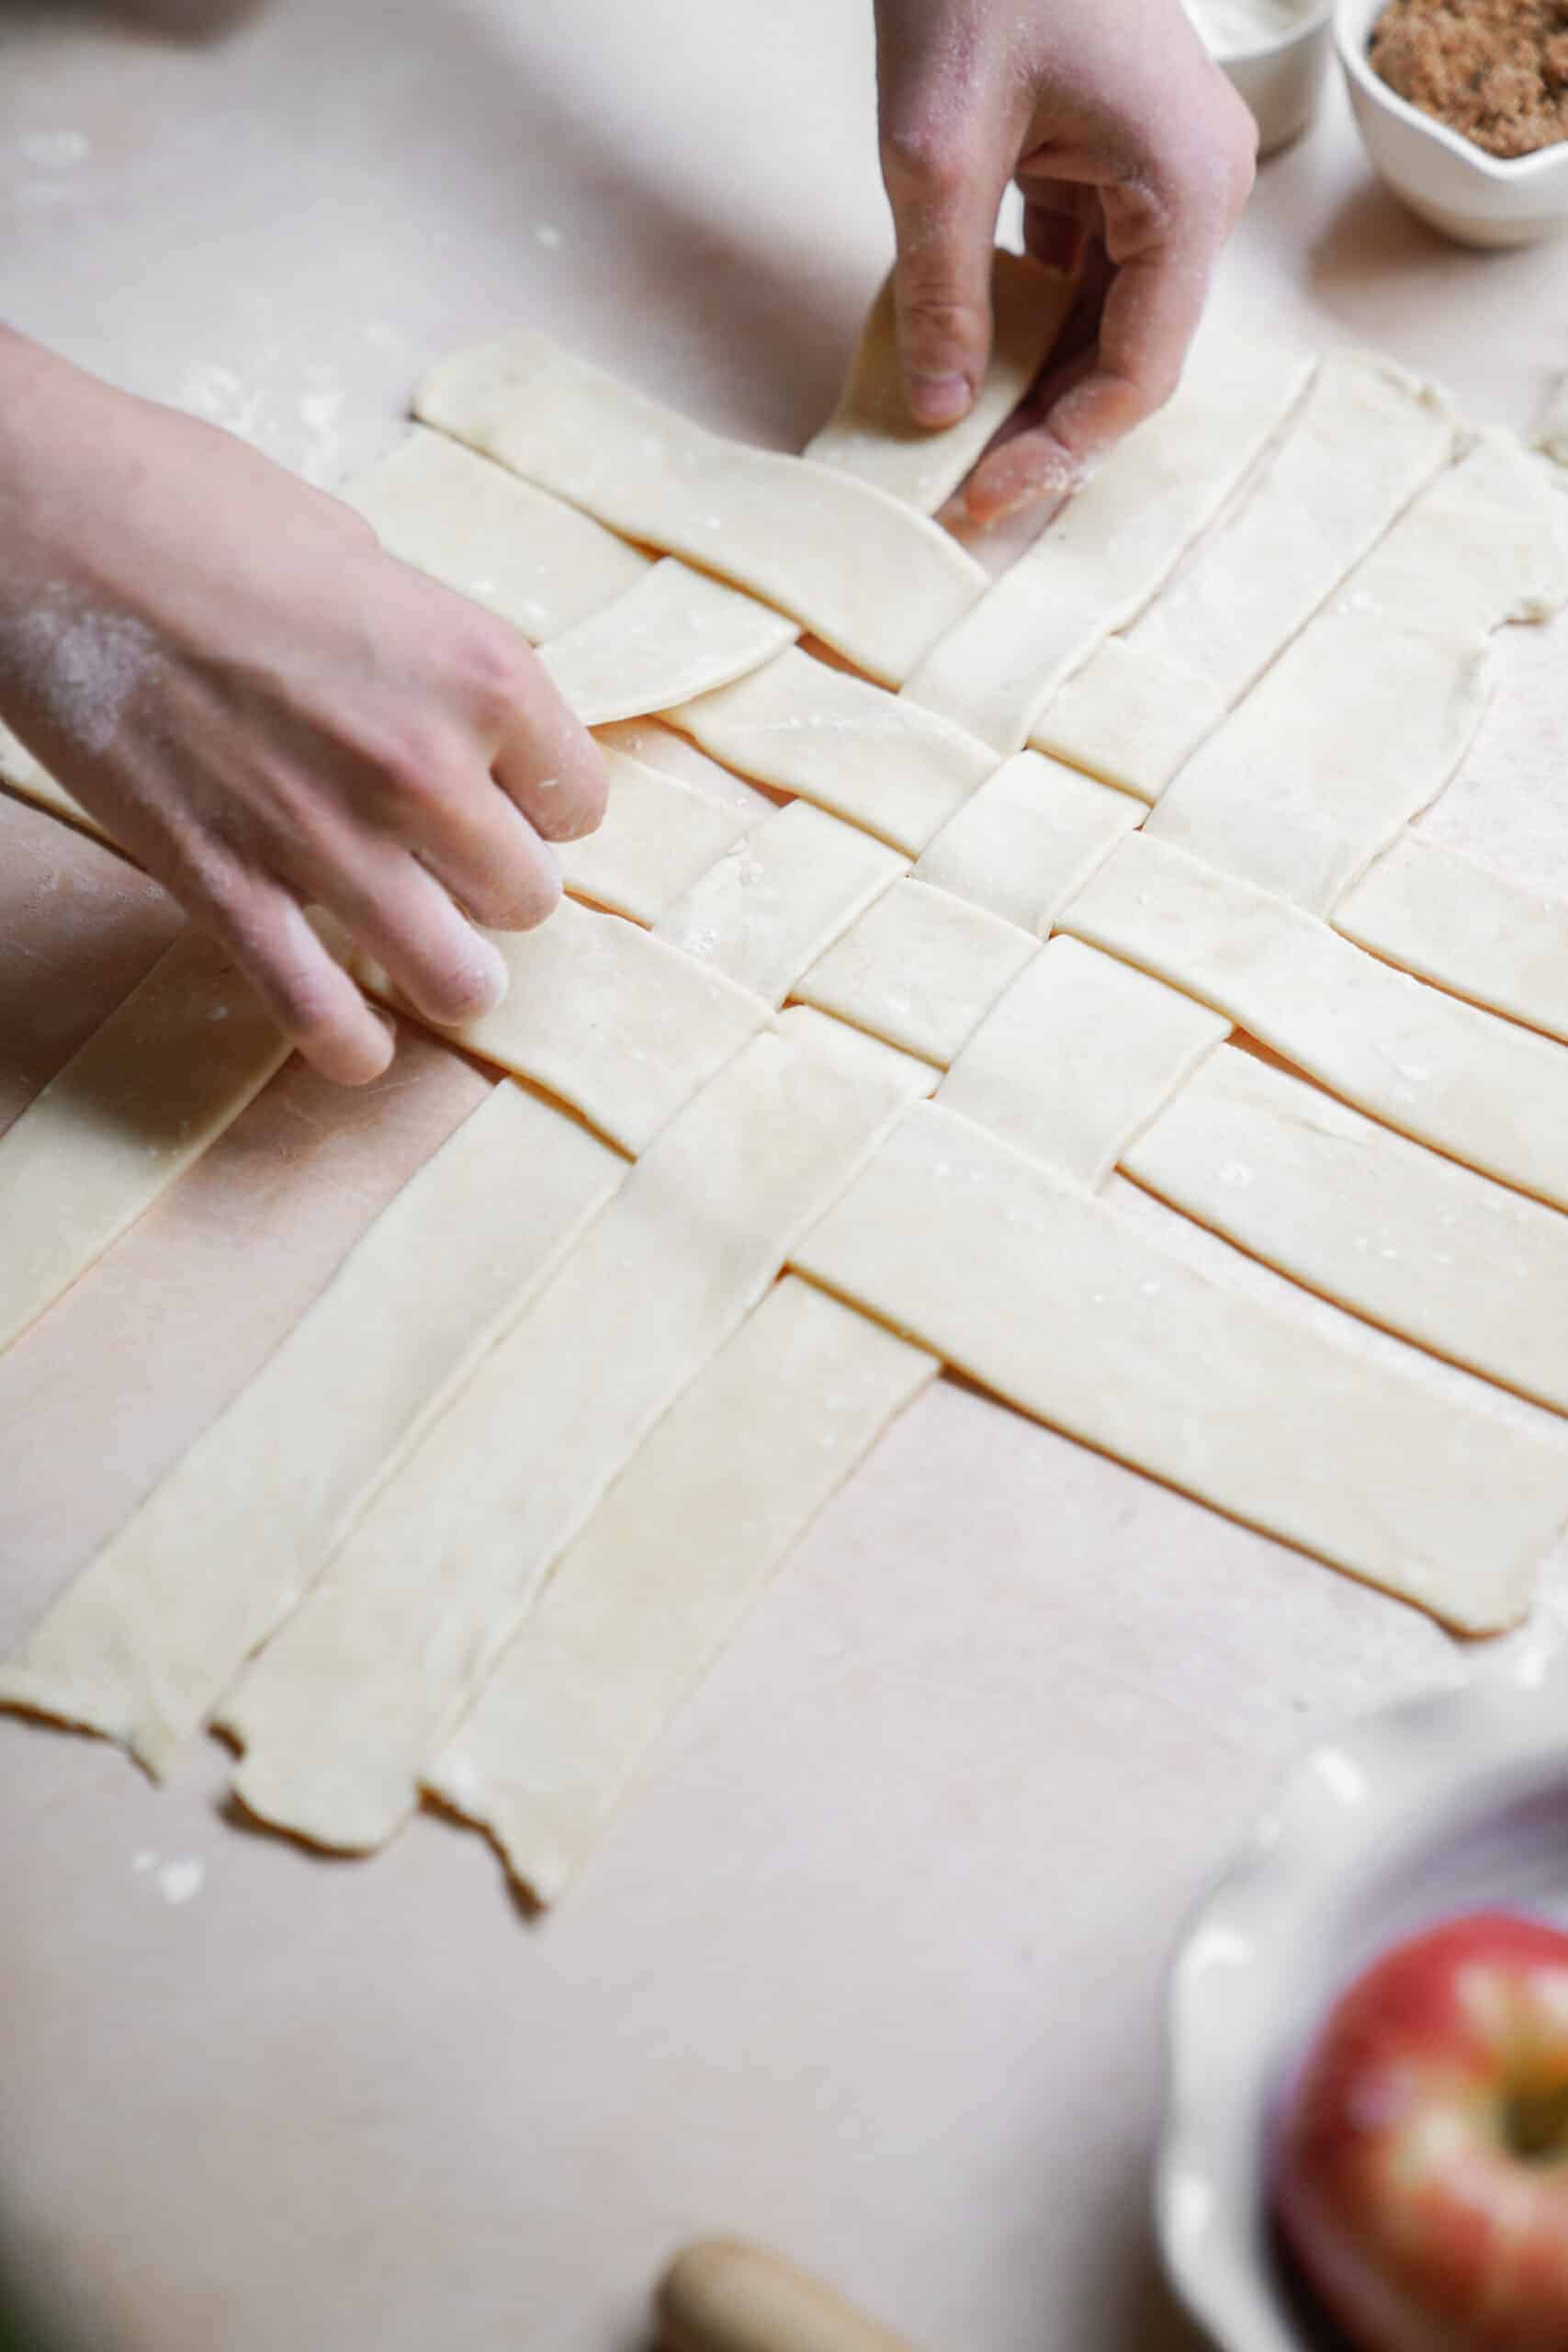
20. Fold 3 of the vertical strips back, laying a new strip perpendicular on top.
21. Unfold the 3 vertical strips so they lay over top of the new strip. Repeat this step, alternating the folded-up strips to create your basket weave! Once you are happy with your base design, very carefully transfer to the top of your pie. Use all extra pieces to fill any empty spaces!
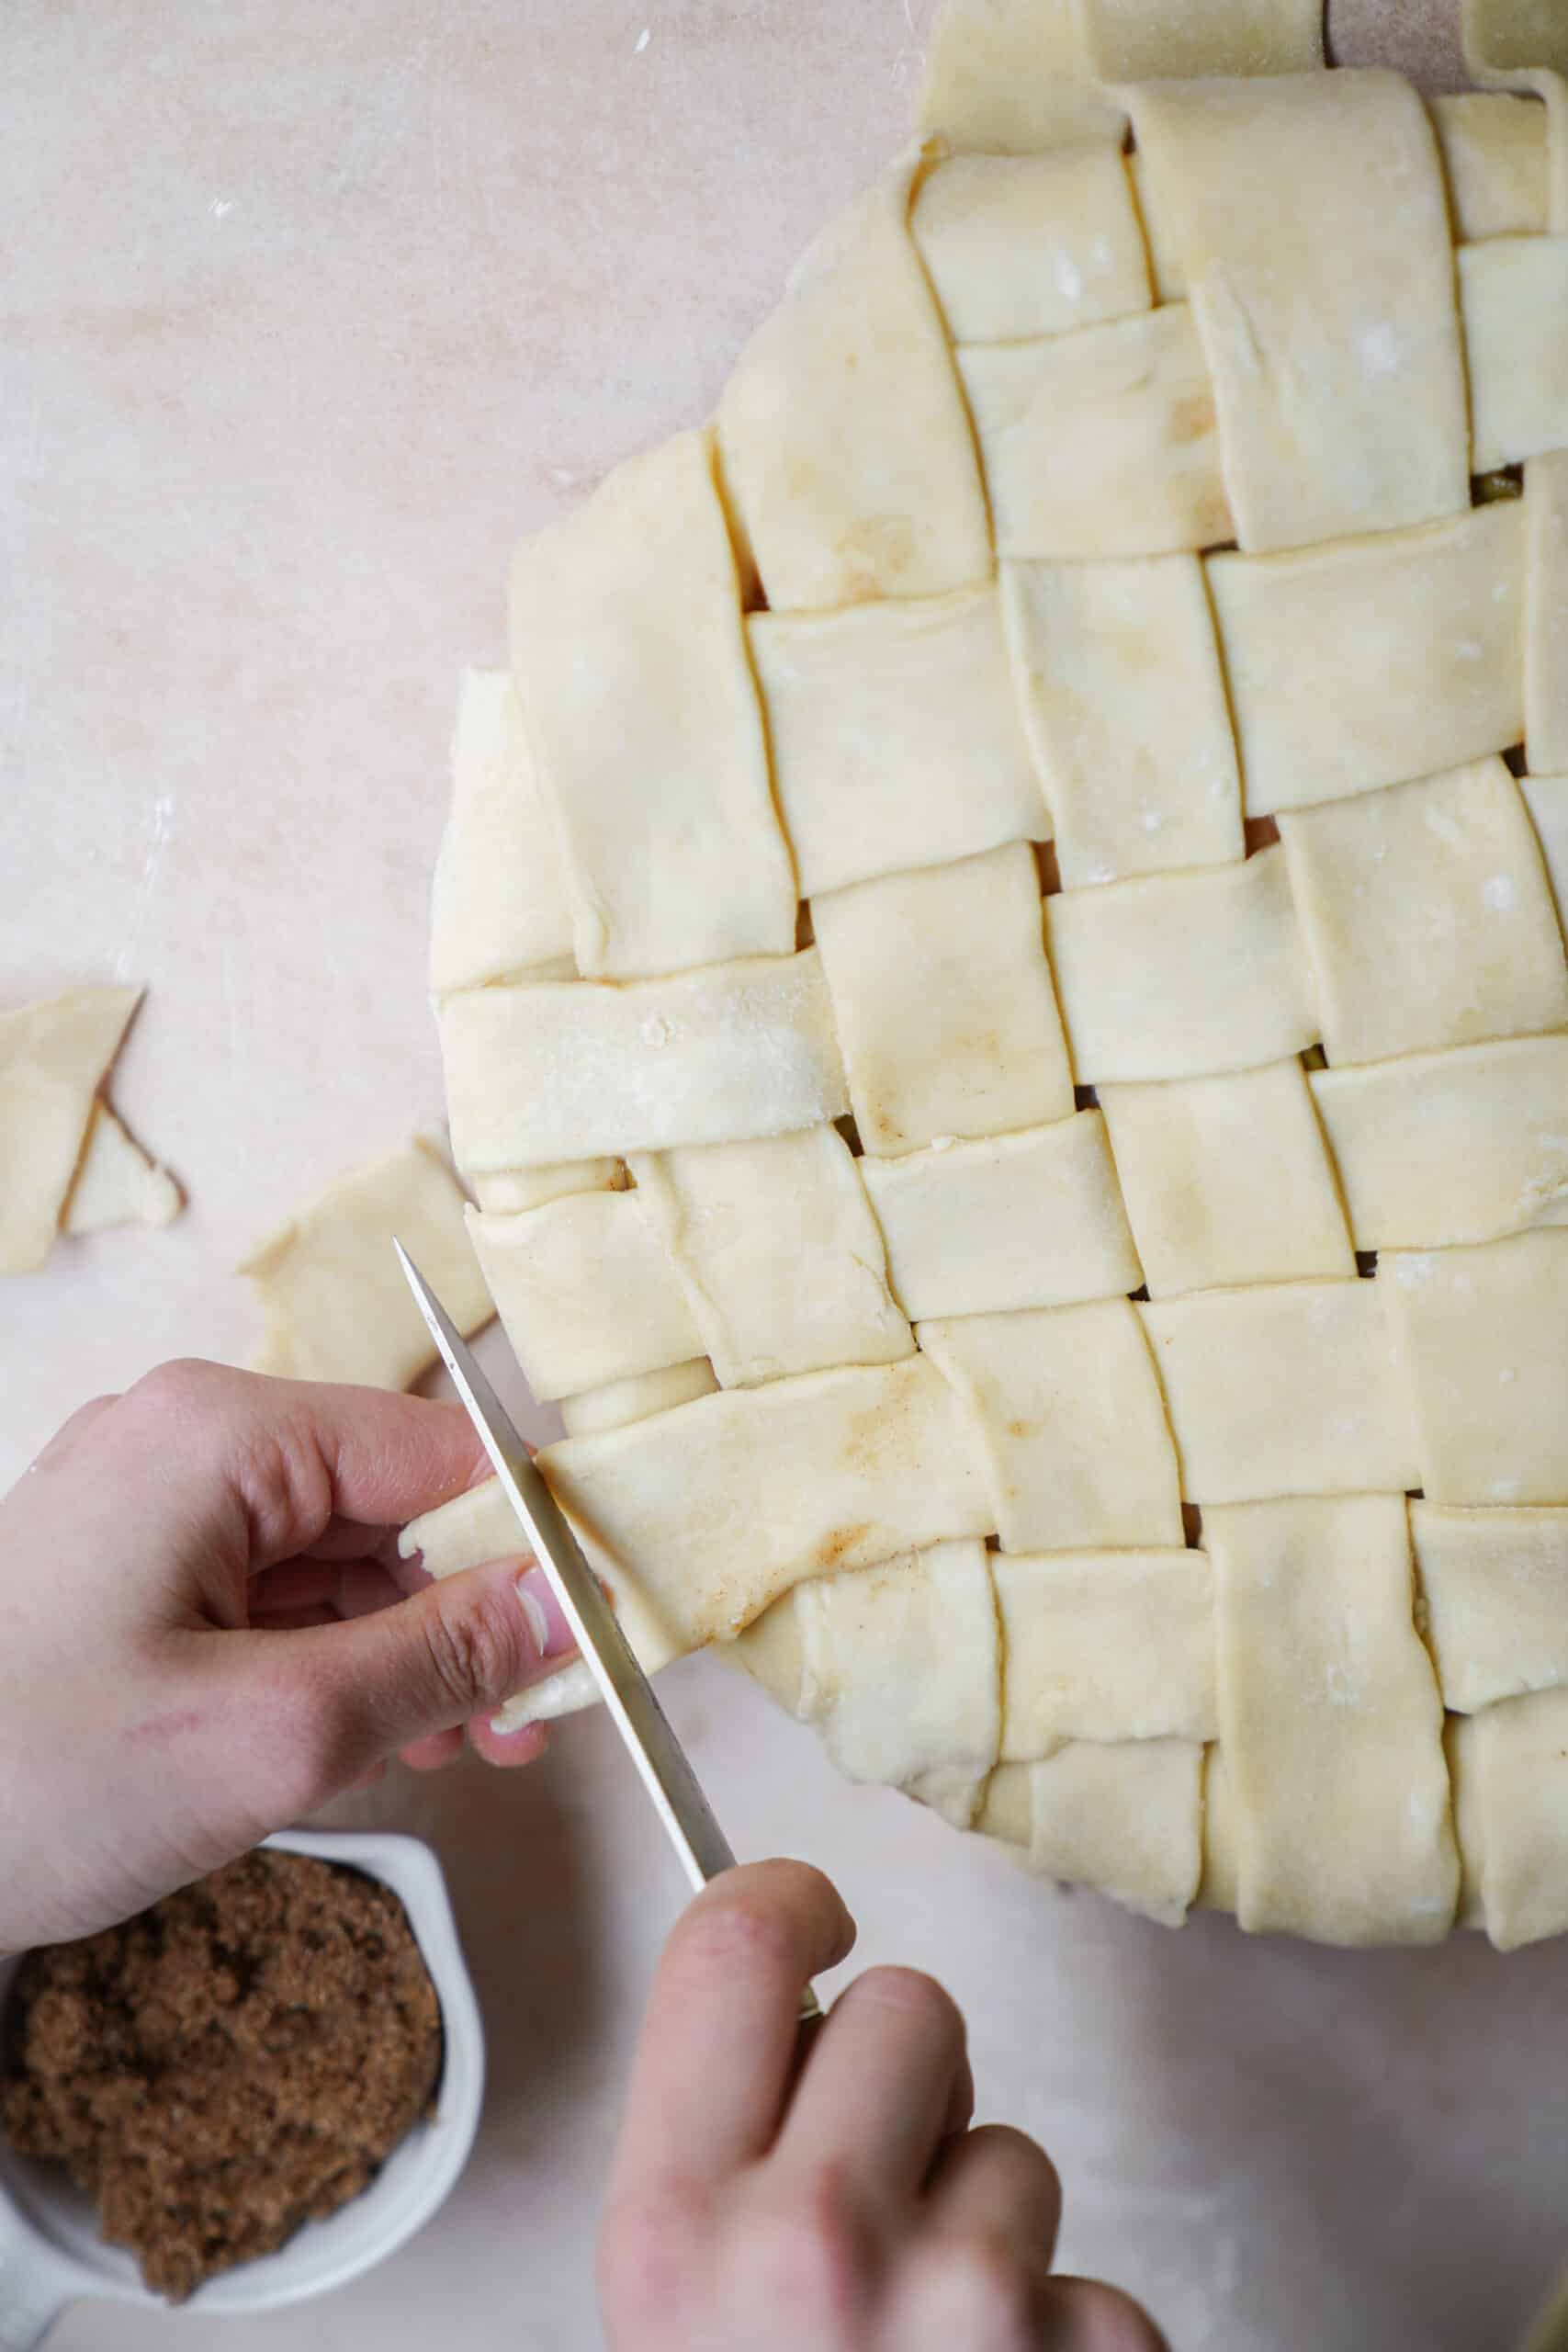
22. Again, with scissors or a paring knife, trim the edges of the dough within ¼ – ½ inches of the dish.
23. In a small bowl, whisk together the egg and milk to create your egg wash.
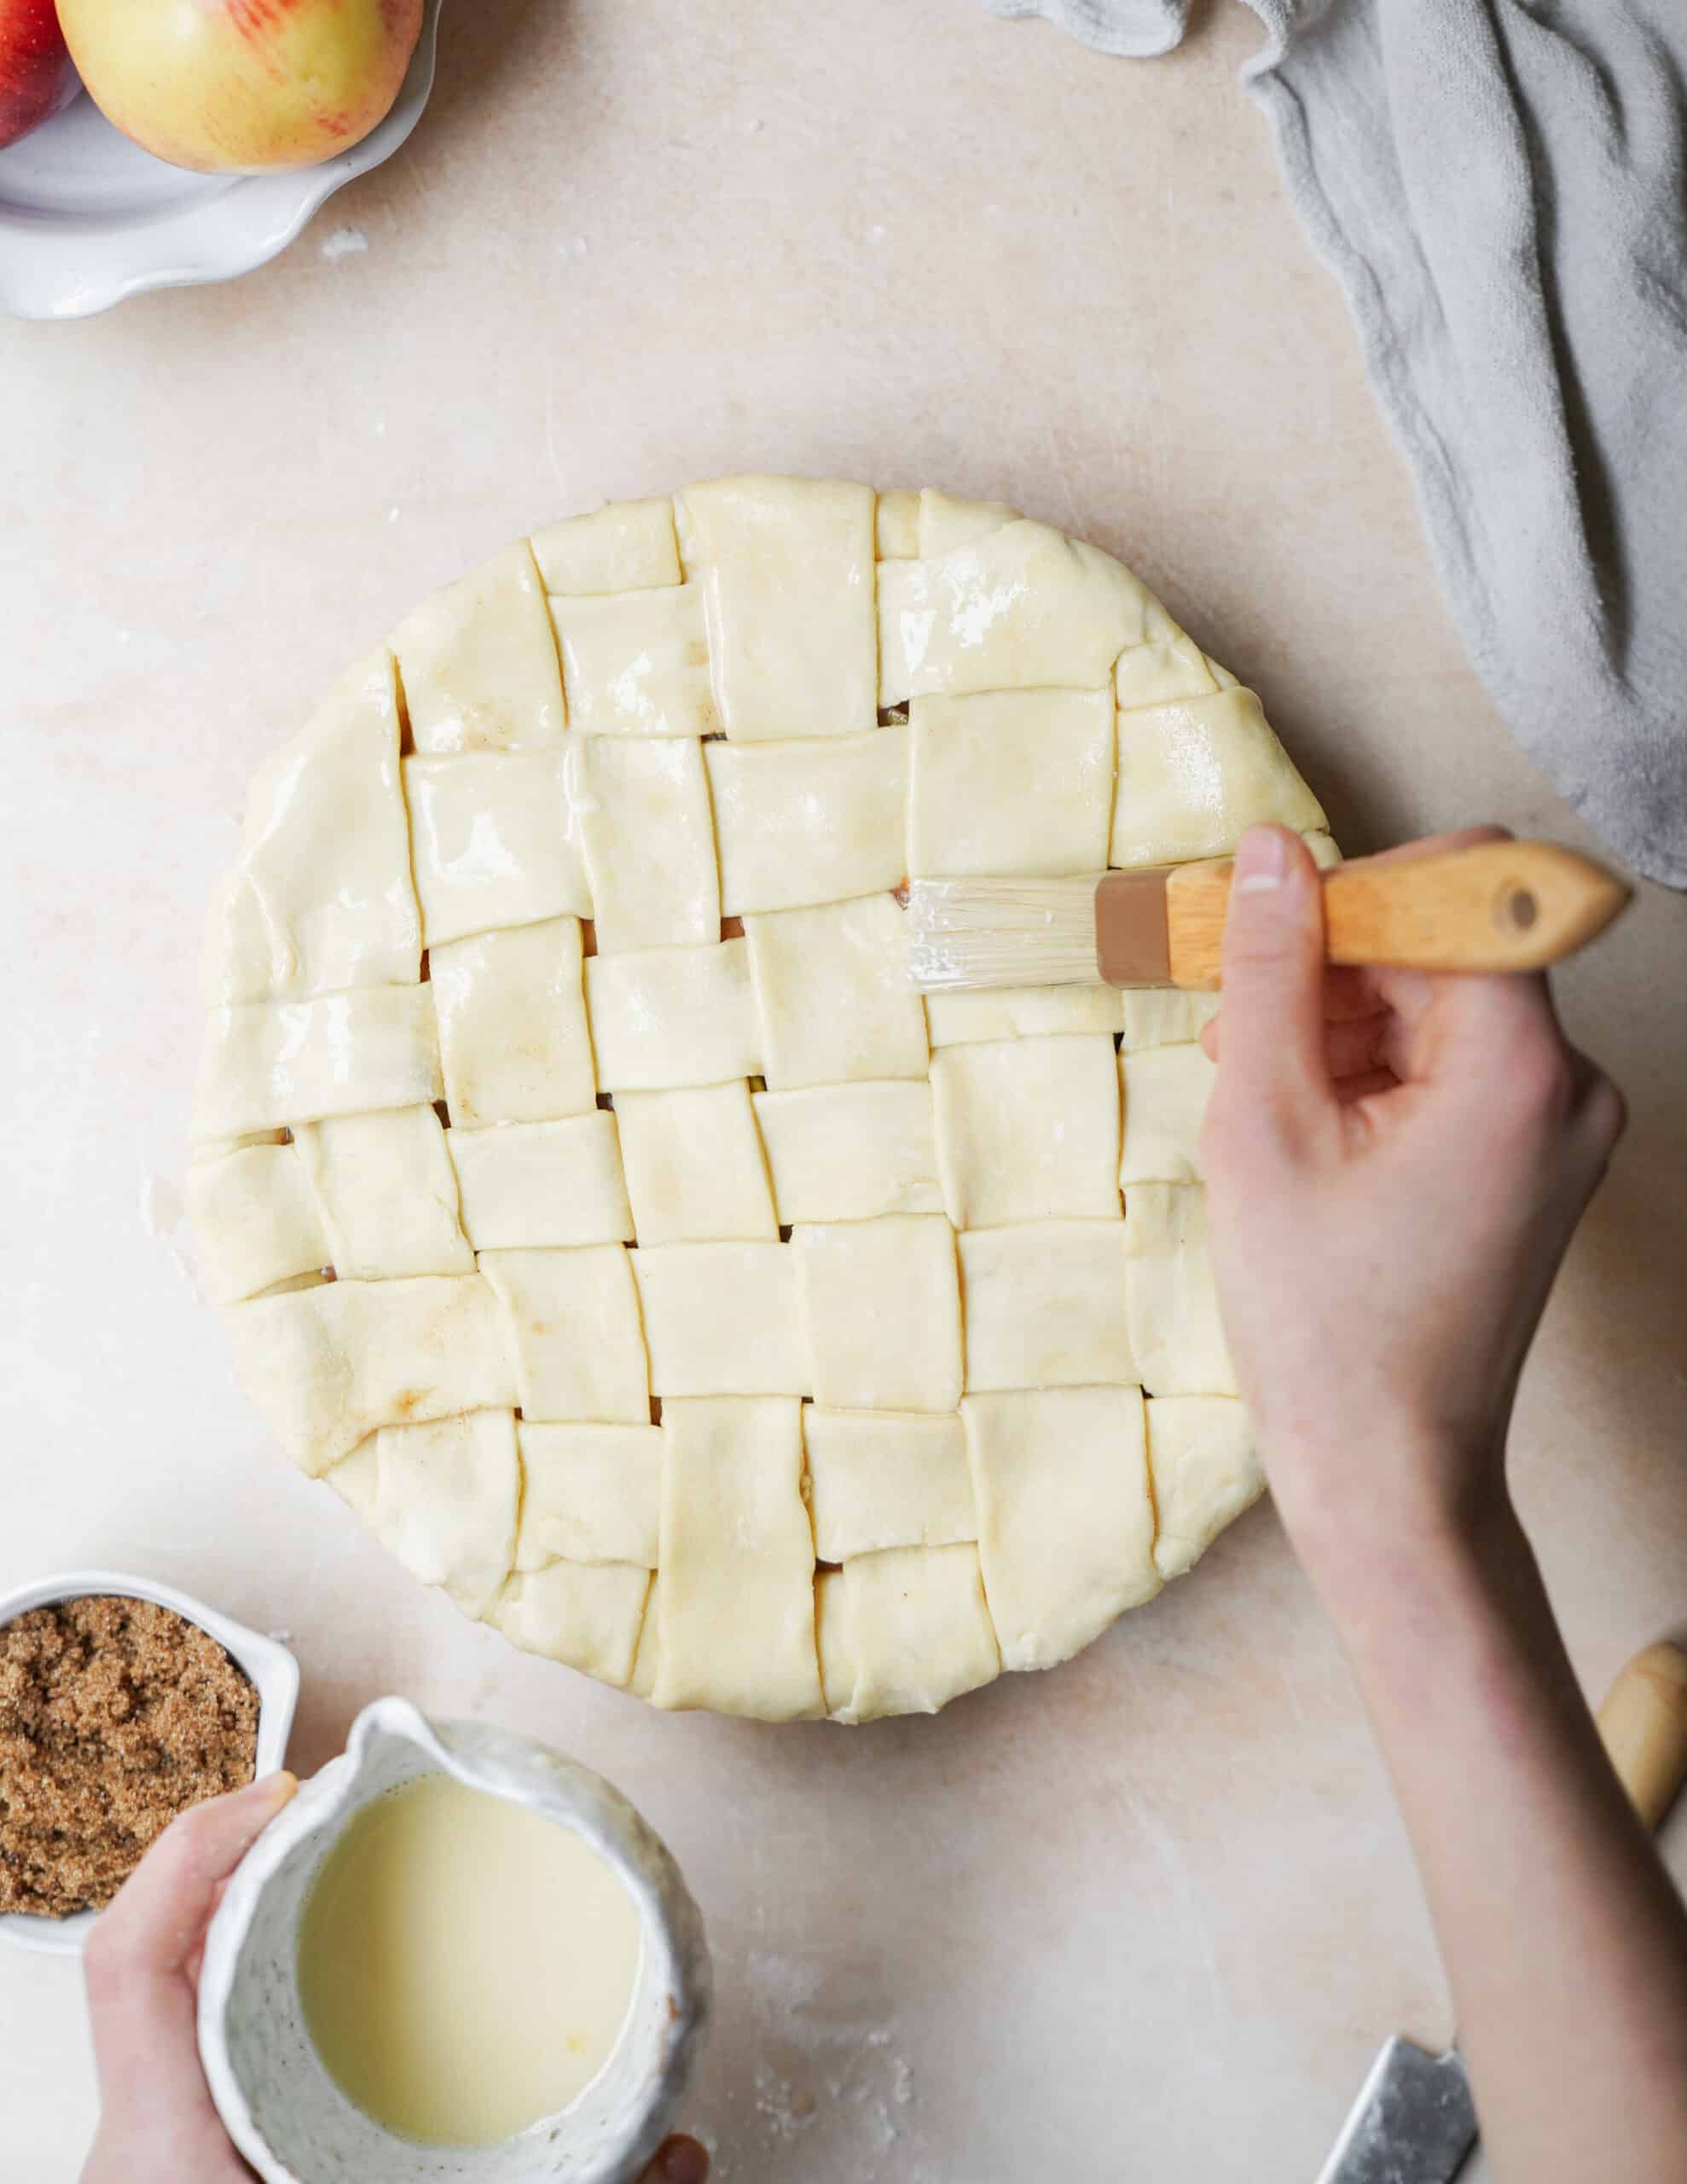
24. Using a small brush, lift the edges of your basket weave and brush a small amount along the crust. This will seal securely seal the lattice design to the edges.
25. Next, using your hands, pinch and tuck the edges of the pie to form your crust.
26. Lightly brush the entire top with the egg wash and set the pie in the refrigerator for 20 – 30 minutes.
27. Preheat the oven to 400F.
28. Place a baking tray, lined with tin foil, while the oven preheats.
29. Remove the pie from the refrigerator, lightly brushing with egg wash a second time.
30. Sprinkle granulated sugar over the whole top of the pie. This will create a crisp & delicious crust!
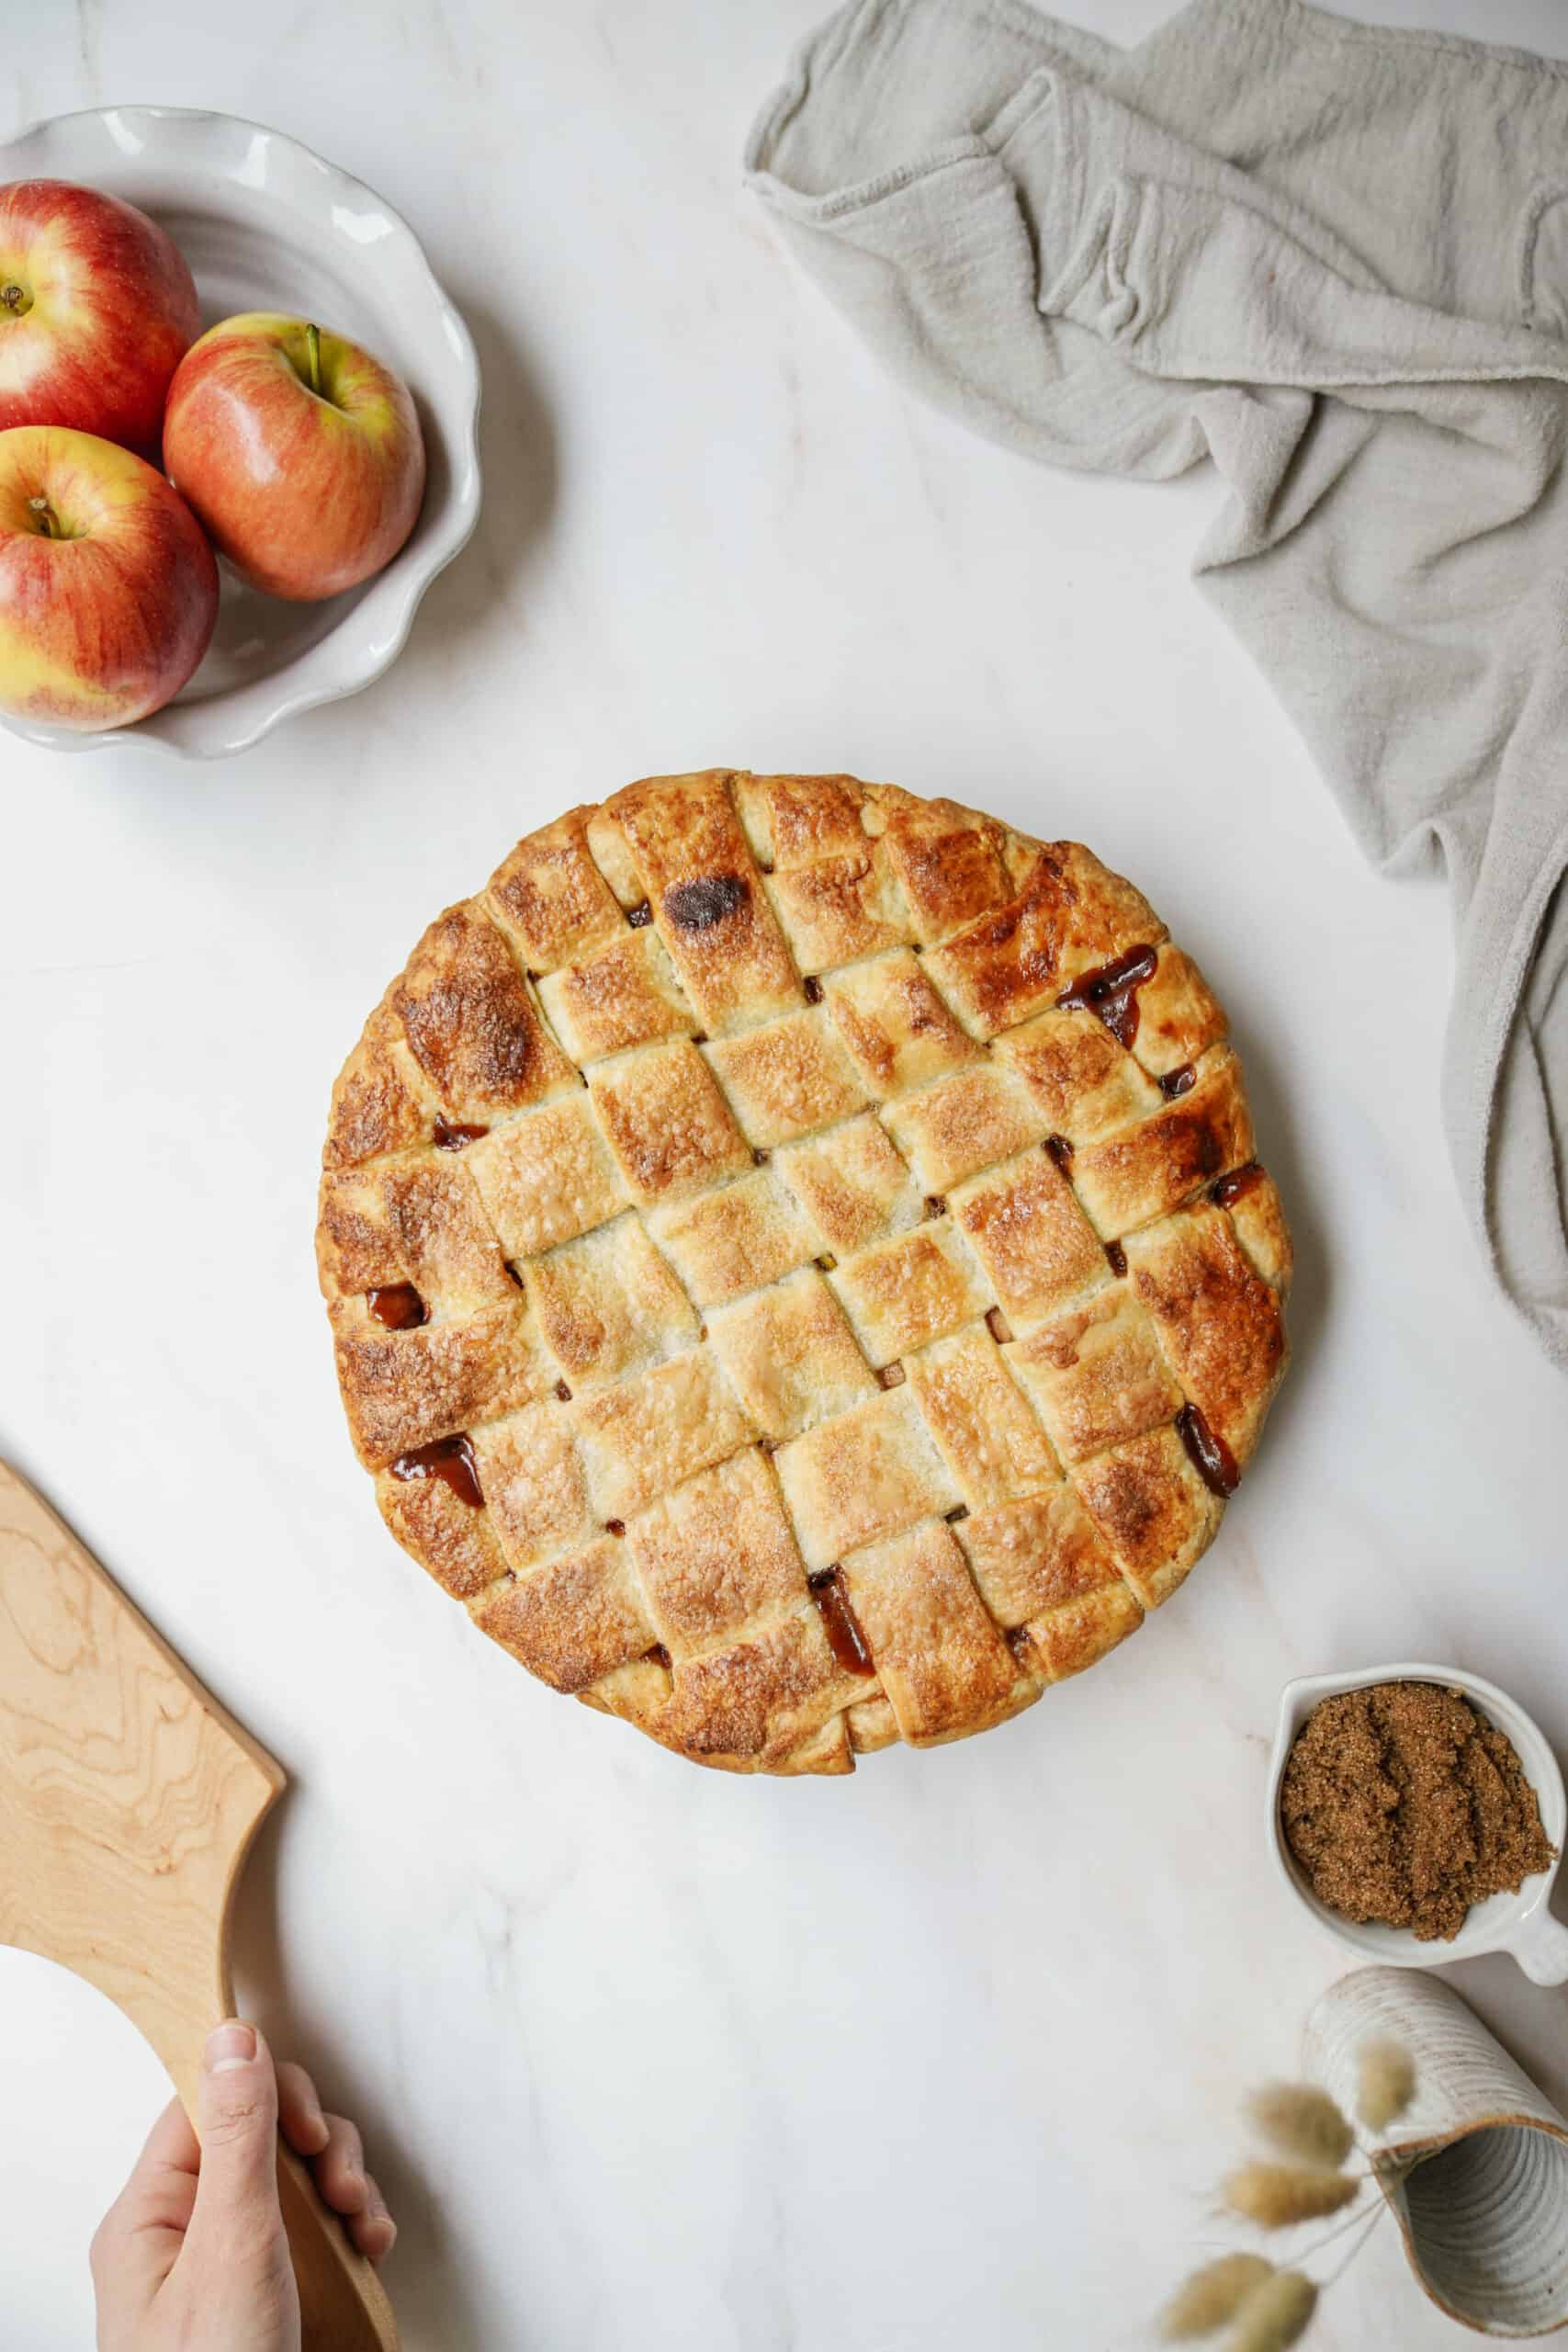
31. Bake for 55 – 60 minutes, until the crust, is golden brown. Some filling may bubble out a little, do not be alarmed.
Expert Tips & FAQ:
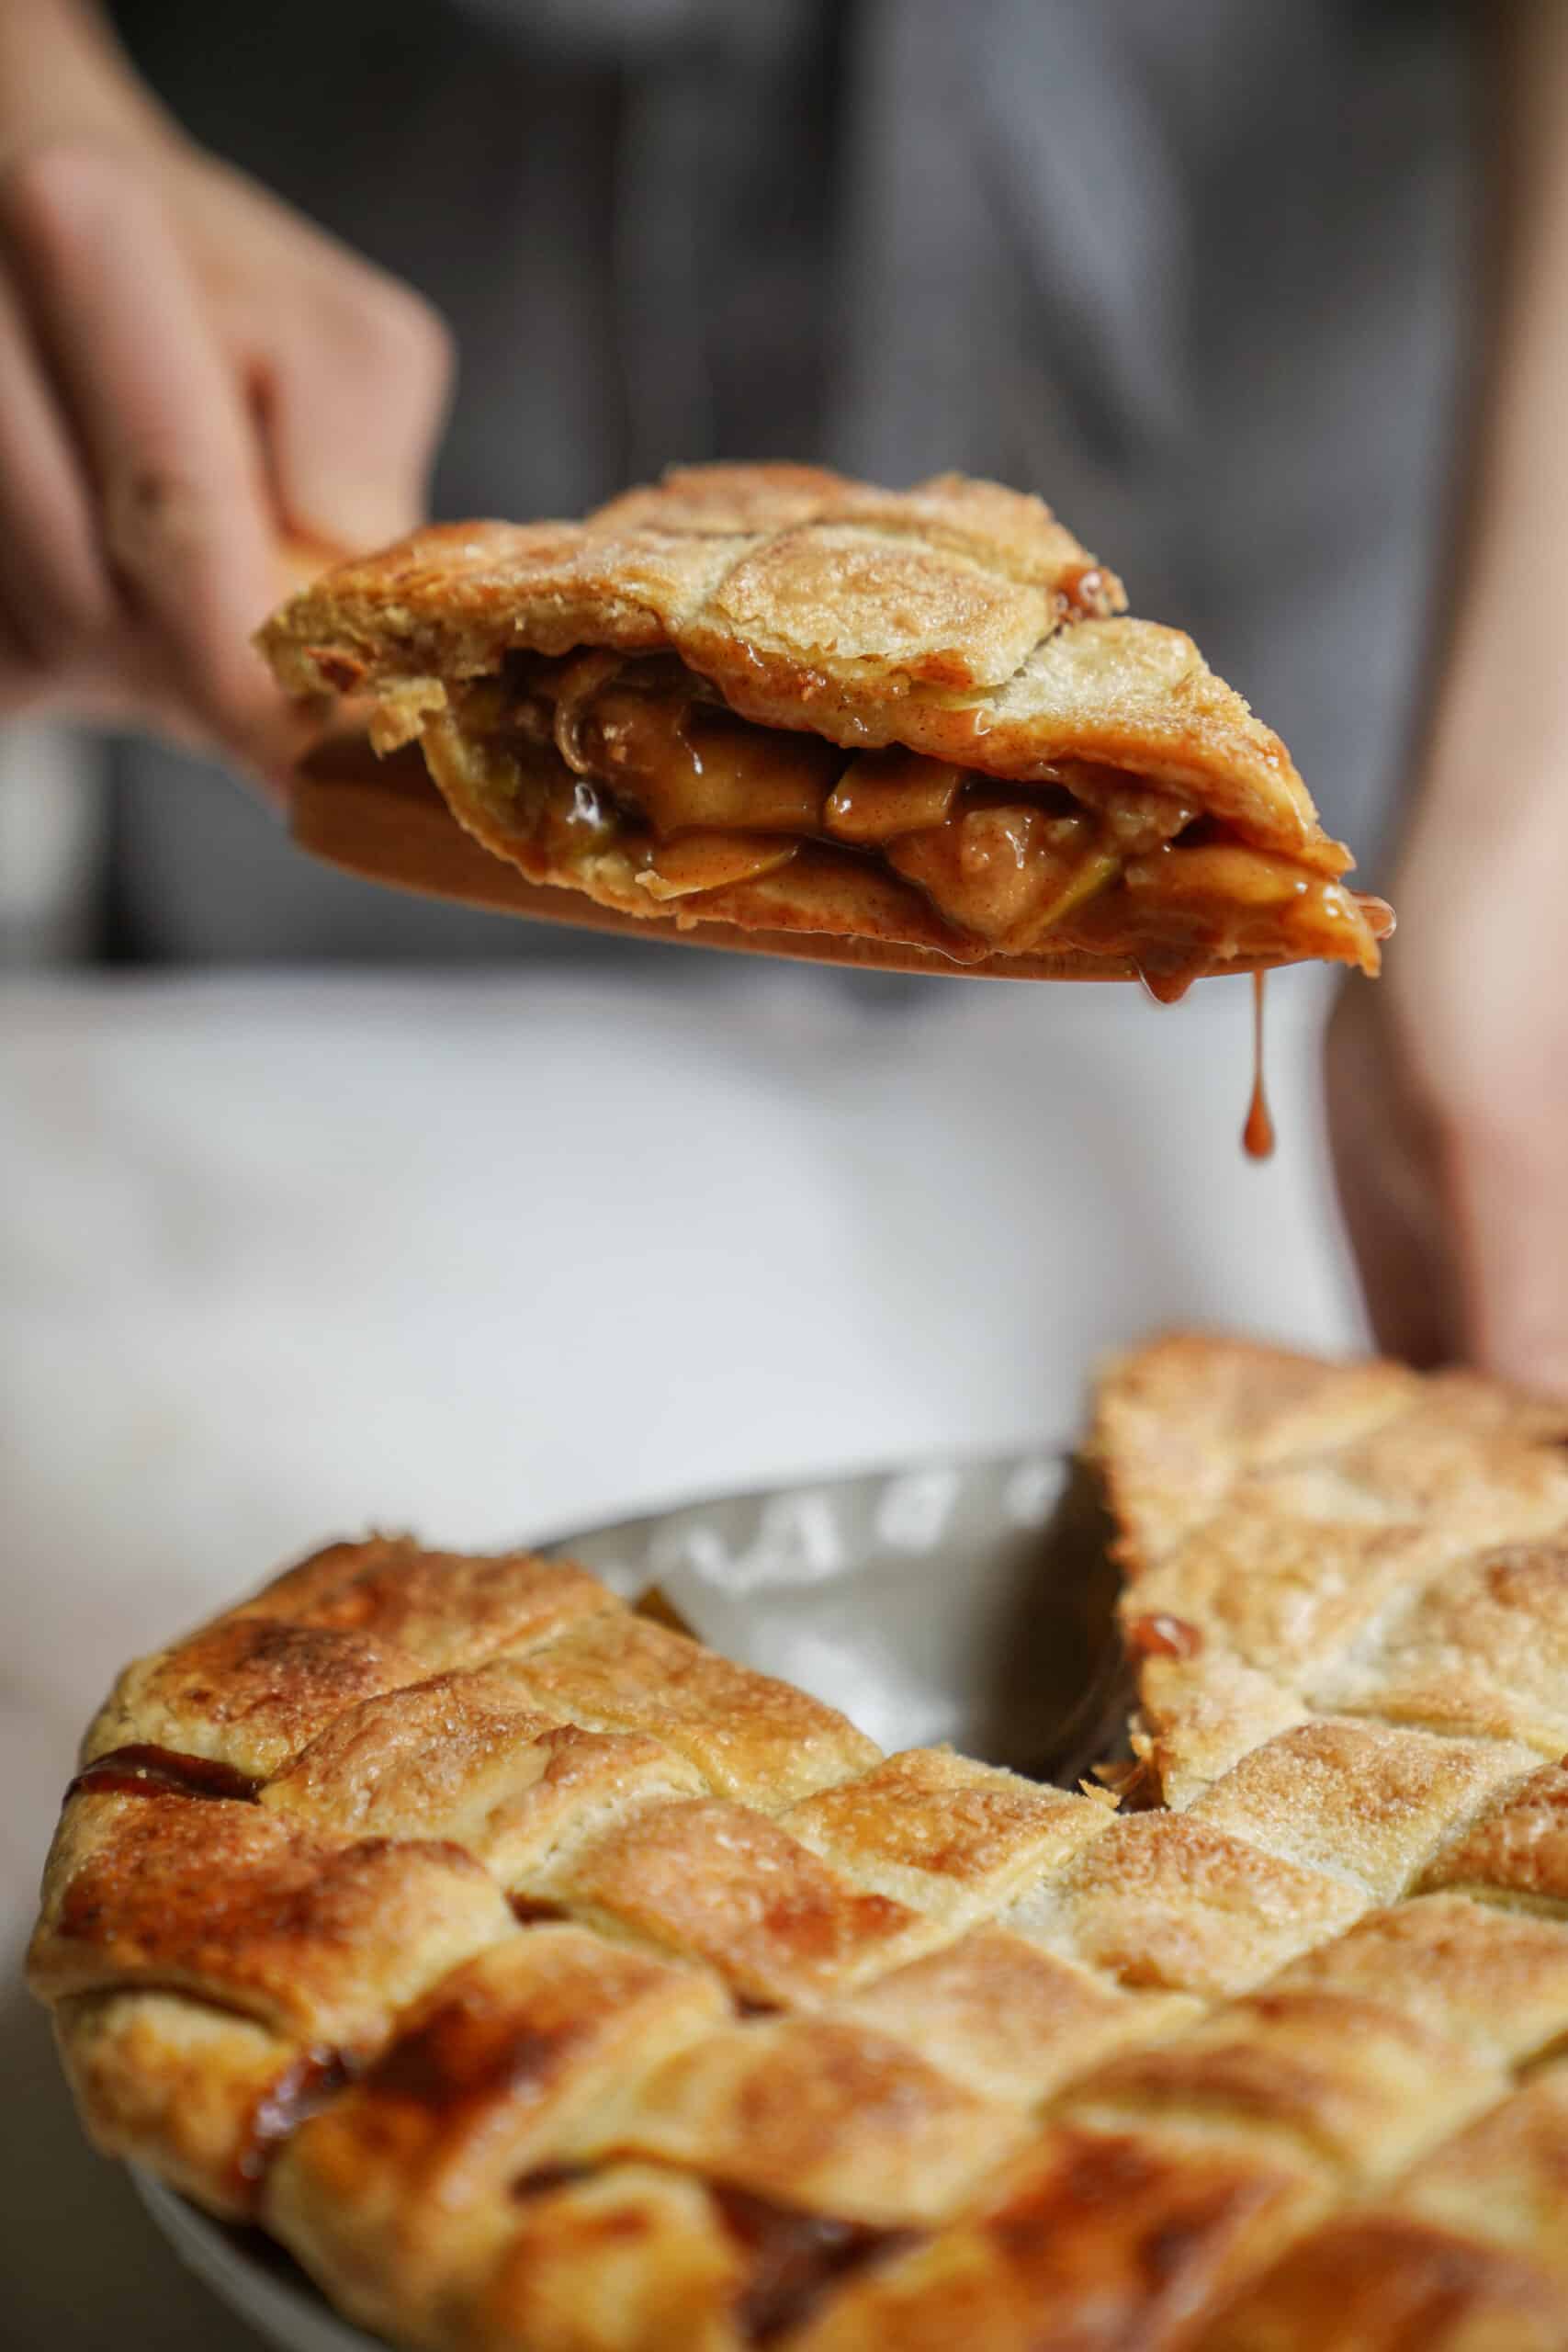
Serving: Serve with vanilla ice cream or caramel sauce OR BOTH! On the saltier side, even enjoy with cheddar cheese.
How do I make this vegan? Swap the butter in the crust for all-purpose shortening, use vegan butter for the filling, and use a plant-based milk wash to create a Vegan Apple Pie (you will need to pinch the edges together more firmly to properly seal the crust).
Alternative to Latticework: If the latticework is too complex for you, roll the second half of the pie dough out to 13 inches in diameter. Using a small cookie cutter or knife, cut three ½ inch circles in the middle of the pie. Place the rolled-out dough on top of the pie. Lightly egg washes the edges of the bottom dough in the pie dish. Trim the excess dough from the sides, and pinch around the edges with your fingers and knuckle, to crimp and seal the crust.
Storage: Store in the fridge in an airtight container for 3-5 days or in the freezer for 1 month.
Other sweet recipes you’ll love:
- Strawberry Crumble Bars
- 10-Minute Peanut Butter Almond Bars
- Vegan Cashew Chocolate Mousse Cake
- Chocolate Chunk Vegan Blondies
- Warm Apple Fritters
For more eBooks:
If you want more deliciousness at the click of your finger, be sure to check out FoodByMaria’s Newest Mini Cookbooks. Limited time offer of 3 for $20USD.

Homemade Apple Pie
Ingredients
For The Crust:
- 3 cups all-purpose flour
- ½ tsp salt
- 1 cup cold vegan butter regular butter or shortening
- 1 cup ice-cold water
For The Filling:
- 6 granny smith apples
- 4 tbsp vegan butter or regular butter
- 1 cup brown sugar
- 3 tsp cinnamon
- 2 tbsp lemon juice
- 1 tbsp vanilla
- ¼ cup all-purpose flour
- ¼ cup granulated sugar
For The Egg Wash (optional if vegan)
- 1 egg
- 2 tbsp almond milk or any plant-based milk if vegan, just use plant-milk
extra granulated sugar for topping
Instructions
- In a large bowl, add the flour and cut the cold butter into small cubes. Using a pastry cutter or hand mixer, incorporate the butter, breaking it into smaller pieces until it resembles coarse sand.
- Dissolve the salt in the ice-cold water, and add to the large bowl.
- Mix by hand until it forms a dough. Do not overmix.
- Cover in plastic wrap and let the dough rest for 30 – 45 minutes in the fridge.
- For the filling, core the apples and cut them into thin, 1/8-inch slices. Set aside.
- In a large pot, melt the butter over medium-high heat and add the sliced apples.
- Stir and cook the apples for 3-5 minutes until slightly soft.
- Add the brown sugar, lemon juice, cinnamon, and vanilla, and cook for another 5 minutes.
- In a small bowl, whisk together the granulated sugar and all-purpose flour.
- Sprinkle this mixture over the apples and stir well until the mixture thickens, being approximately 3 minutes.
- Transfer the filling to a large shallow dish, and allow it to cool completely in the fridge.
- Remove the pie dough from the fridge and cut the dough in half keeping one half out and placing the other back in the fridge.
- On a lightly floured surface, roll out the pie dough to about 12 – 13 inches in diameter.
- Place the rolled-out dough into the pie dish, gently pressing so that it lines the bottom and the sides of the dish. Do this without pulling or stretching the dough.
- Using scissors or a paring knife, trim the edges of the dough within ¼ - ½ inches of the edge of the dish.
- Transfer the cooled apple filling to the bottom of the prepared crust, packing it firmly and tightly, eliminating air pockets. This will ensure the filling doesn’t pull away from the crust when it bakes.
- Remove the second half of the pie dough from the fridge and roll out to approximately 10 x 15 inches in size.
- Using a pizza cutter or large knife, along the length side, cut the dough into 1 – 1 ½ inch strips.
- Lay 6 strips side-by-side on a lightly floured surface. Use longer strips in the middle, and the shorter ones on the ends.
- Fold 3 of the vertical strips back, laying a new strip perpendicular on top.
- Unfold the 3 vertical strips so they lay over top of the new strip. Repeat this step, alternating the folded-up strips to create your basket weave! Once you are happy with your base design, very carefully transfer to the top of your pie. Use all extra pieces to fill any empty spaces!
- Again, with scissors or a paring knife, trim the edges of the dough within ¼ - ½ inches of the dish.
- In a small bowl, whisk together the egg and milk to create your egg wash.
- Using a small brush, lift the edges of your basket weave and brush a small amount along the crust. This will seal securely seal the lattice design to the edges.
- Next, using your hands, pinch and tuck the edges of the pie to form your crust.
- Lightly brush the entire top with the egg wash and set the pie in the refrigerator for 20 – 30 minutes.
Preheat the oven to 400F.
- Place a baking tray, lined with tin foil, while the oven preheats.
- Remove the pie from the refrigerator, lightly brushing with egg wash a second time.
- Sprinkle granulated sugar over the whole top of the pie. This will create a crisp & delicious crust!
- Bake for 55 – 60 minutes, until the crust, is golden brown. Some filling may bubble out a little, do not be alarmed.
- Make sure it cools completely before serving!
I love apple pie and this one is top notch! Perfect ratio of crust to filling. Will be making it for family gatherings!
I LOVE THIS!! Thanks Michelle!