Vegetarian
Crispy Baked Ravioli
Prep
35 minutes
Cook
40 minutes
Yield
24 , Serves 304
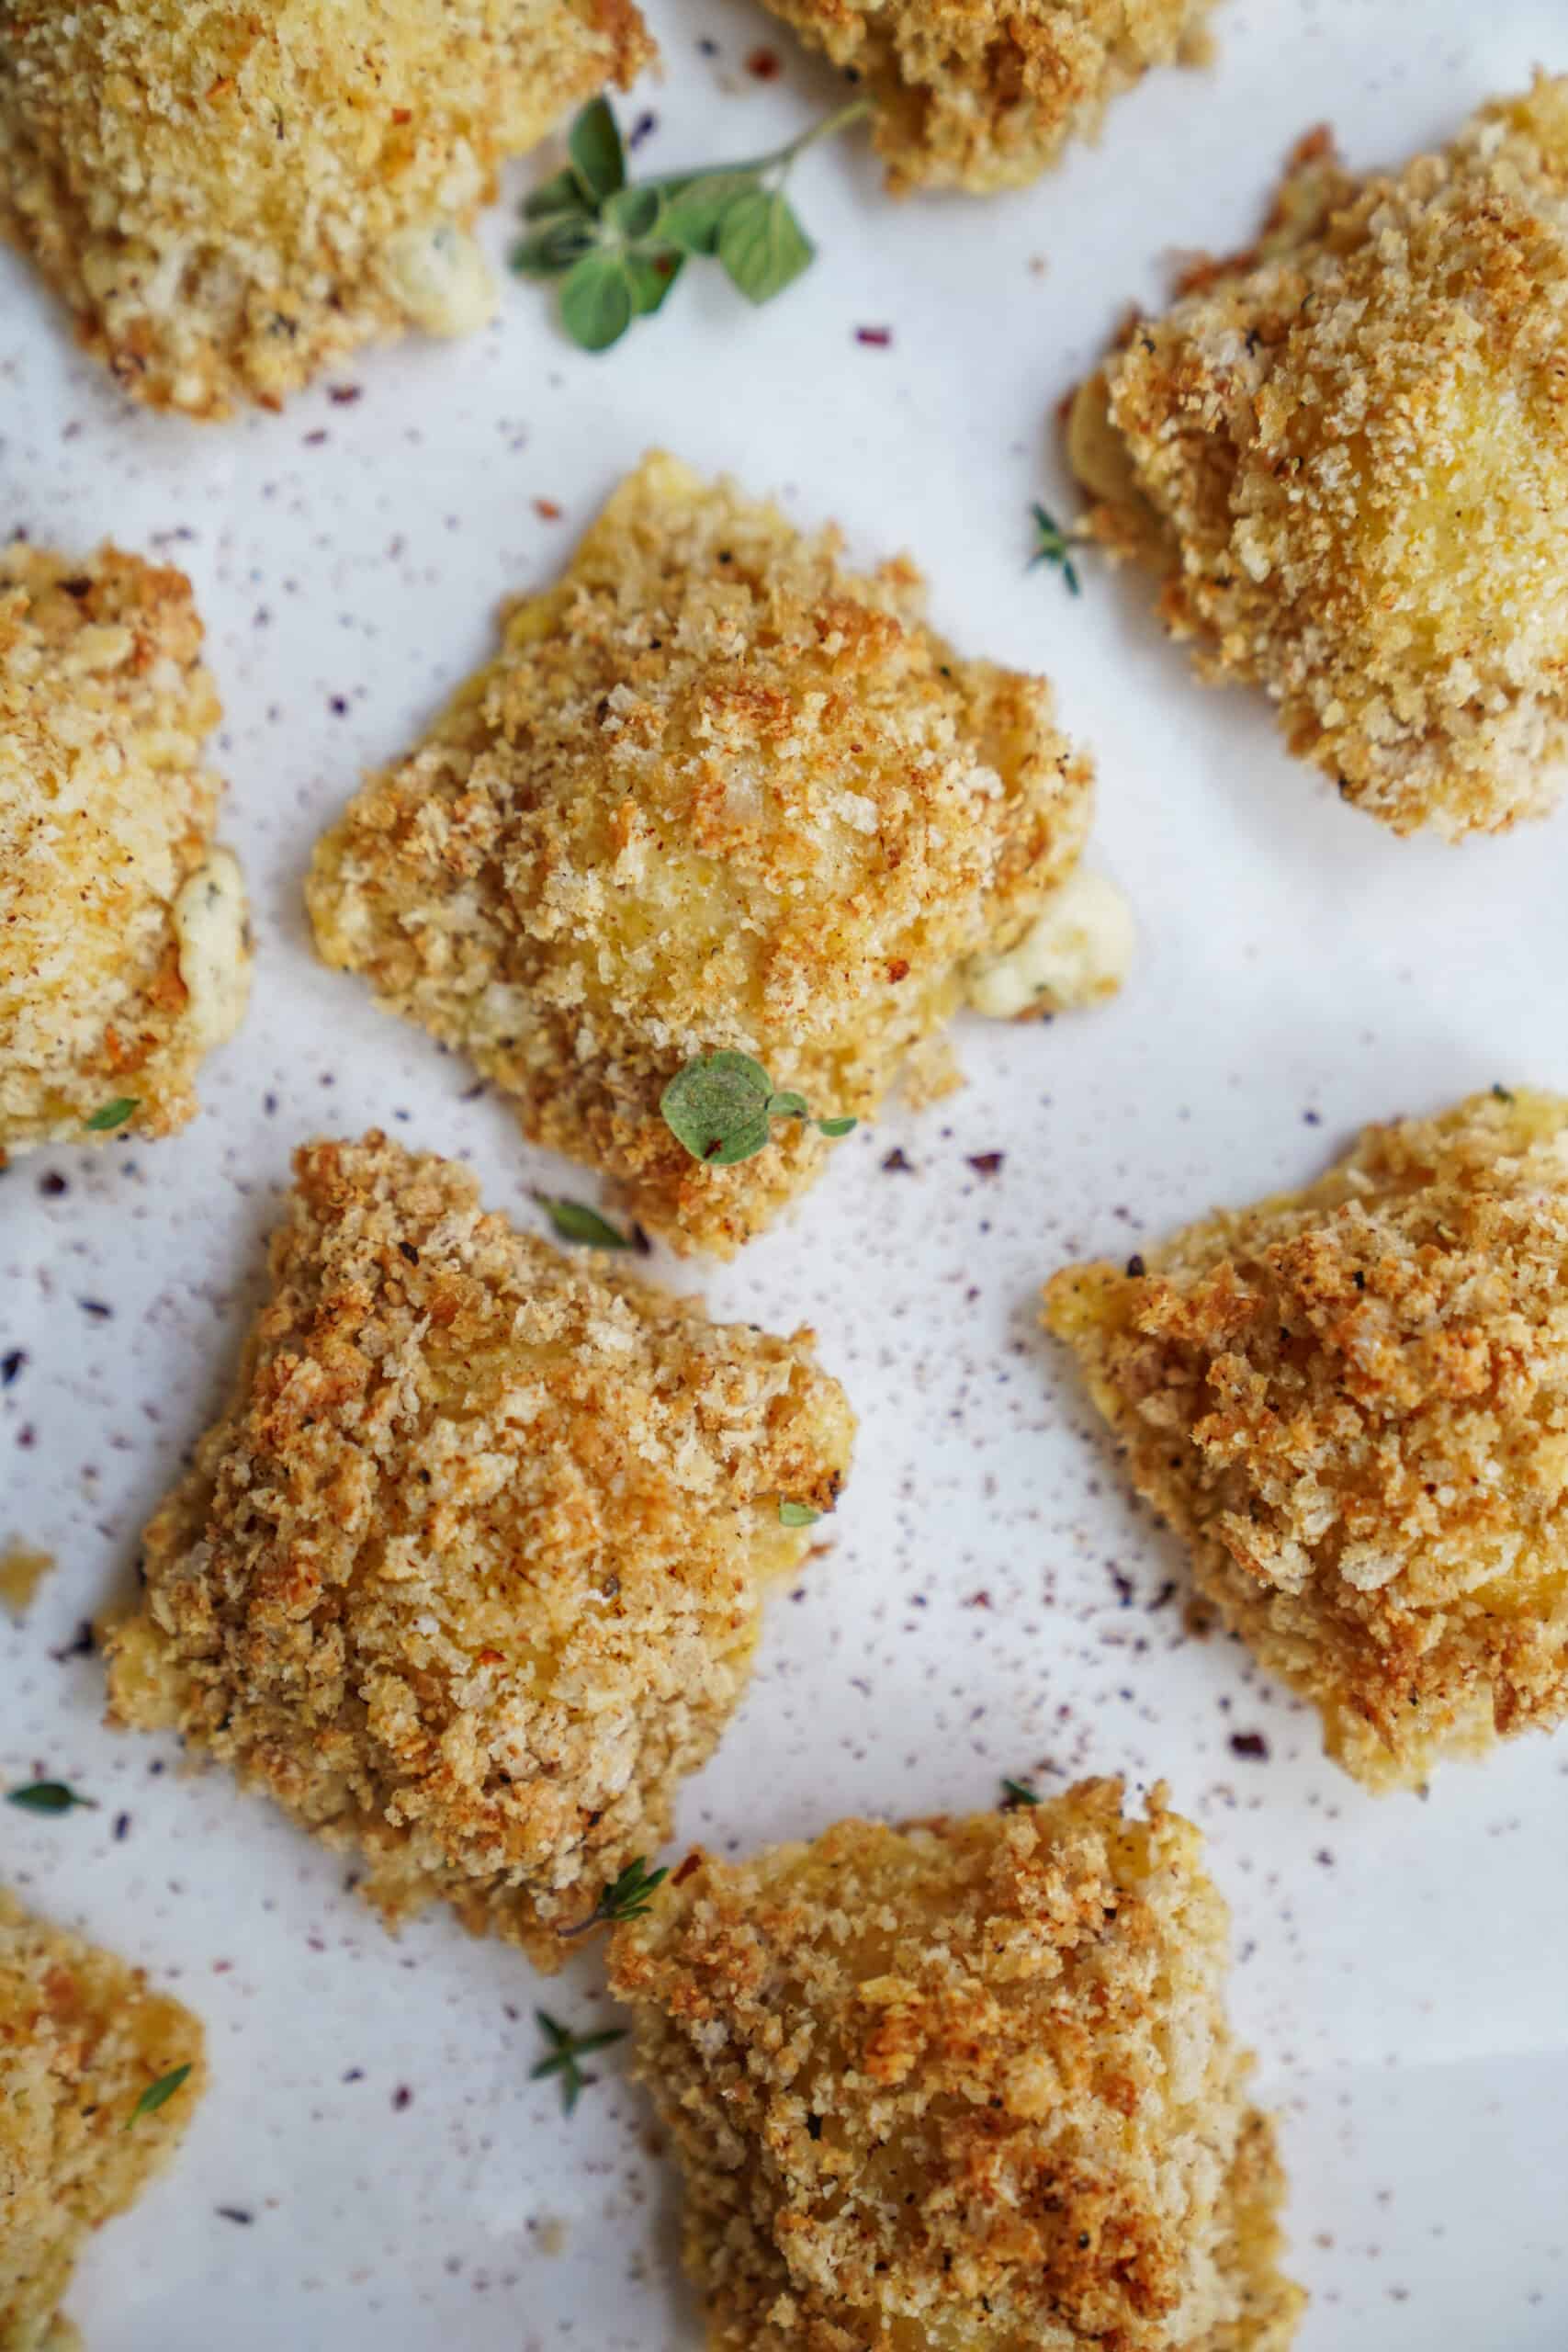
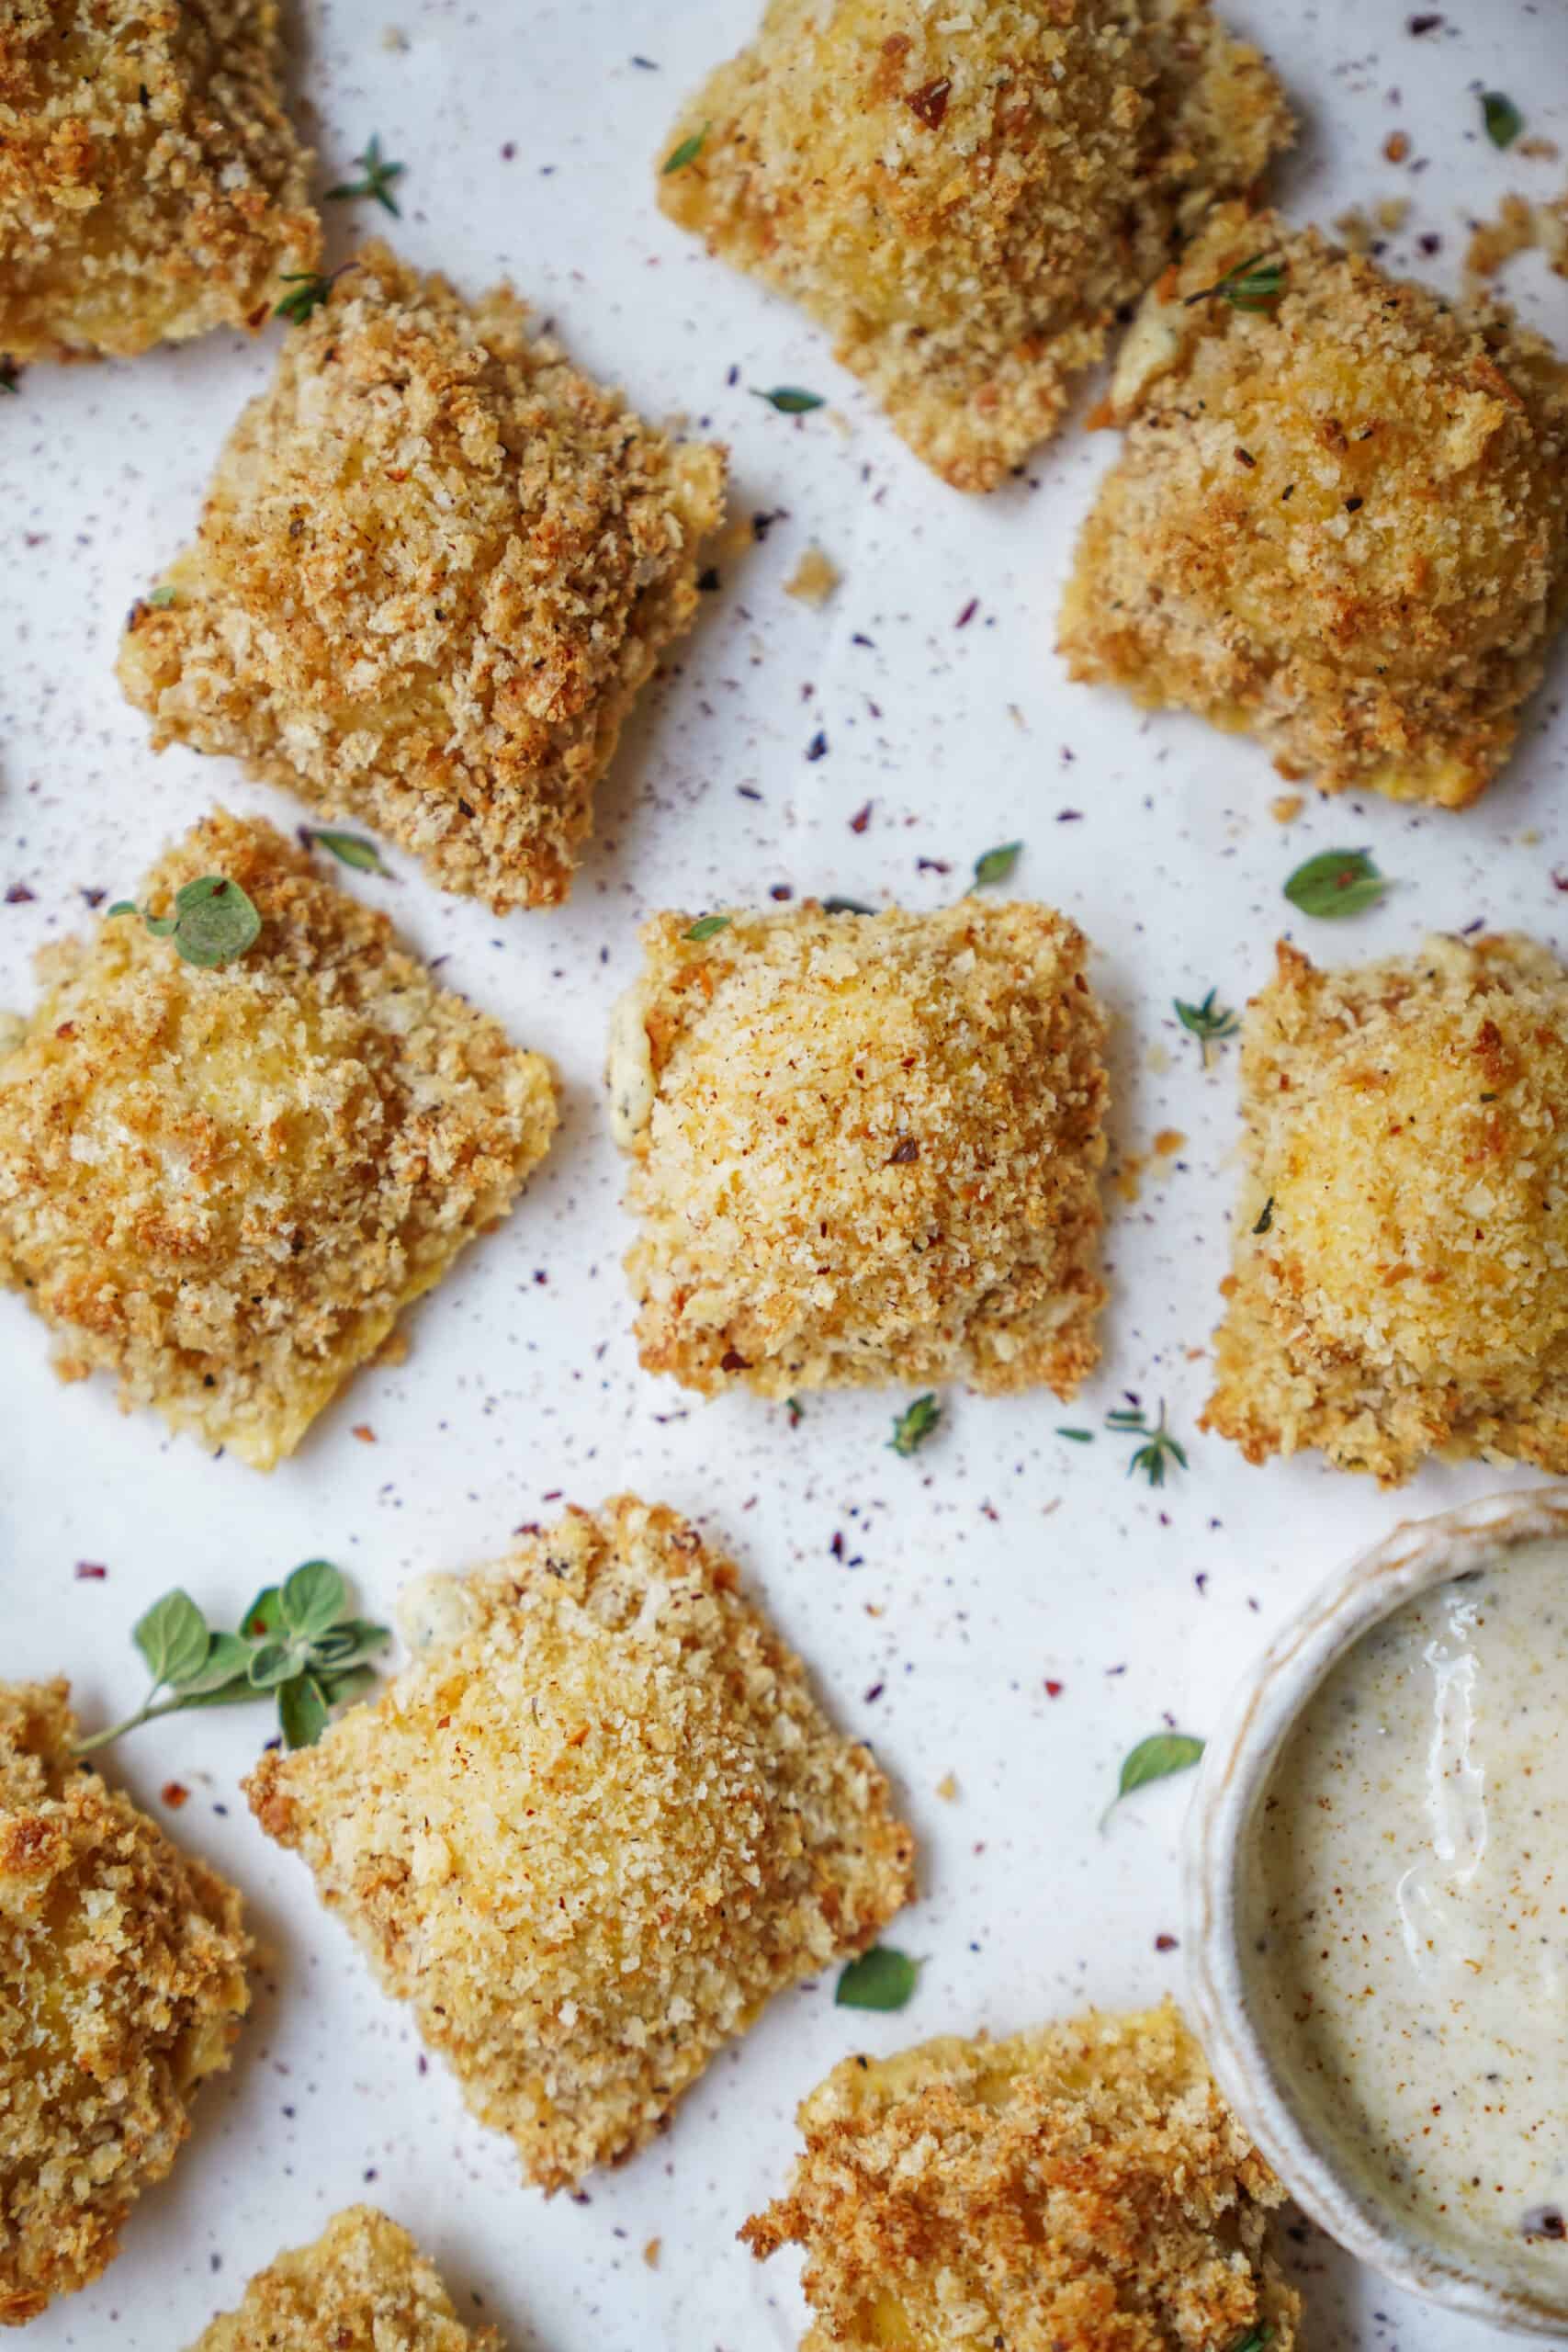
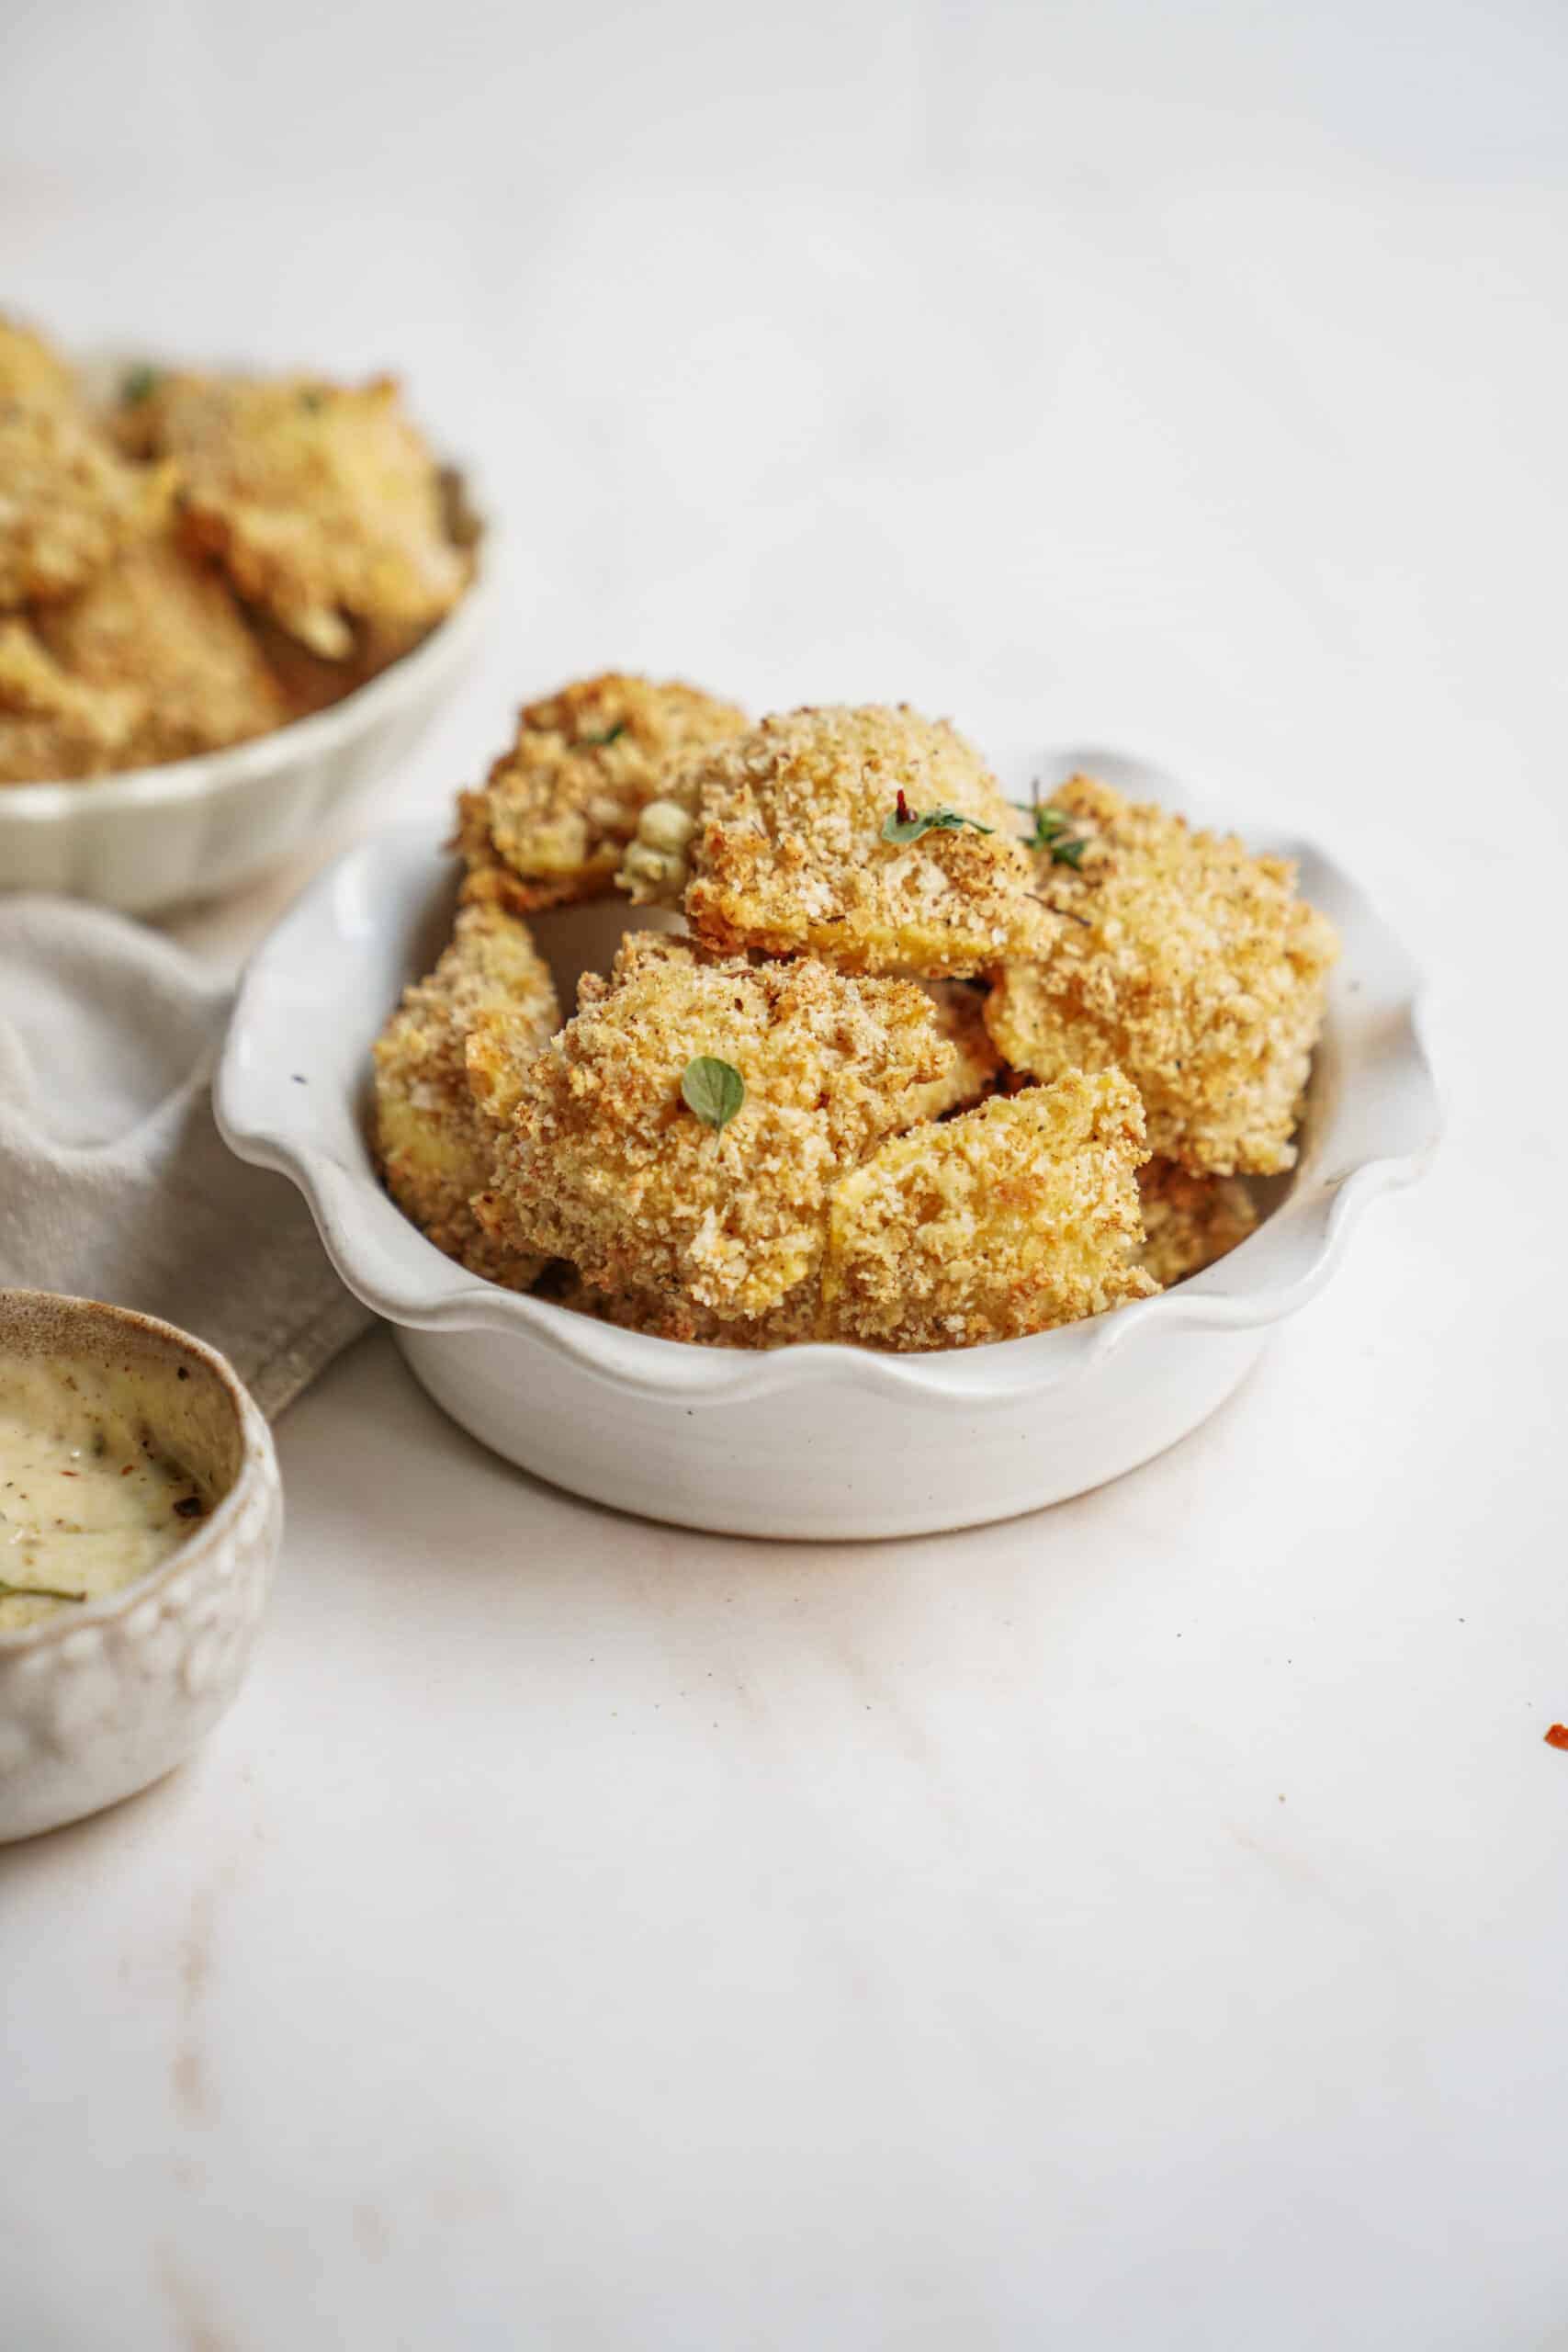
This baked ravioli recipe takes the classic raviolis you love, and bakes them into a crispy, delicious snack that you can eat with garlic aioli or even dip in marinara sauce. This recipe is a fun twist to homemade pasta that you didn’t know you needed but will absolutely love.
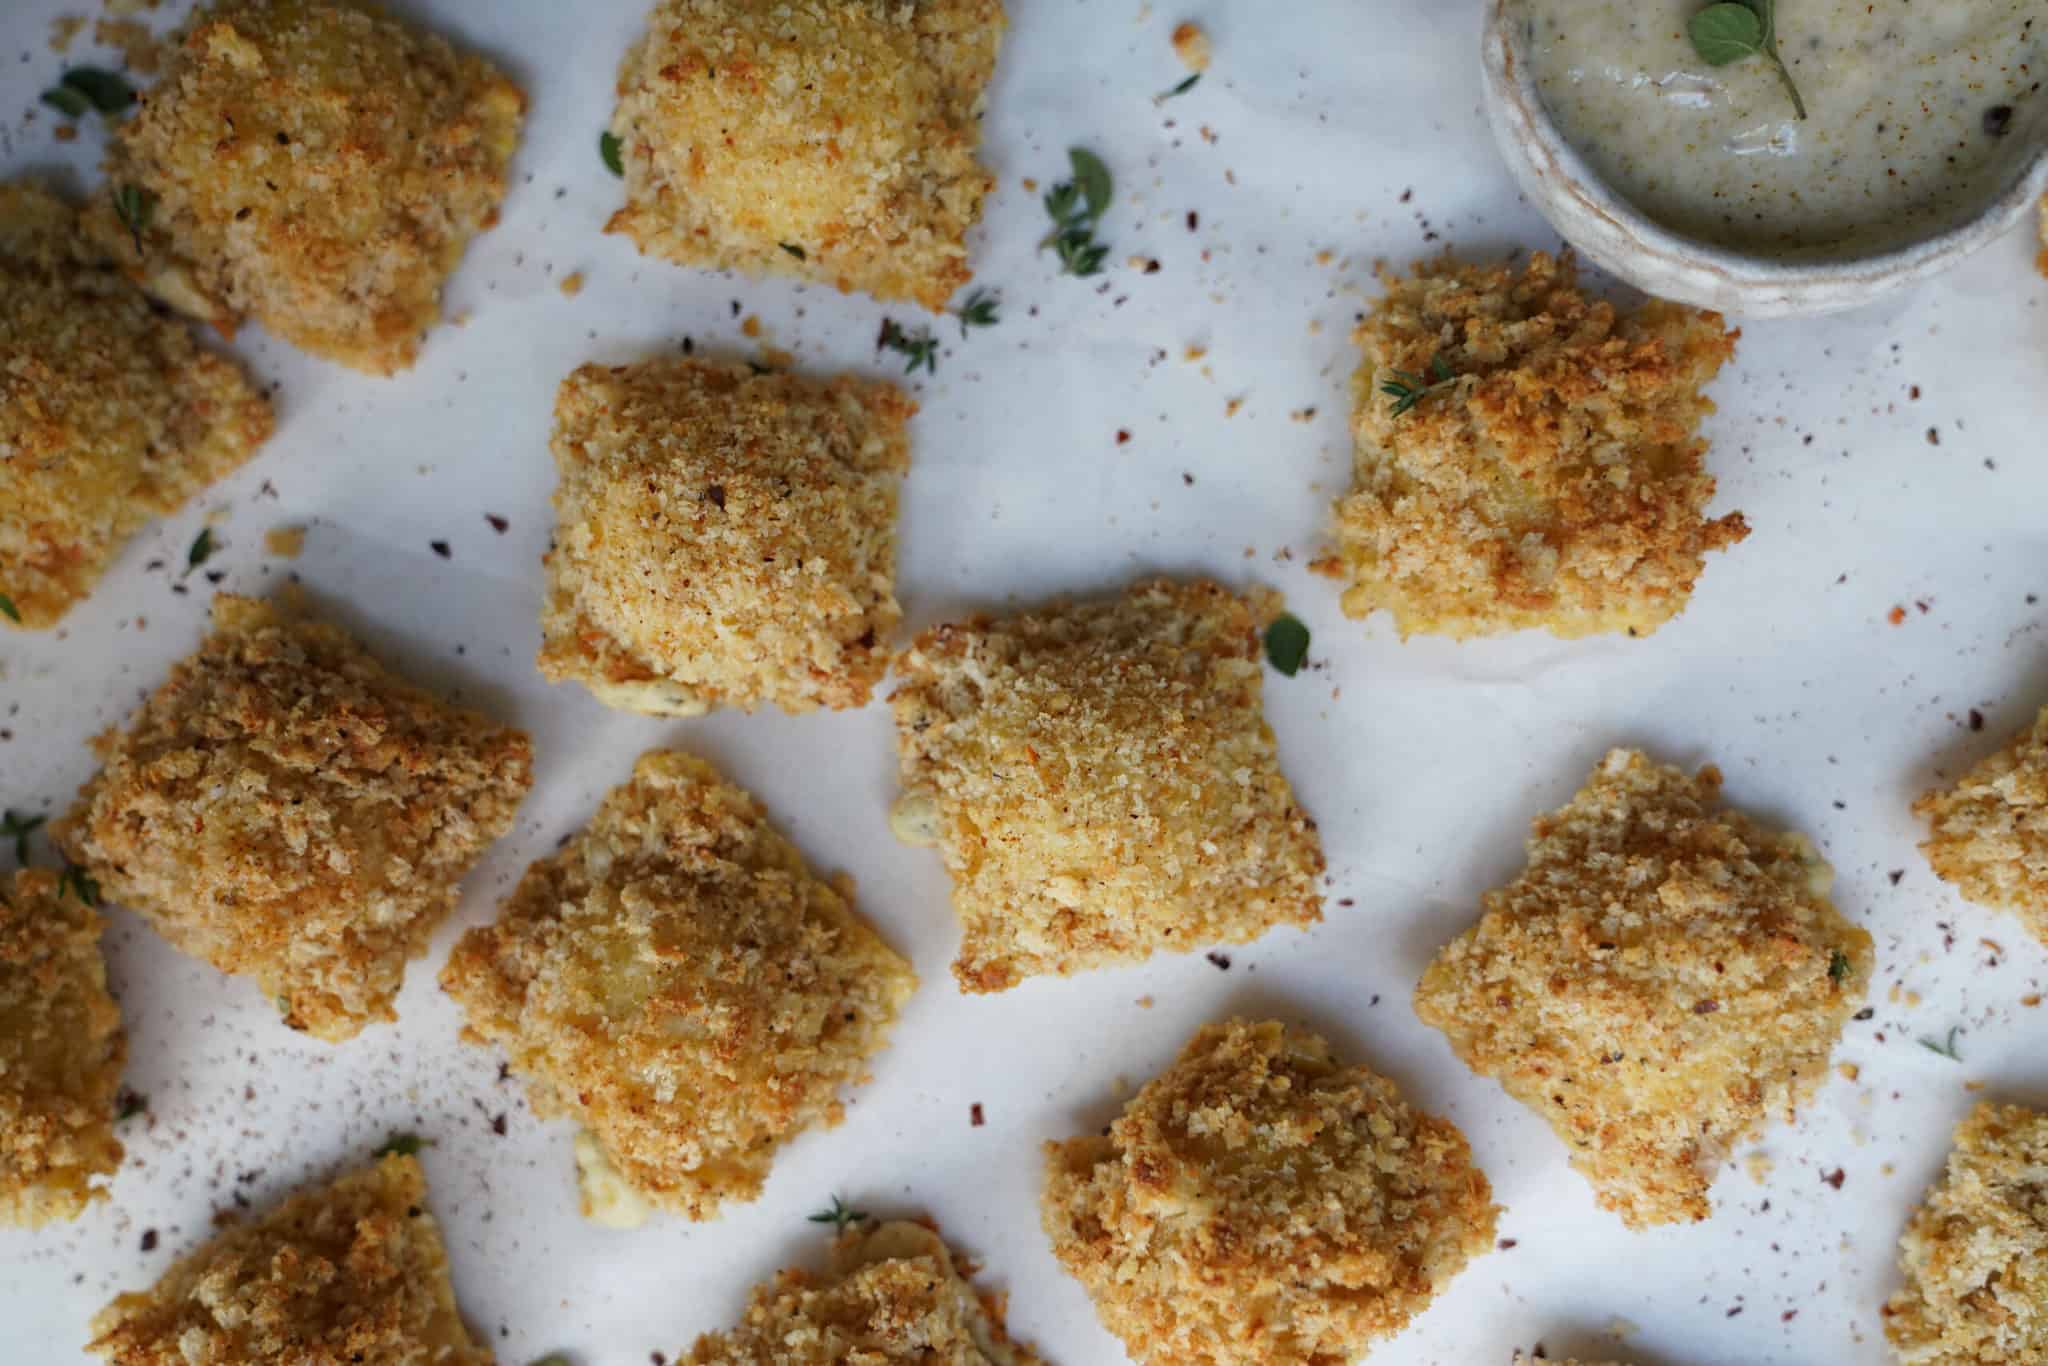
Why you’ll love this baked ravioli recipe:
- Homemade: Make these with homemade ravioli, or buy store-bought to cut down the recipe time. However, homemade is always tastier (and more impressive)
- Versatile: Use your favorite sauces for dipping these yummy, baked raviolis in
- Fun: This can be such a fun snack for a party, or even for your kids lunch
Ingredient Notes:
Ricotta: Ricotta is an Italian whey cheese made from the whey left over from the production of other cheeses. You’ll often find it in recipes like lasagna or used as a stuffing in pasta.
Herbs: This recipe uses both fresh rosemary and thyme. I’d suggest that you use fresh herbs here for the biggest flavor punch.
How do you make baked ravioli?
Follow the Ravioli Dough recipe here.
- To make the filling, in a large bowl, add ricotta, cream cheese, mozzarella, spices, herbs, and white truffle oil.
- Mix ingredients together until combined.
- After the pasta dough is refrigerated, cut the dough in quarters, and place one portion onto a lightly floured surface.
- Use a rolling pin or pasta maker to roll the dough out very thin, approximately 1/8-inch-thick- making it large enough to cover the area of the entire 12-piece ravioli press. Dust the top of the rolled-out dough with more flour and your ravioli maker/press. Flip the dough over and place it onto the ravioli maker. Gently press the plastic ravioli piece into the top of the dough, making small pouches. Scoop 2 tsp worth of filling into each ravioli pouch. Using water, lightly brush all of the edges of the ravioli maker, around the filling. Again, with a rolling pin or pasta maker, roll out another piece of dough very thin, approximately 1/8-inch-thick- making it large enough to cover the area of the entire ravioli press.
- Transfer the pasta sheet to cover the ravioli maker, removing air pockets.
- Seal all edges by running a rolling pin over the top. Roll across the dough in all directions until the frame is visible through the pasta.
- On a lightly floured surface, flip the ravioli maker upside down and gently tap the edges on the surface to release the ravioli. Transfer all of the ravioli to a baking sheet covered in parchment paper. Allow drying for 30 minutes, prior to cooking. Repeat steps until all of the filling is used.
- To cook, boil a large pot with salted water.
- Add the ravioli and cook until floating + tender. This will be approximately 3 – 4 minutes. Cook until ravioli floats in the pot. Transfer boiled ravioli to a large sheet pan with parchment paper. Set aside.
- Preheat the oven to 400F and prepare a new baking sheet with parchment paper.
- In a medium-sized bowl combine bread crumbs and spices.
- In a small bowl, add the eggs and whisk them together.
- Take a few pieces of ravioli and coat in the whisked eggs.
- Transfer ravioli to the bread crumb bowl, pressing ravioli to completely cover all areas. Repeat these steps, and evenly place the ravioli onto the baking sheet.
- Drizzle extra white truffle oil on top of the ravioli prior to baking.
- Bake for 25 – 30 minutes, until golden.
- While it bakes, make your aioli by combining the mayonnaise and spices in a small bowl. Set in the refrigerator until serving.
- Serve baked ravioli immediately with the garlic aioli. Enjoy!
Expert Tips & FAQ:
Experiment with the Flavor: Add any of your favorite herbs or spices into the flour mixture for extra flavor!
How do you make the pasta vegan? Make ravioli vegan by using your favorite plant-based cheeses and alternative egg substitute.
How do you store extra pasta dough? Store extra pasta dough in plastic wrap in the freezer. To use again, allow to thaw in the refrigerator or allow to come to room temperature.
What do I use if I don’t have a ravioli maker? If you do not have a 12-piece ravioli maker, use a pizza cutter or knife to cut out 1 – 1 ½ inch squares. Place 2 tsp of filling on top, brush with water, place the second piece of dough, and pinch the edges to seal.
Storage: You can also freeze your fresh ravioli, lightly flouring a baking tray, freezing until solid and then storing in an airtight container for up to 6 months. Store cooked ravioli in an airtight container for 3-5 days or in the freezer for 1 month.
Other pasta recipes you’ll love:
For more eBooks:
If you want more deliciousness at the click of your finger, be sure to check out FoodByMaria’s Newest Mini Cookbooks. Limited time offer of 3 for $20USD.
For more Greek Recipes:
For more amazing recipes:
Loved this recipe? Good! We can give you access to Maria’s most famous recipes, check out our Top Ten Recipes Mini Cookbook! We also have an incredible APP for you to access at all times (yes, online and offline) all our recipes with a click of your finger – check in out here.

Baked Ravioli
Ingredients
- Ingredients for Pasta Dough here.
- ¼ cup ricotta cheese
- ½ cup cream cheese
- ½ cup mozzarella cheese
- 1 tsp fresh thyme chopped
- 1 tsp fresh rosemary chopped
- 1 ½ tsp garlic powder
- 1 tsp onion powder
- ½ tsp salt
- ½ tsp cracked black pepper
- 1 ½ - 2 tsp white truffle oil
- 3 ½ cups bread crumbs
- 2 eggs
- 1 tsp salt
- 1 tsp black pepper
- 2 tsp garlic powder
- white truffle oil
- ½ cup homemade or store-bought mayonnaise
- 2 tsp garlic
- ½ tsp salt
- 1 tsp black pepper
Instructions
Follow the Ravioli Dough recipe here.
- To make the filling, in a large bowl, add ricotta, cream cheese, mozzarella, spices, herbs, and white truffle oil.
- Mix ingredients together until combined.
- After the pasta dough is refrigerated, cut the dough in quarters, and place one portion onto a lightly floured surface.
- Use a rolling pin or pasta maker to roll the dough out very thin, approximately 1/8-inch-thick- making it large enough to cover the area of the entire 12-piece ravioli press. Dust the top of the rolled-out dough with more flour and your ravioli maker/press. Flip the dough over and place it onto the ravioli maker. Gently press the plastic ravioli piece into the top of the dough, making small pouches. Scoop 2 tsp worth of filling into each ravioli pouch. Using water, lightly brush all of the edges of the ravioli maker, around the filling. Again, with a rolling pin or pasta maker, roll out another piece of dough very thin, approximately 1/8-inch-thick- making it large enough to cover the area of the entire ravioli press.
- Transfer the pasta sheet to cover the ravioli maker, removing air pockets.
- Seal all edges by running a rolling pin over the top. Roll across the dough in all directions until the frame is visible through the pasta.
- On a lightly floured surface, flip the ravioli maker upside down and gently tap the edges on the surface to release the ravioli. Transfer all of the ravioli to a baking sheet covered in parchment paper. Allow drying for 30 minutes, prior to cooking. Repeat steps until all of the filling is used.
- To cook, boil a large pot with salted water.
- Add the ravioli and cook until floating + tender. This will be approximately 3 – 4 minutes. Cook until ravioli floats in the pot. Transfer boiled ravioli to a large sheet pan with parchment paper. Set aside.
- Preheat the oven to 400F and prepare a new baking sheet with parchment paper.
- In a medium-sized bowl combine bread crumbs and spices.
- In a small bowl, add the eggs and whisk them together.
- Take a few pieces of ravioli and coat in the whisked eggs.
- Transfer ravioli to the bread crumb bowl, pressing ravioli to completely cover all areas. Repeat these steps, and evenly place the ravioli onto the baking sheet.
- Drizzle extra white truffle oil on top of the ravioli prior to baking.
- Bake for 25 - 30 minutes, until golden.
- While it bakes, make your aioli by combining the mayonnaise and spices in a small bowl. Set in the refrigerator until serving.
- Serve baked ravioli immediately with the garlic aioli. Enjoy!
I feel like this is a recipe that you have to make and eat right away?!?
no! You can totally make them ahead of time, freeze, thaw, bread and bake!
These were wonderful! Not too many things I have made that were as versatile as these….SO awesome!
thank you so much for the love, Clemen!!!
Never seen a recipe like this before, looks really delicious and cool! I love hands bites, I’m going to give this a try!
it was really good!